
How do I…
Short answers to the things people actually ask, in the order you meet them. Written for whoever uses the Studio — and published from a Contentive workspace through our own Delivery API, like any other site we build.
Getting started
-
How do I sign in?
Three ways into the Studio: a link in your email, Google, or a password.
You can sign in however suits you — all three land in the same place.
A link in your email. Type your email address and press Continue. We send you a link; open it, press Continue again, and you are in. Links work once, expire after fifteen minutes, and only work in the browser that asked for one — so a forwarded email cannot sign anyone else in.
Google. Press "Continue with Google" and pick your account. This works when the email on your Google account matches your invitation.
A password, if you set one when you joined.
Nothing happens when you enter your email? You may not have been invited yet — see How do I invite someone to a workspace?.
-
Setting up your agency — the welcome wizard
The first-run wizard walks you from a blank account to your first live-ready site.
The very first time you sign in, a short welcome wizard sets up your agency: it names your organization, creates your first workspace (one client site), and lets you pick a starting point instead of a blank canvas.
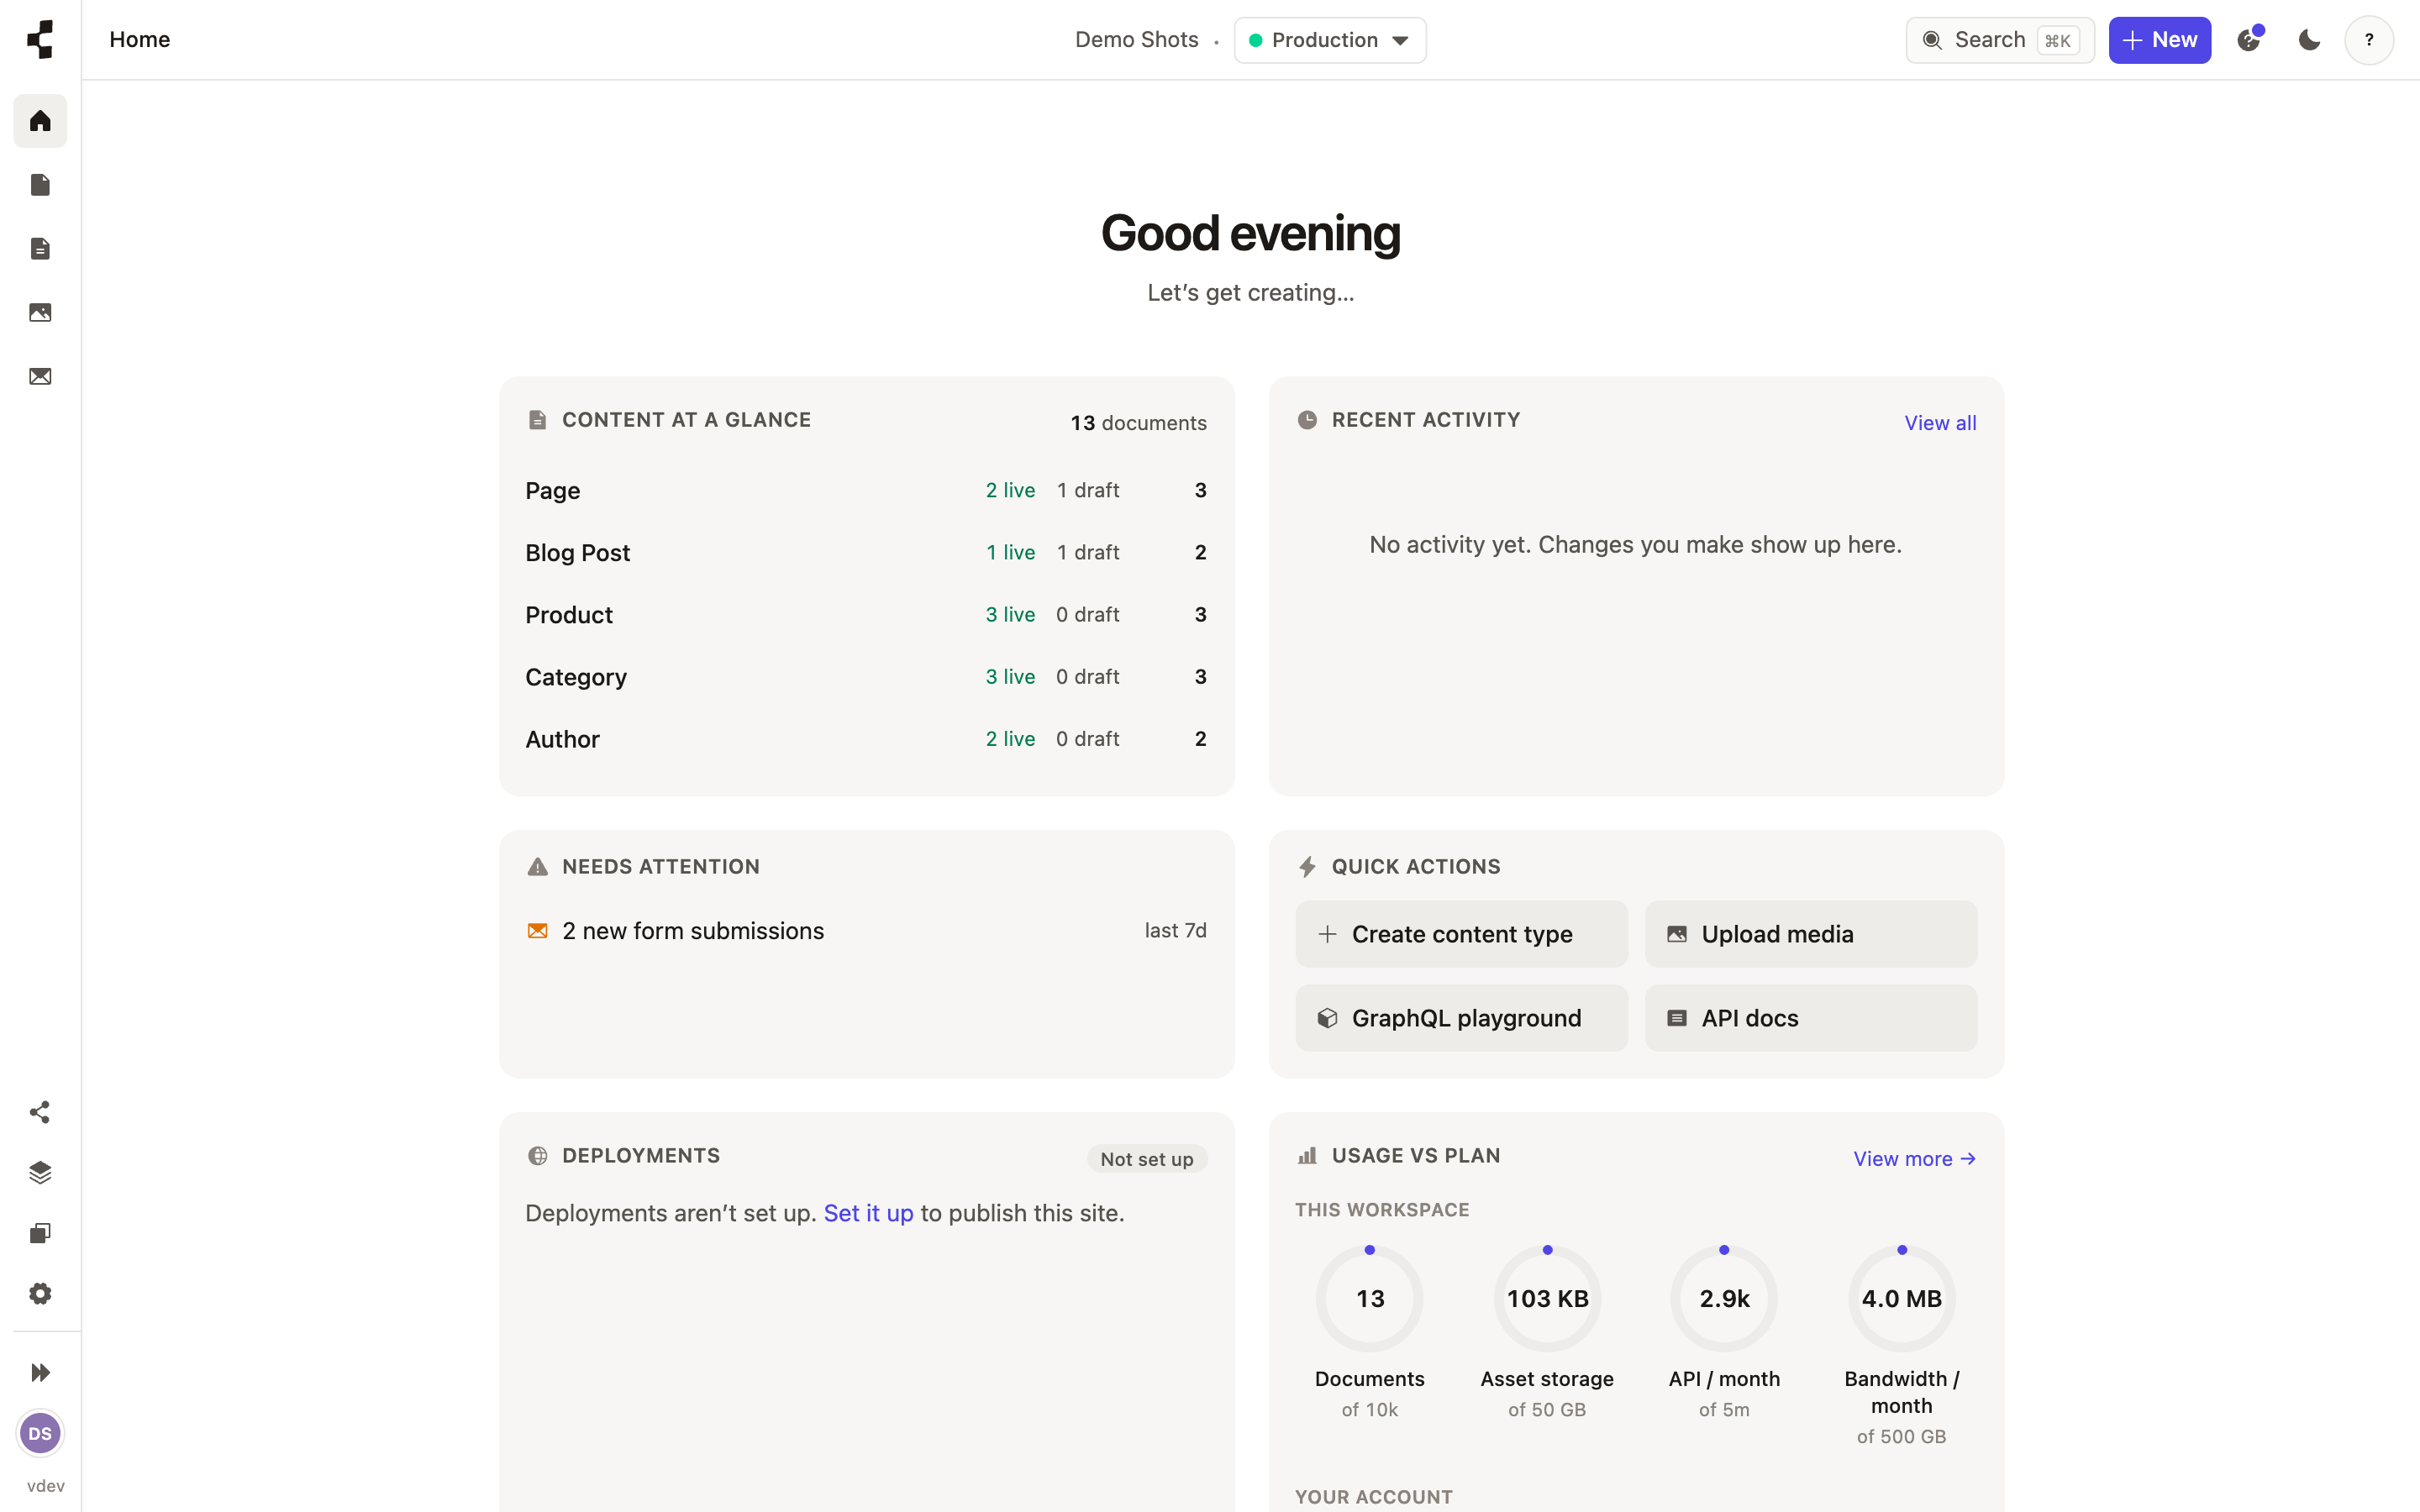
Along the way you can claim a web address for the site and choose a template to begin from — both are optional and skippable, so a taken name or an undecided design never blocks you. You can change everything later.
Next, get your bearings: A tour of the Studio, or jump straight to Starting from a blueprint or template.
-
What is a workspace?
One workspace = one client site. Everything you edit belongs to exactly one.
A workspace holds one site: its content, its images, its structure, its deployments. An agency usually runs one workspace per client, and people invited to a client workspace only ever see that one — never your other clients.
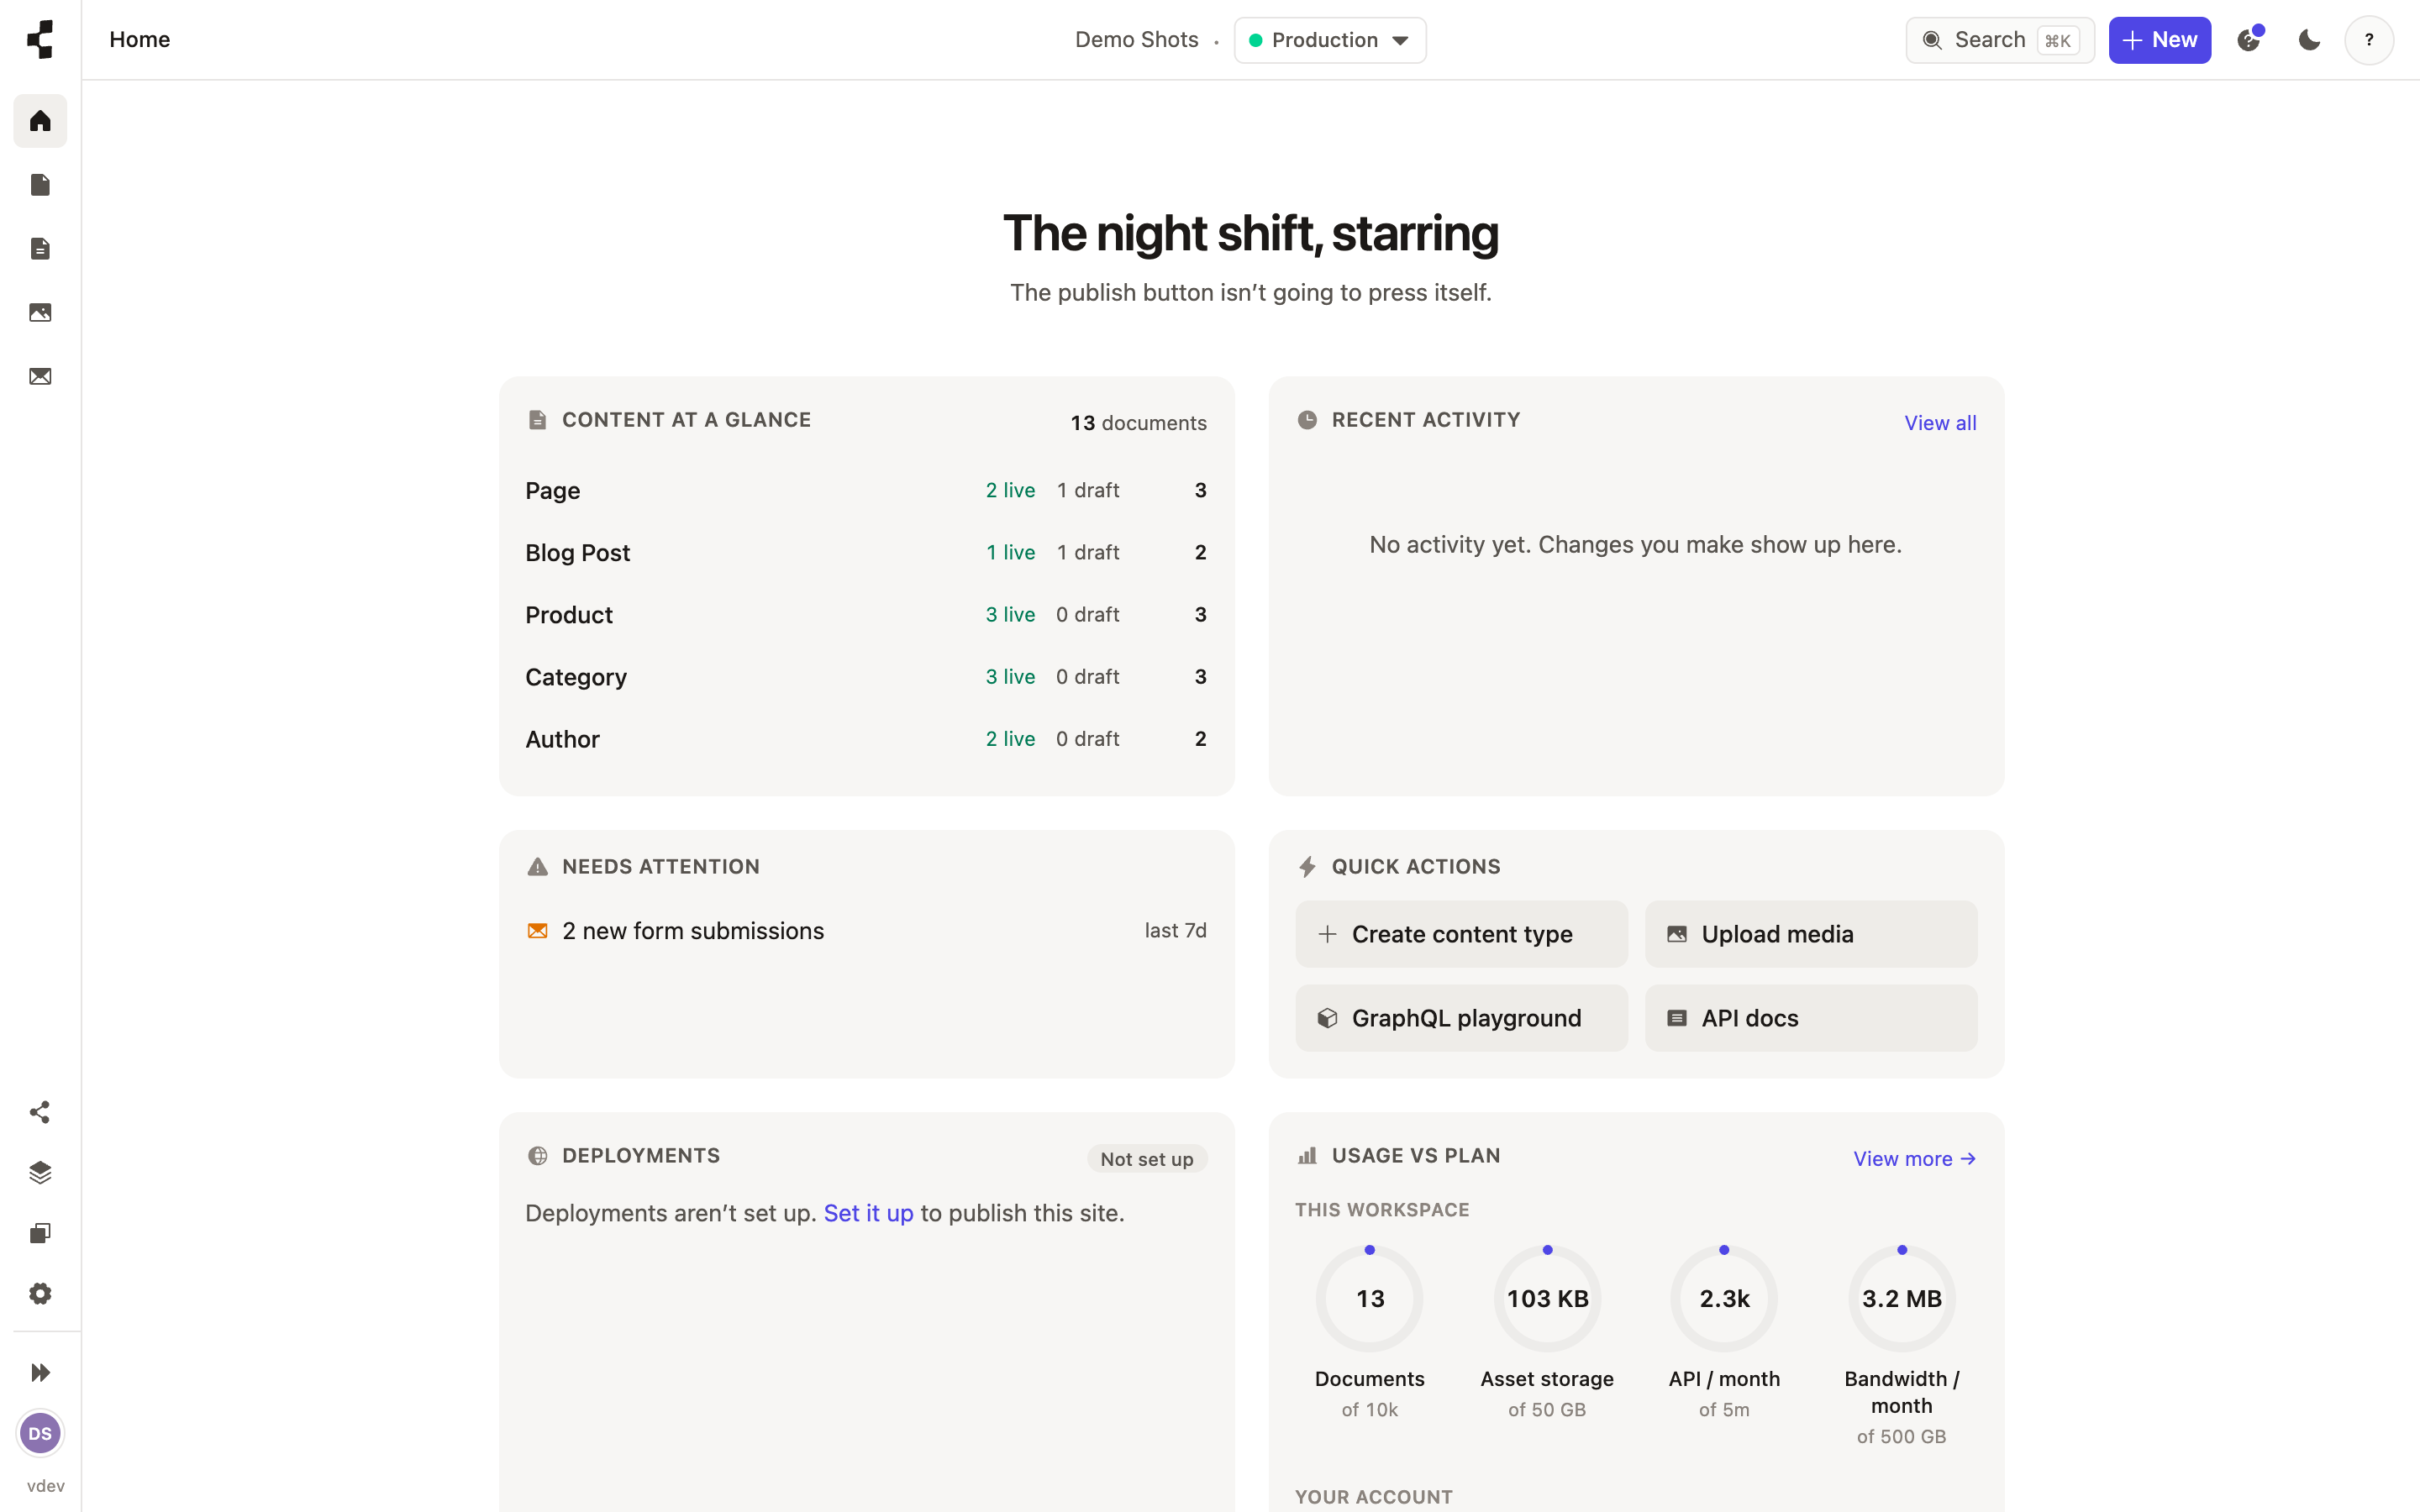
Switch between the workspaces you can see using the workspace name at the top of the sidebar. Inside a workspace there are two environments: Staging (where your work lands when you publish) and Production (the live site). See How do I put my site live?.
-
A tour of the Studio
A quick map of the sidebar so you always know where things live.
Everything in the Studio hangs off the sidebar on the left. From top to bottom you will find the areas you work in every day.
Content — your entries, grouped by content type.
Pages — the pages of the site, each built from blocks.
Media — every image and file you have uploaded.
Model — the structure: content types, fields and stacks (developer work).
Forms — contact and capture forms, and the responses they collect.
Settings — team, deployments, API tokens, apps and more.
The top bar carries universal search and a "New +" button for creating anything from anywhere. Not everyone sees every area — what you can open depends on your role. See Who is allowed to do what?.
-
How do I invite someone to a workspace?
Send an invitation from Settings and choose what the person is allowed to do.
Open Settings → Team, press Invite teammate, enter the person's email address and pick a role. They get an email with a link; accepting it adds them with exactly the role you chose.
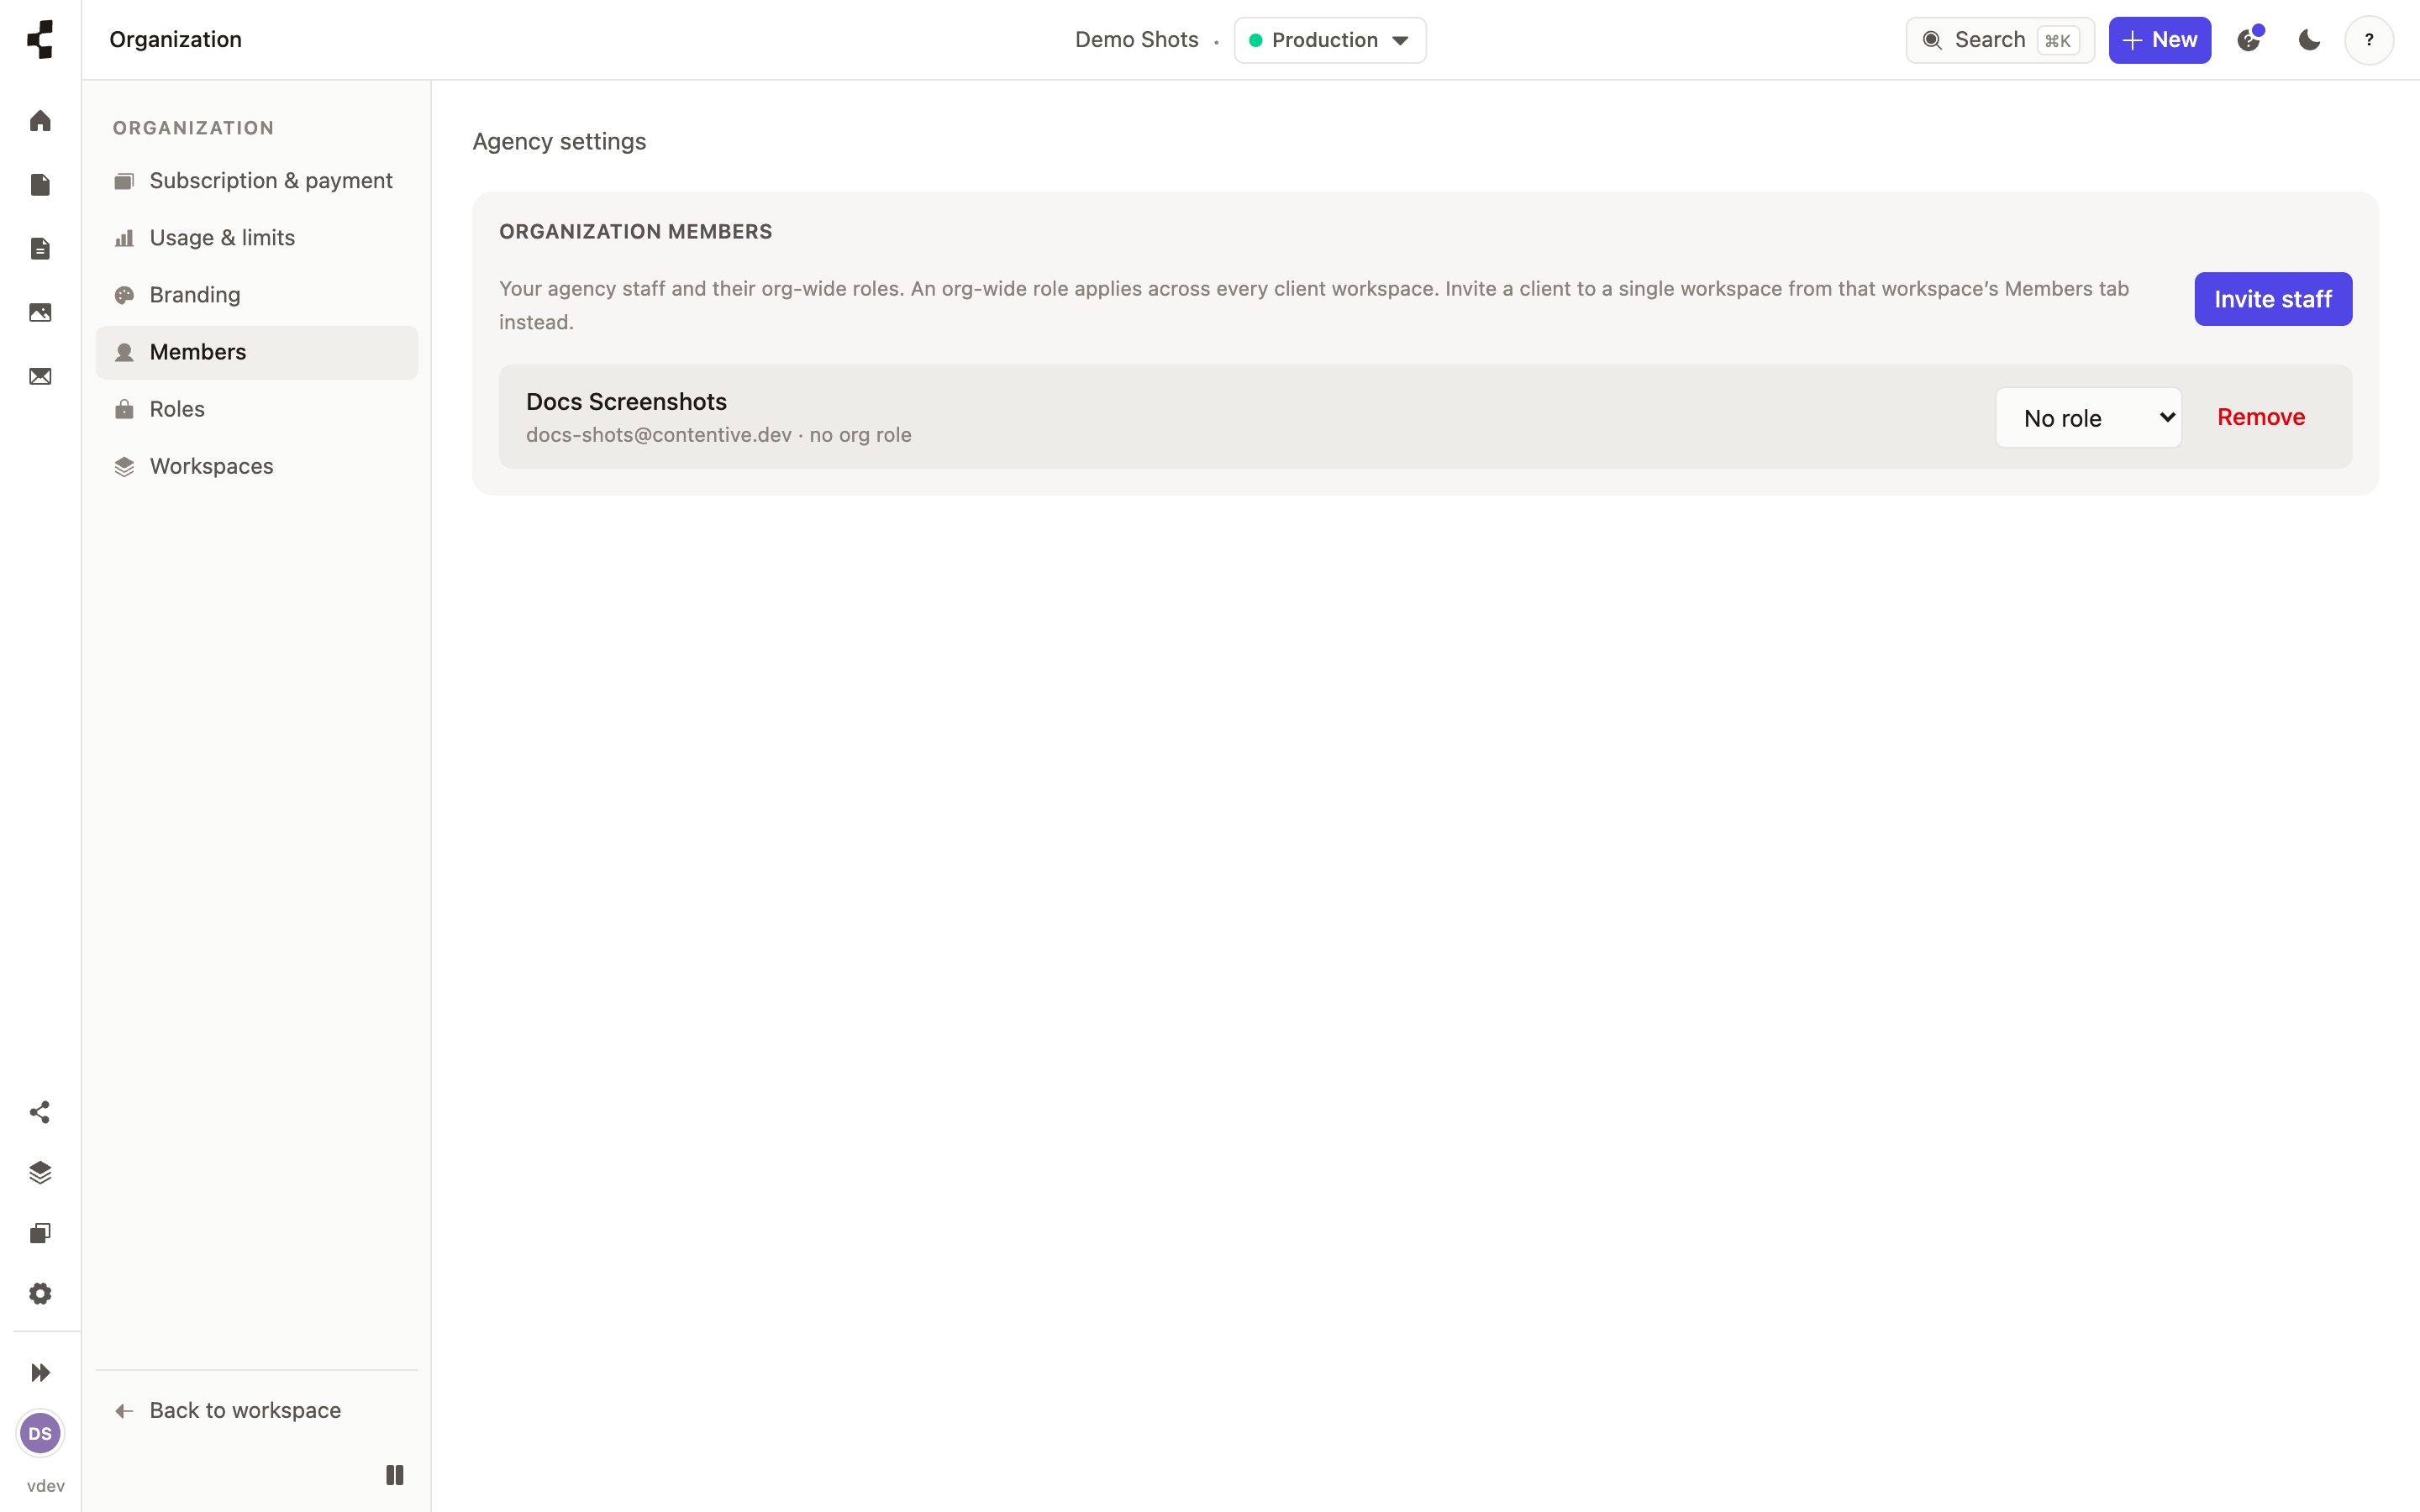
Invite a client to their own workspace, and your own staff at the organization level so they can reach every client workspace you own. Not sure which role to pick? See Who is allowed to do what?.
Content types & schema
-
How do I create a content type?
Define the shape of a kind of content — a Post, a Recipe, a Team member.
A content type is the shape of one kind of content: what a Blog post is, what a Team member is. Open Model, press New content type, give it a name, then add fields — a single line of text, a longer rich-text body, a date, an image, a link to another entry.
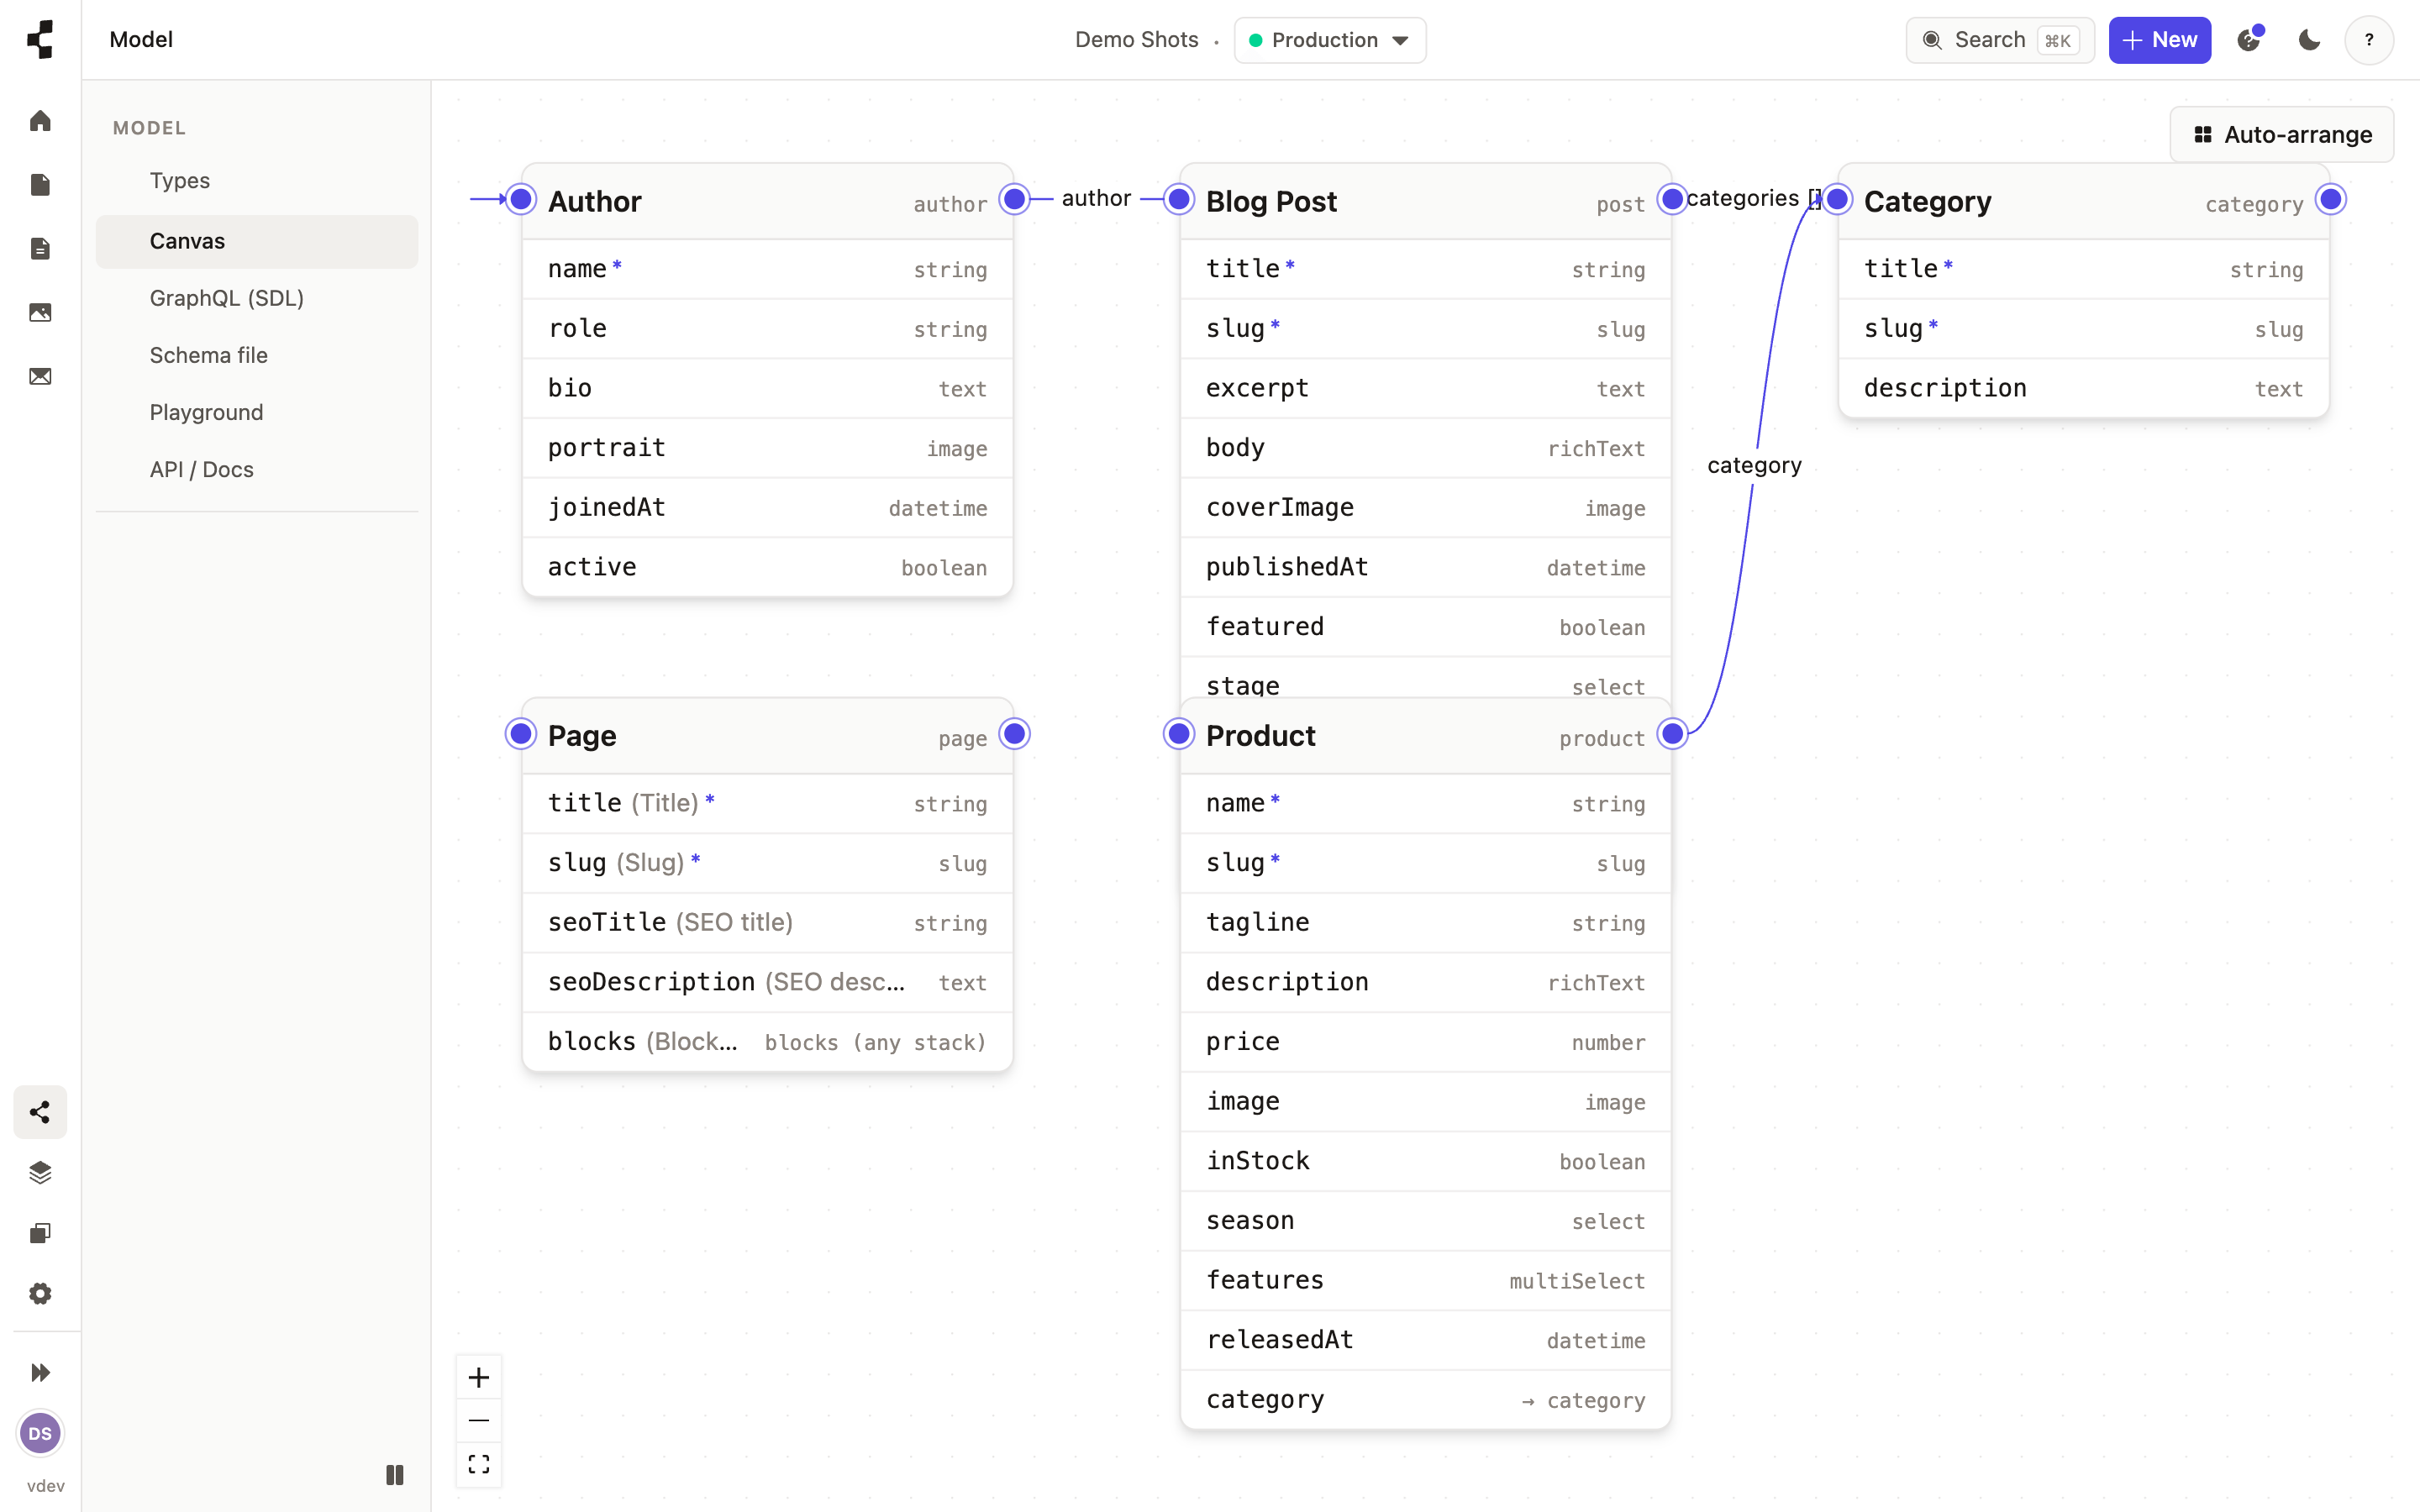
The moment you save, everything else follows automatically: the editing form your client uses, and the API your front end reads. There is no rebuild and no deploy step.
Adding a field is always safe. Renaming or removing one affects entries that already use it, so the Studio warns you first. Next: How do I add my first entry?.
-
Field types reference
A plain-language guide to every kind of field you can add to a content type.
When you build a content type you choose a type for each field. The type decides the editing control your client sees and how the field behaves. Here is the full set.
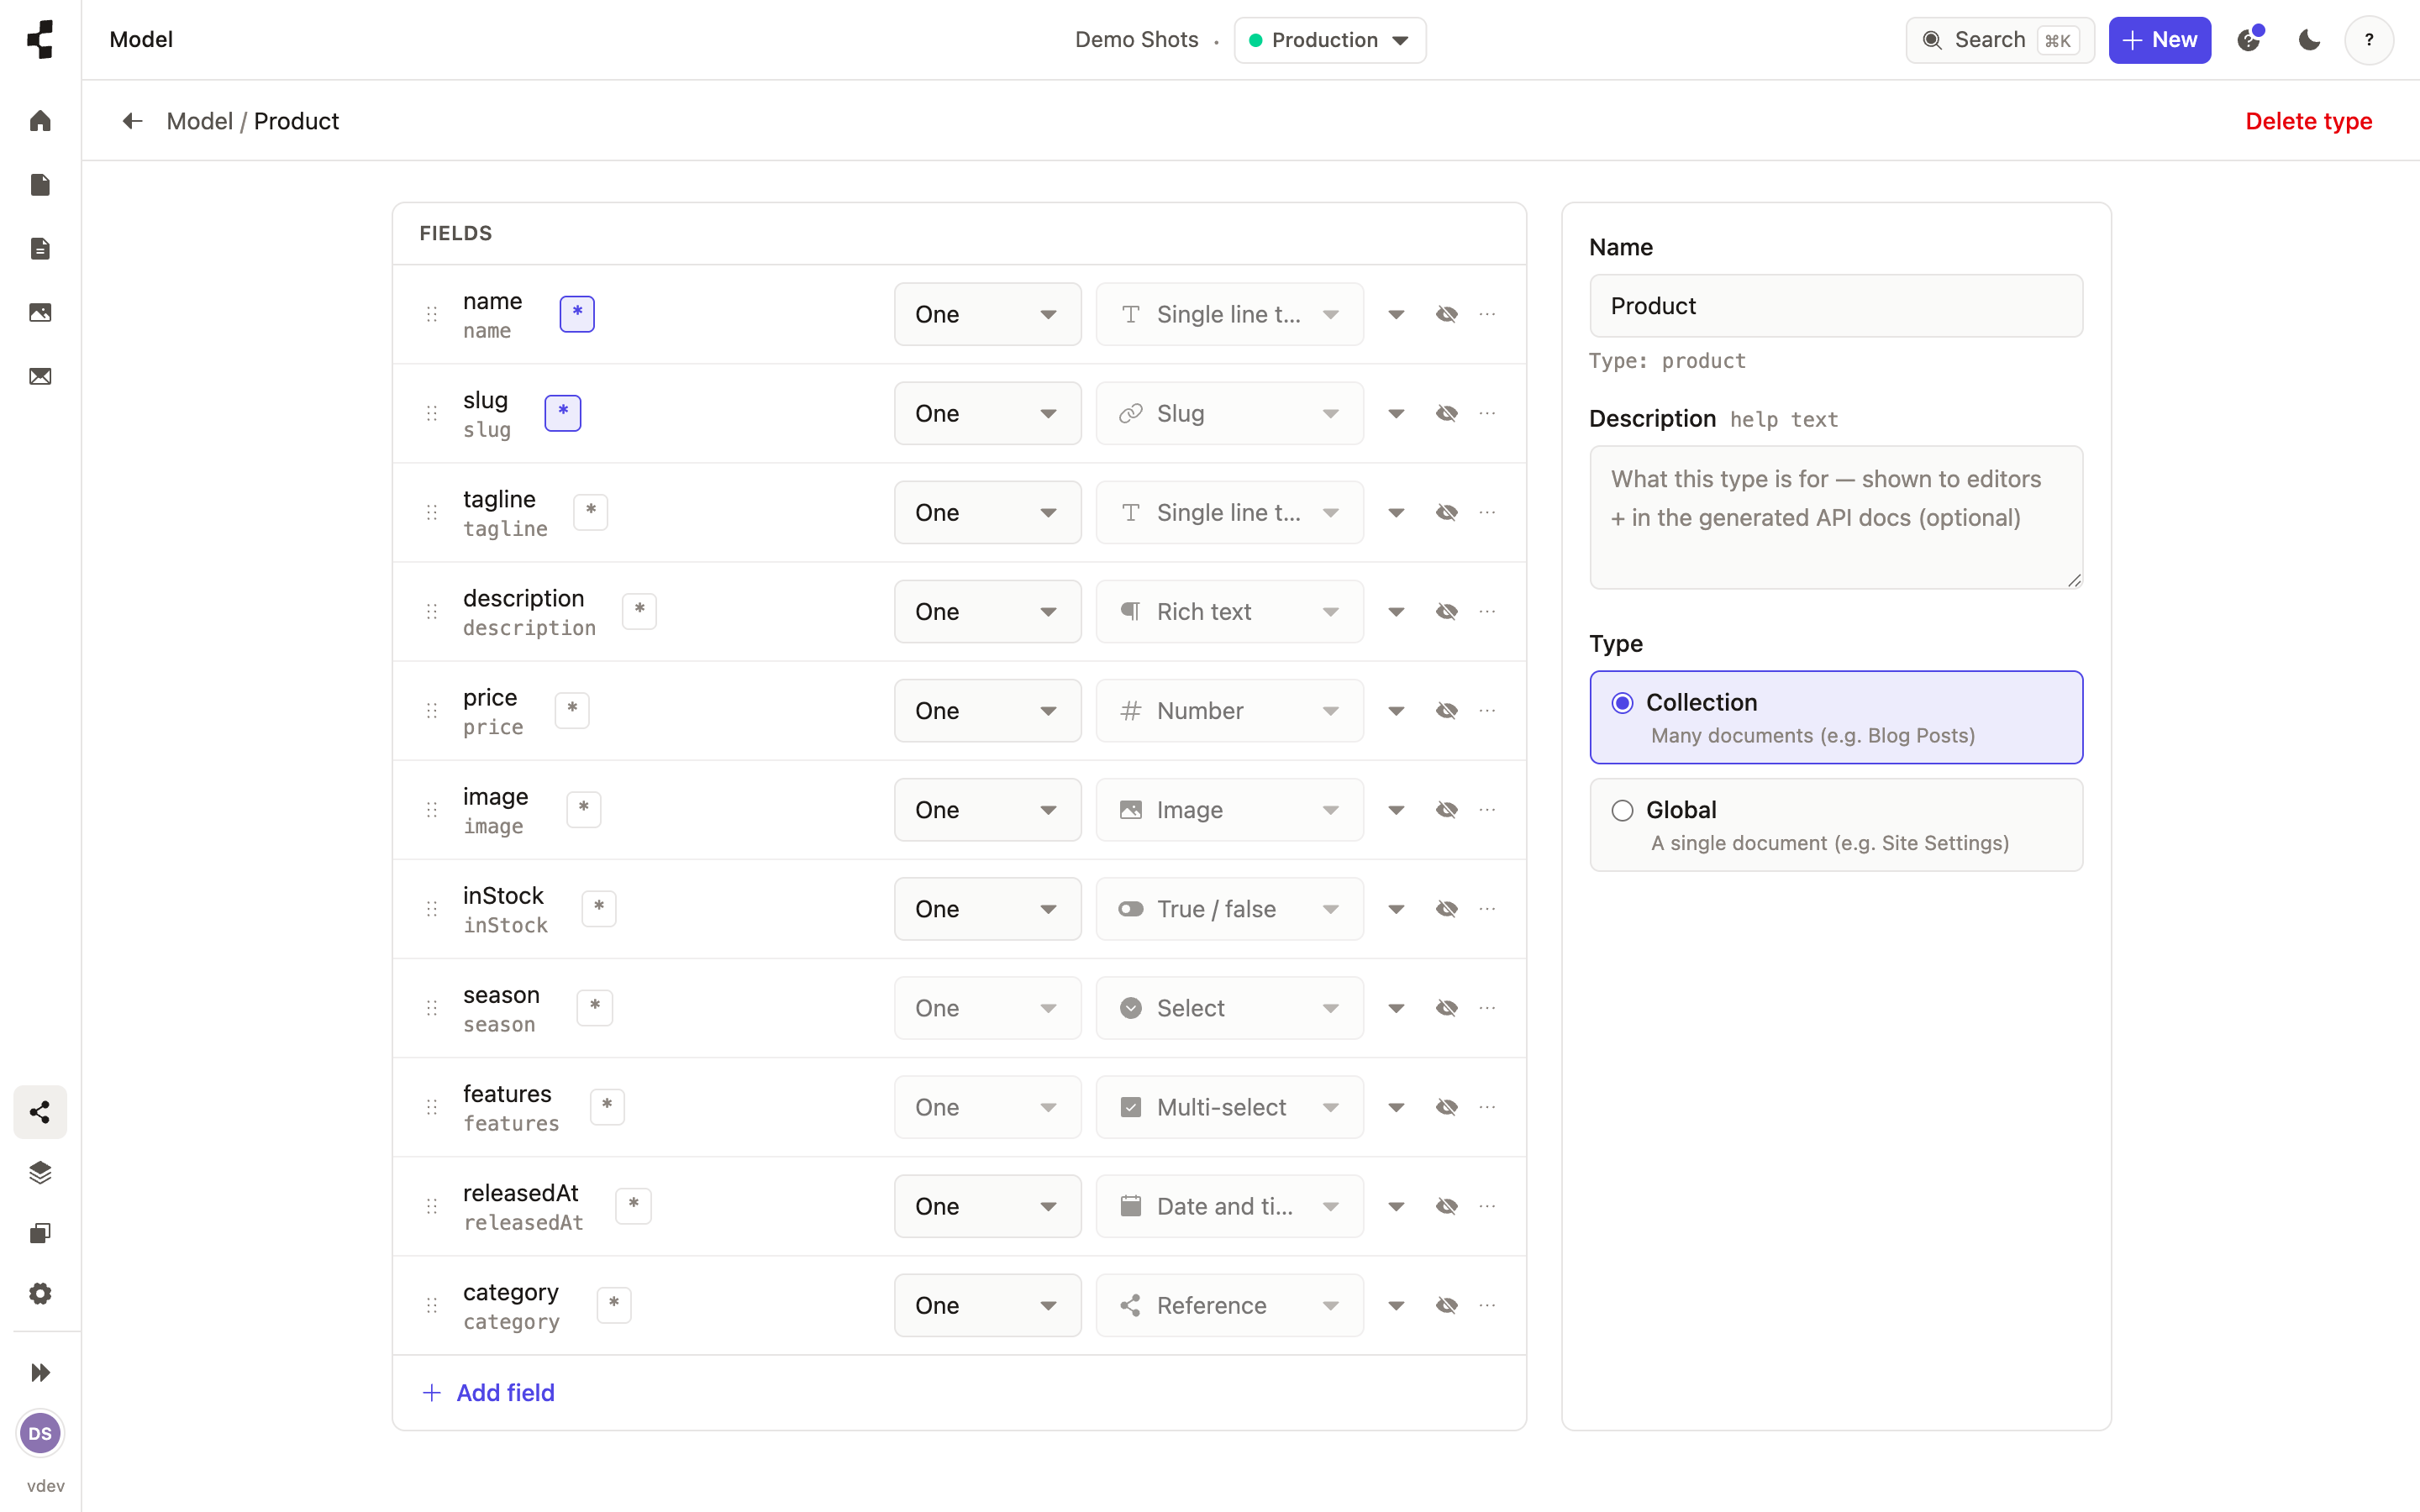
Text — a single line, for a title or a name.
Rich text — a full editor with headings, lists, links and images, for a body.
Number — a whole or decimal number, for a price or a count.
Yes / no — a simple on-off toggle.
Date & time — a date picker, for a publish date or an event.
Slug — the url-safe part of a web address, usually built from the title.
Image — pick or upload a picture from your media library.
Reference — a link to another entry, like a post to its author.
List — several values of the same kind, such as a set of tags.
Group — a small set of related fields kept together, like an address.
Location — a map point, for a place or an address.
Two of these deserve their own page: Linking content with references and What is a stack? (for reusable groups you drop onto pages).
-
Linking content with references
Connect entries to each other — a post to its author, a product to its category.
A reference field links one entry to another, so your content becomes a connected web rather than a pile of separate pages. A blog post points at its author; a product points at its category.
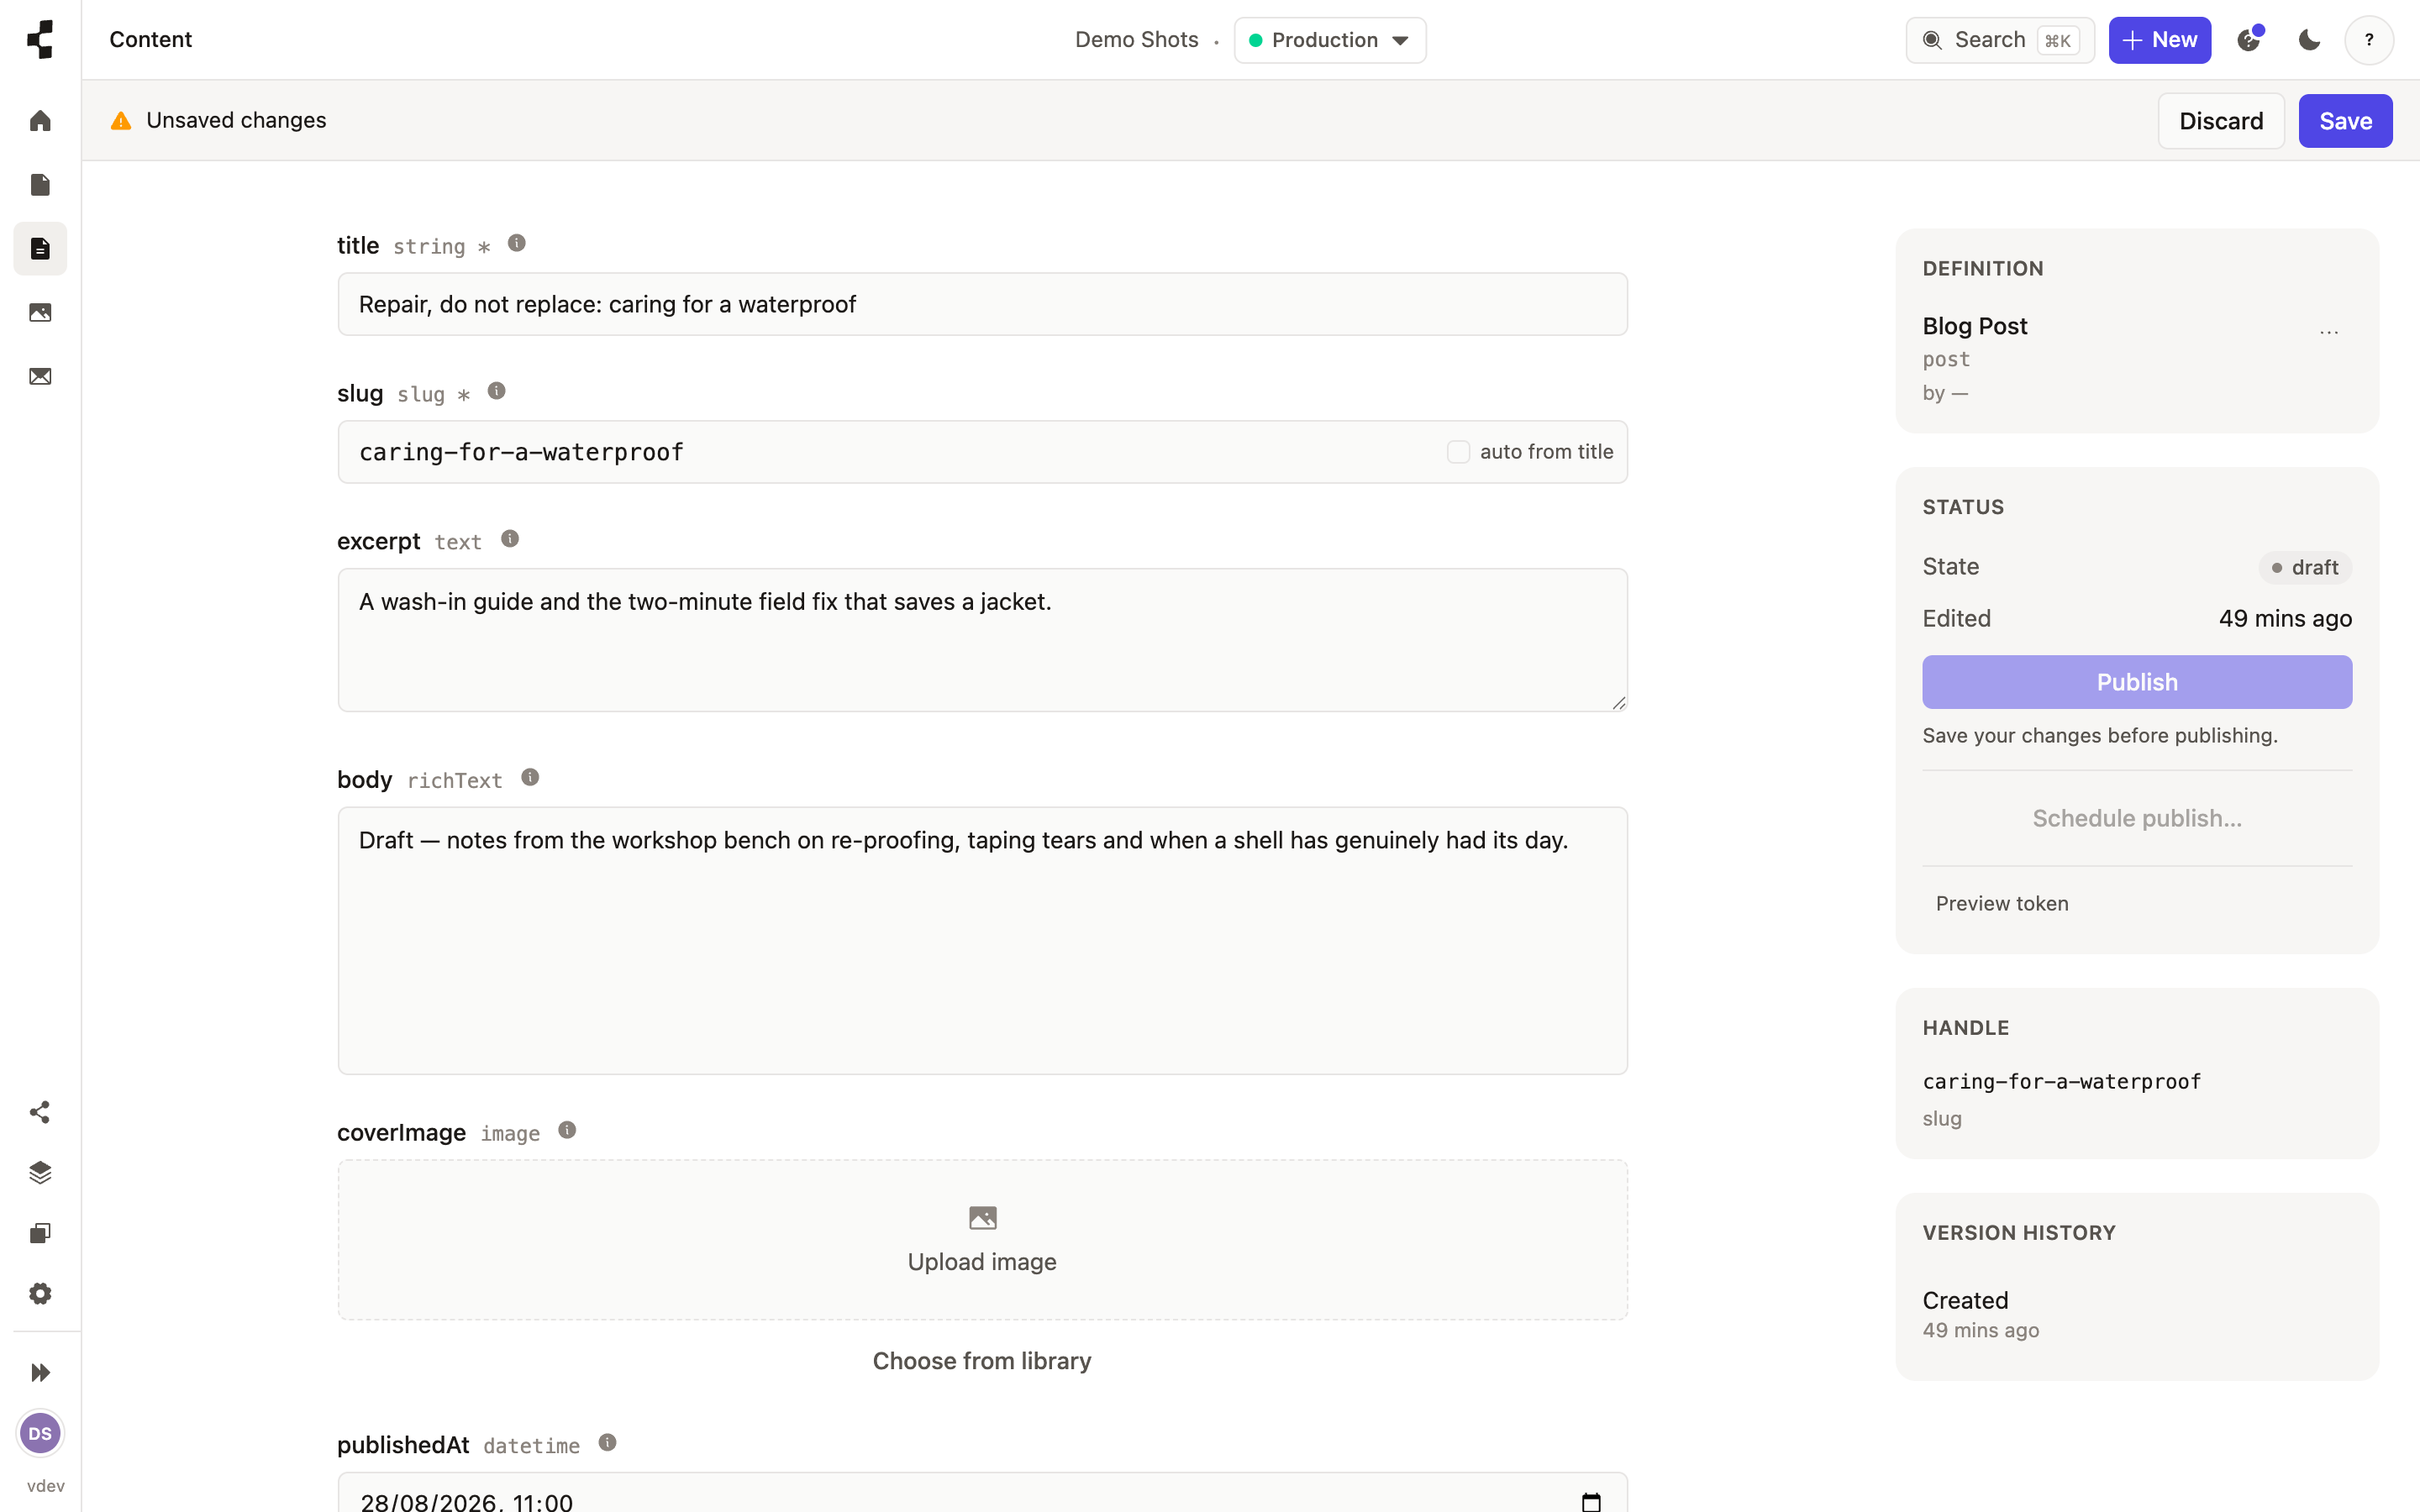
A reference can hold a single link (one author per post) or many (several tags on a post, shown as chips you add and reorder). The link works both ways: from an author you can find all their posts, and from a post you can find its author.
Pick the entry you want from the picker; create the target entry first if it does not exist yet. To reuse a whole group of fields across pages instead of linking to a separate entry, use a stack: What is a stack?.
-
What is a stack?
A reusable block — a Hero, a Feature grid, a Call to action — you drop onto pages.
A stack is a named group of content you define once and reuse: a Hero (heading, image, button), a Feature grid, a Call to action, a Gallery. Pages are built by stacking these blocks in whatever order each page needs.
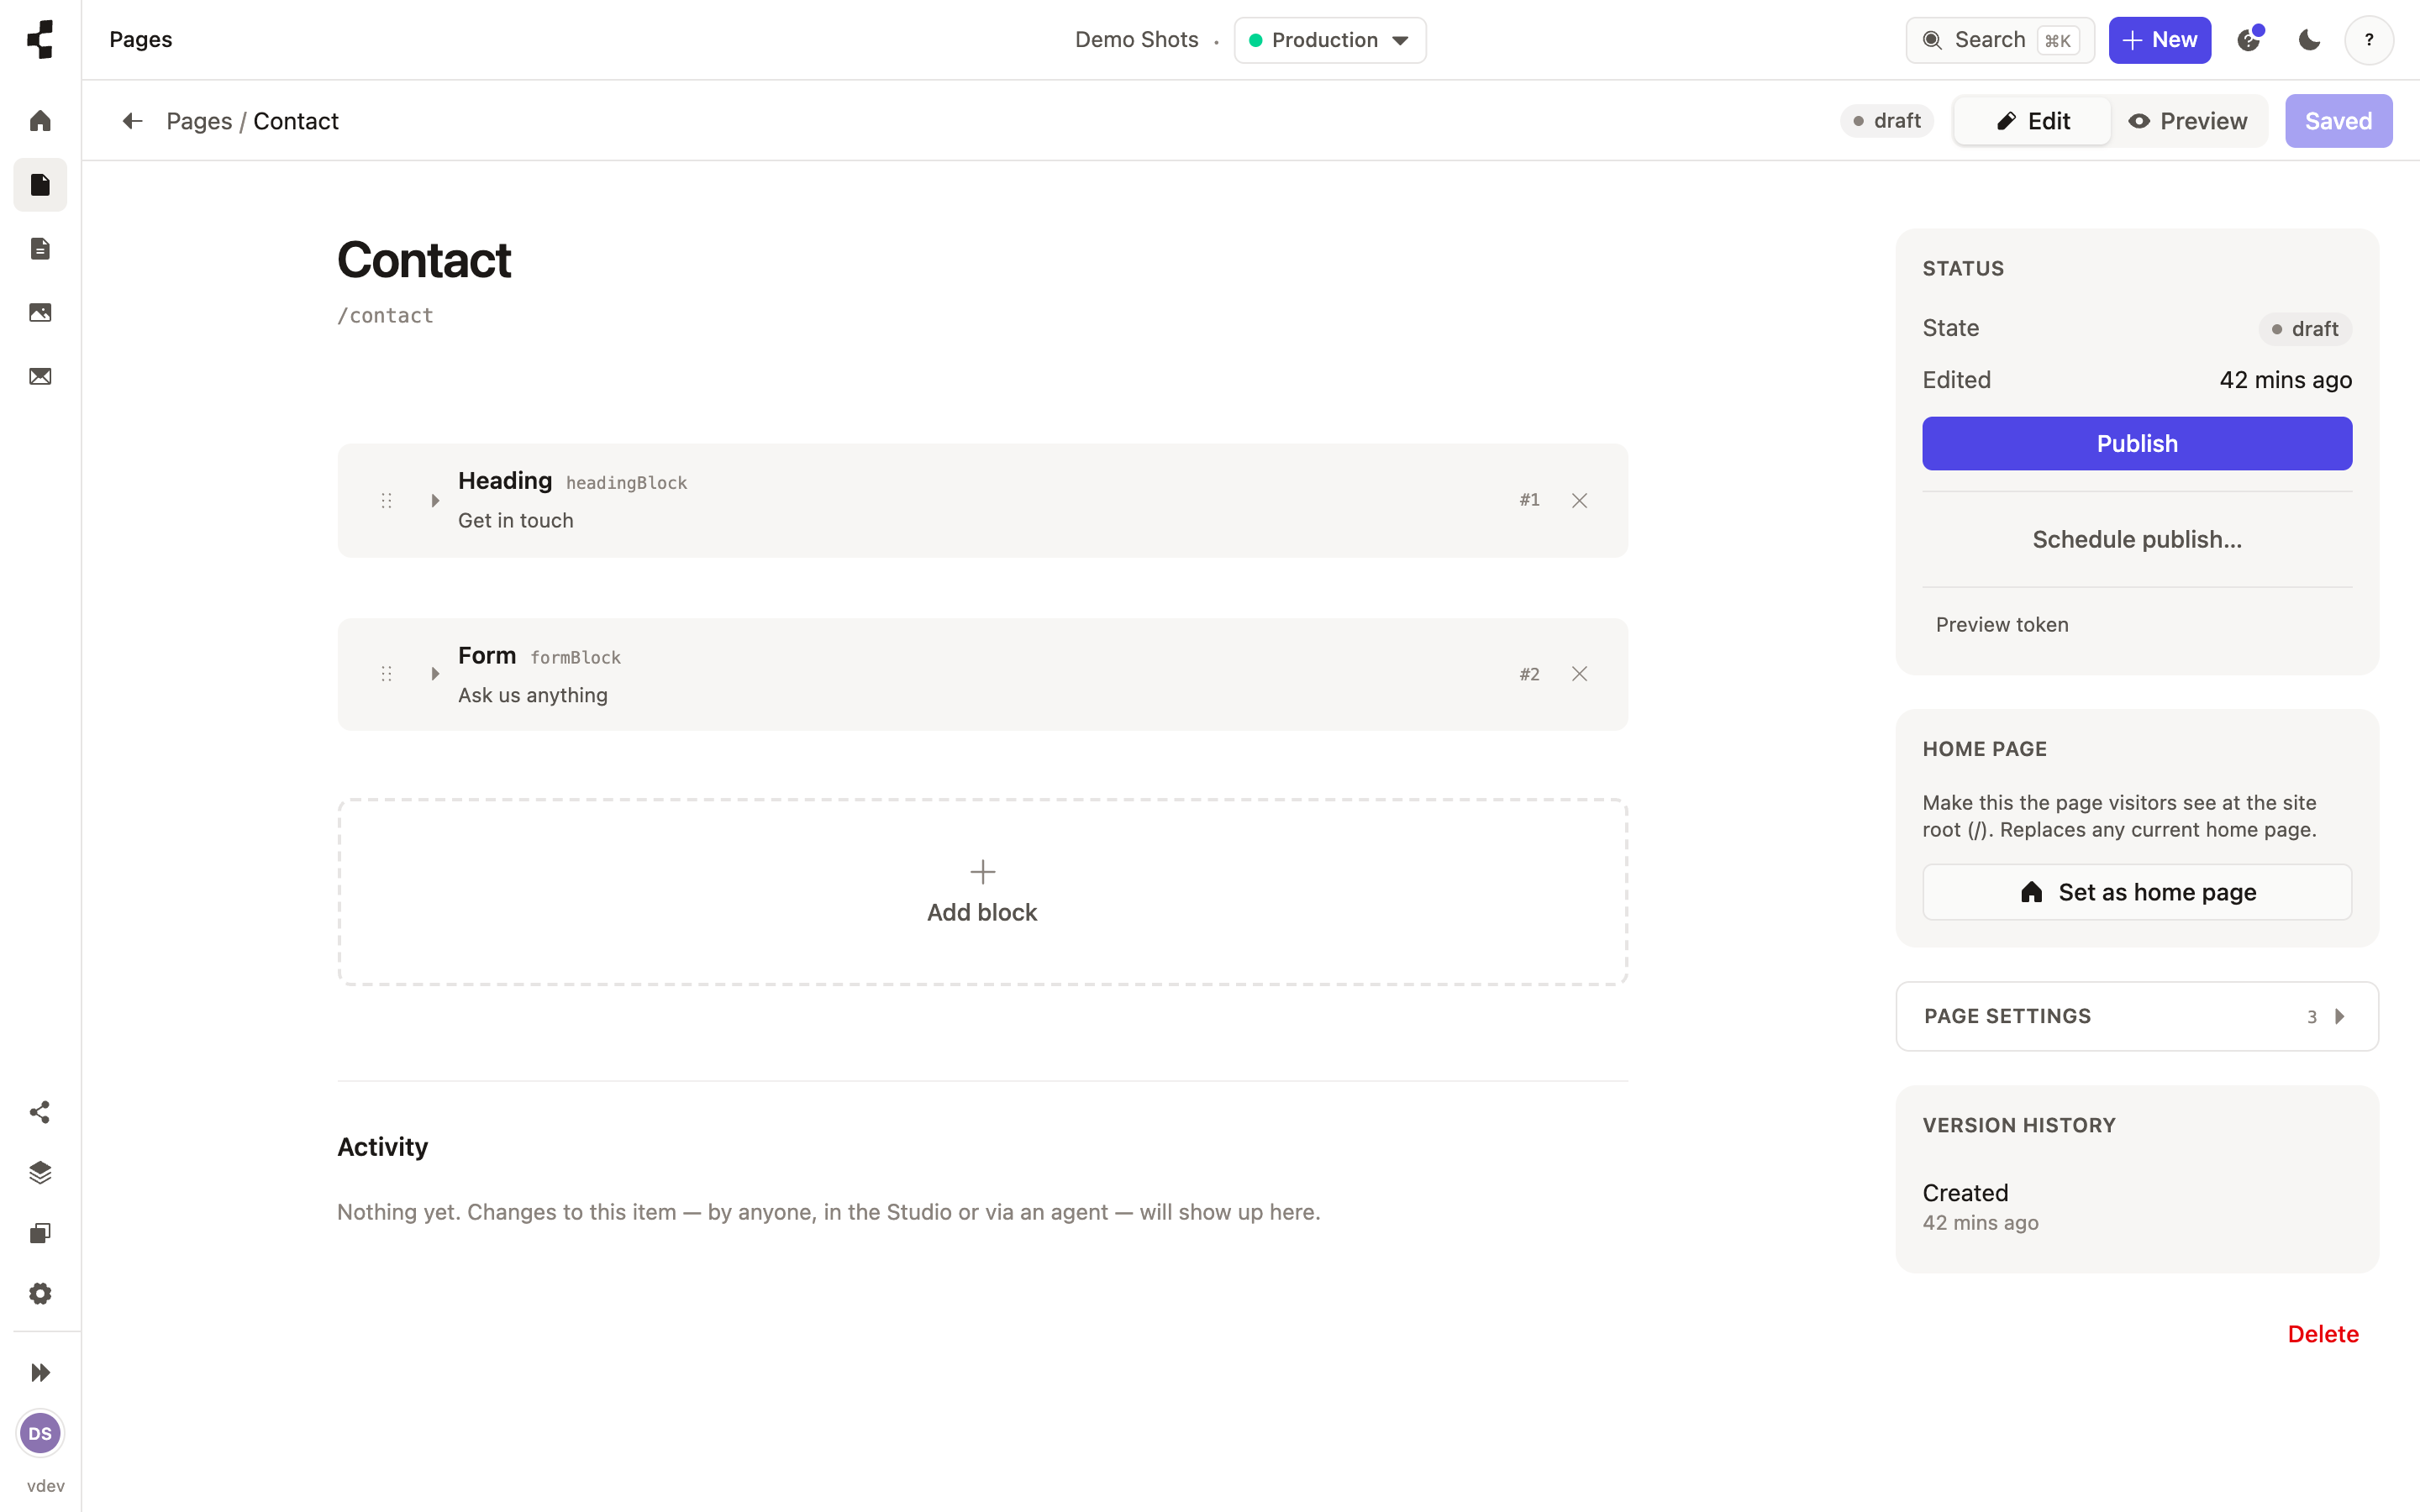
Defining a new kind of block is developer work, because someone has to design how it looks on the site. Arranging existing blocks on a page needs no code at all — see How do I build a page out of blocks?.
-
Starting from a blueprint or template
Begin a site from a ready-made model instead of a blank canvas.
Rather than building every content type by hand, you can start from a template — a ready-made model for a common kind of site: a brochure site, a blog, a portfolio, a restaurant. Applying one creates the content types, stacks and starter pages in one step.
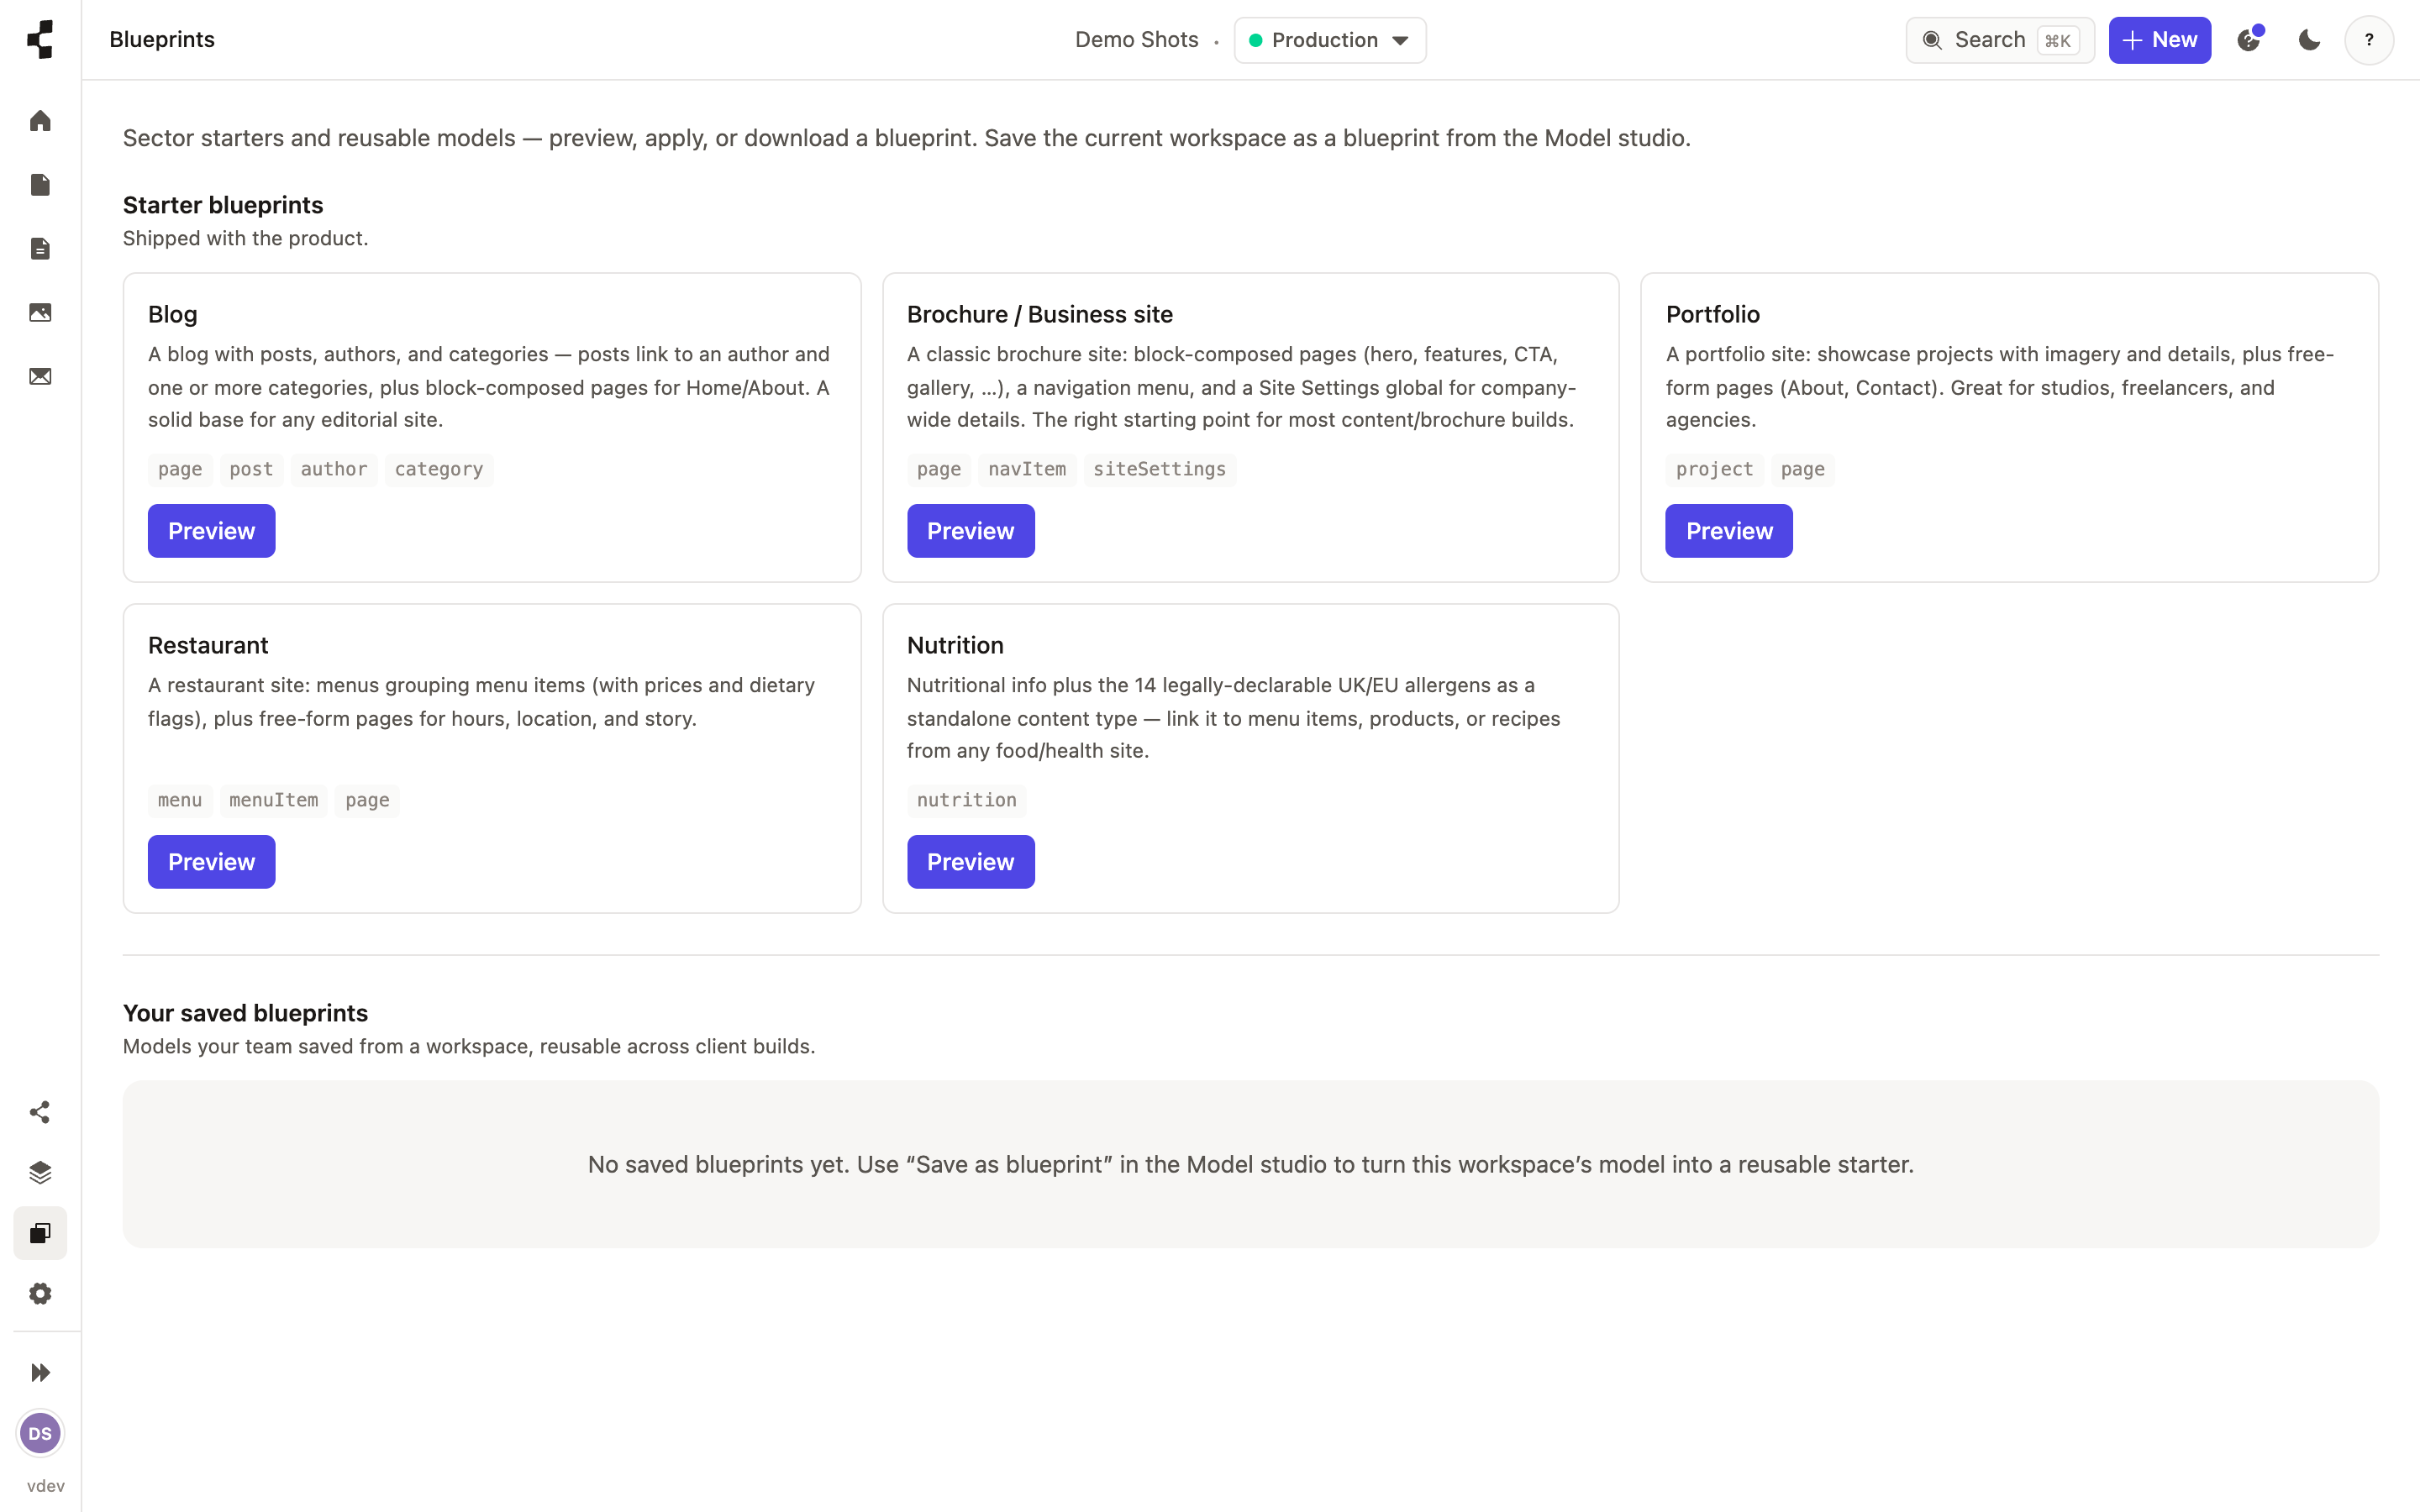
You can also save your own workspace as a template and reuse it for every future client — a big time-saver once you settle on a way of building. From there you customise freely: everything a template creates is ordinary content and structure you can change.
-
Build your site as a theme
Write the whole front end as Liquid templates, edited on your machine — no build, no hosting to manage.
A theme is a small set of Liquid templates — a layout, one template per block type, and per-page templates for things like a case study or a location — that the platform renders on the fly from your live content. There is nothing to build or deploy separately: edit a template and the whole site updates.
Themes are written on your own machine with the command-line tool, in whatever editor you already use. Three commands get you going: "npx @contentive/cli link" to connect your workspace, "npx @contentive/cli theme pull" to bring the theme onto disk, and "npx @contentive/cli theme dev" for a local preview of the real site that reloads every time you save. When it looks right, "theme push" sends it to Staging.
A theme can list your content directly — "every case study", "every FAQ entry" — and paginate a long list automatically. Templates also get their own small stylesheet when one page needs a different look, and a theme.js file for things like reveal-on-scroll. If a template has a mistake, the page never goes blank: it falls back to a plain rendering, and the theme card under Settings → Deployments names the file and the problem.
That card is also where you see where the theme stands — which version is on Staging and which is live, when each was deployed, and the commands to copy. A workspace with no theme yet can deploy the starter theme from there in one click and pull it down to change.
Starting from scratch? Ask your connected AI agent to build one — see How do I connect Claude to my workspace? — then pull it down and make it yours.
Creating & editing content
-
How do I add my first entry?
Pick a content type, fill in the form, save as a draft.
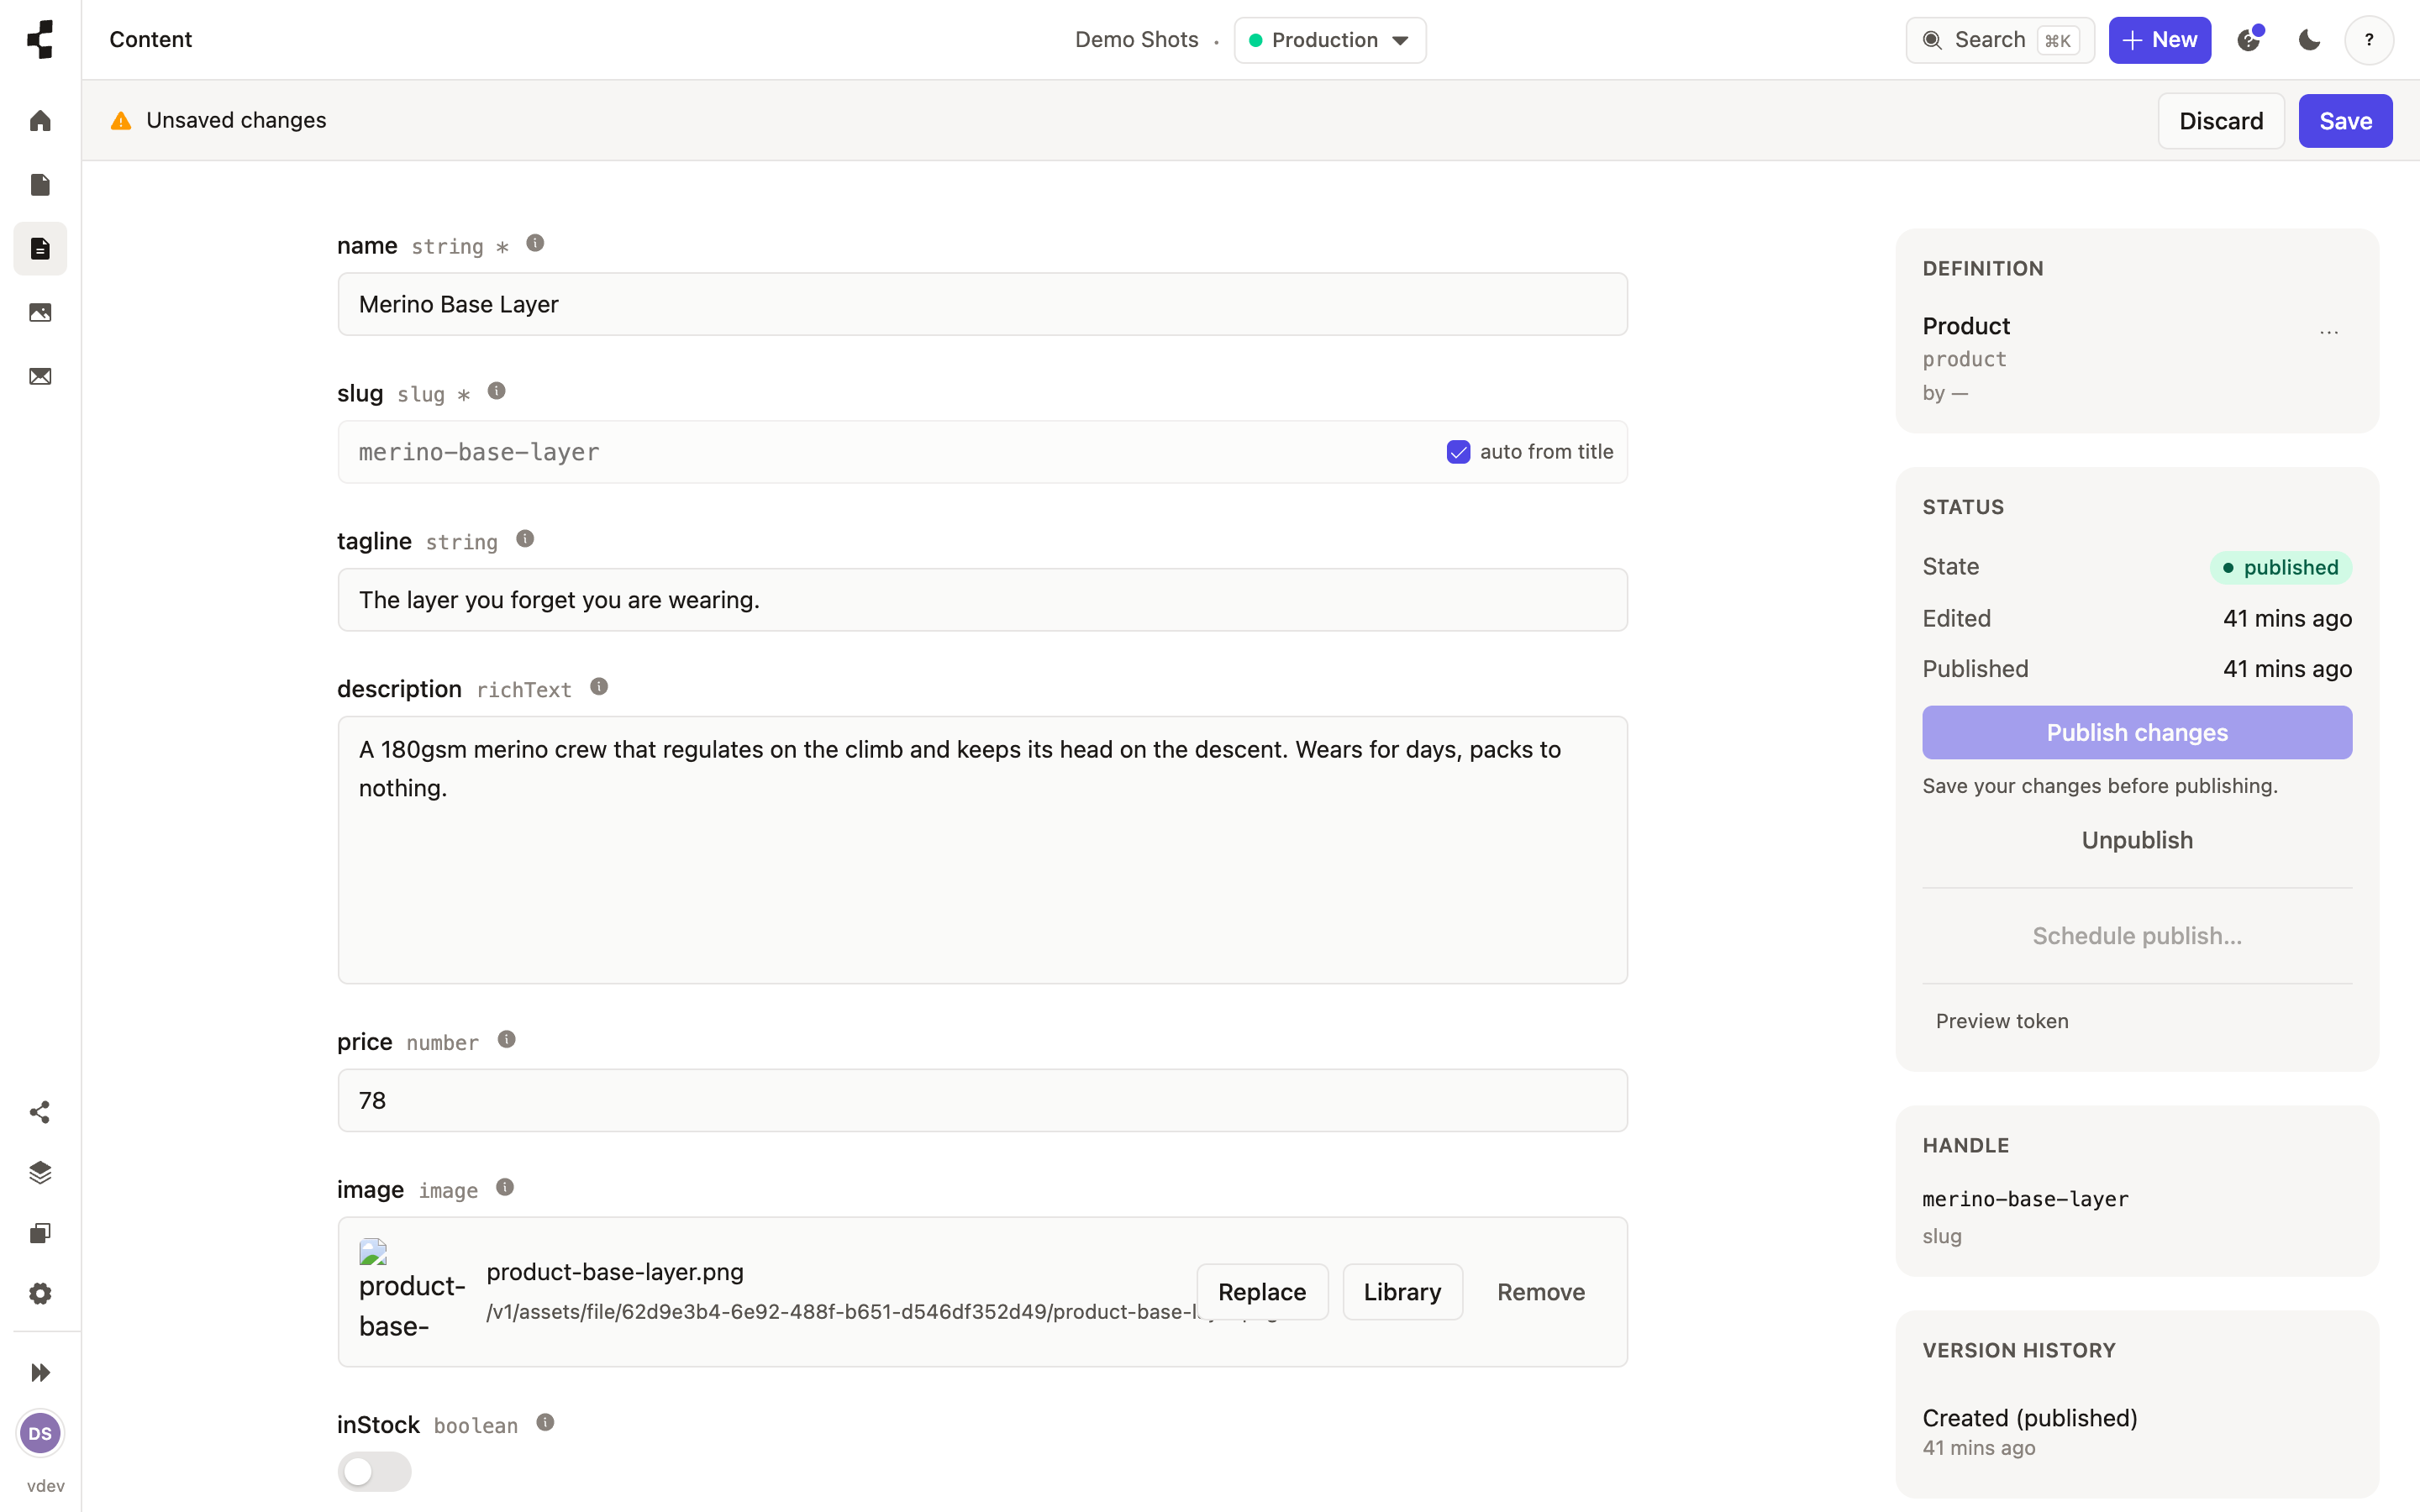
Open Content, choose the type you want to add to, and press New. The form you see is generated from that type's fields, so it always matches your model.
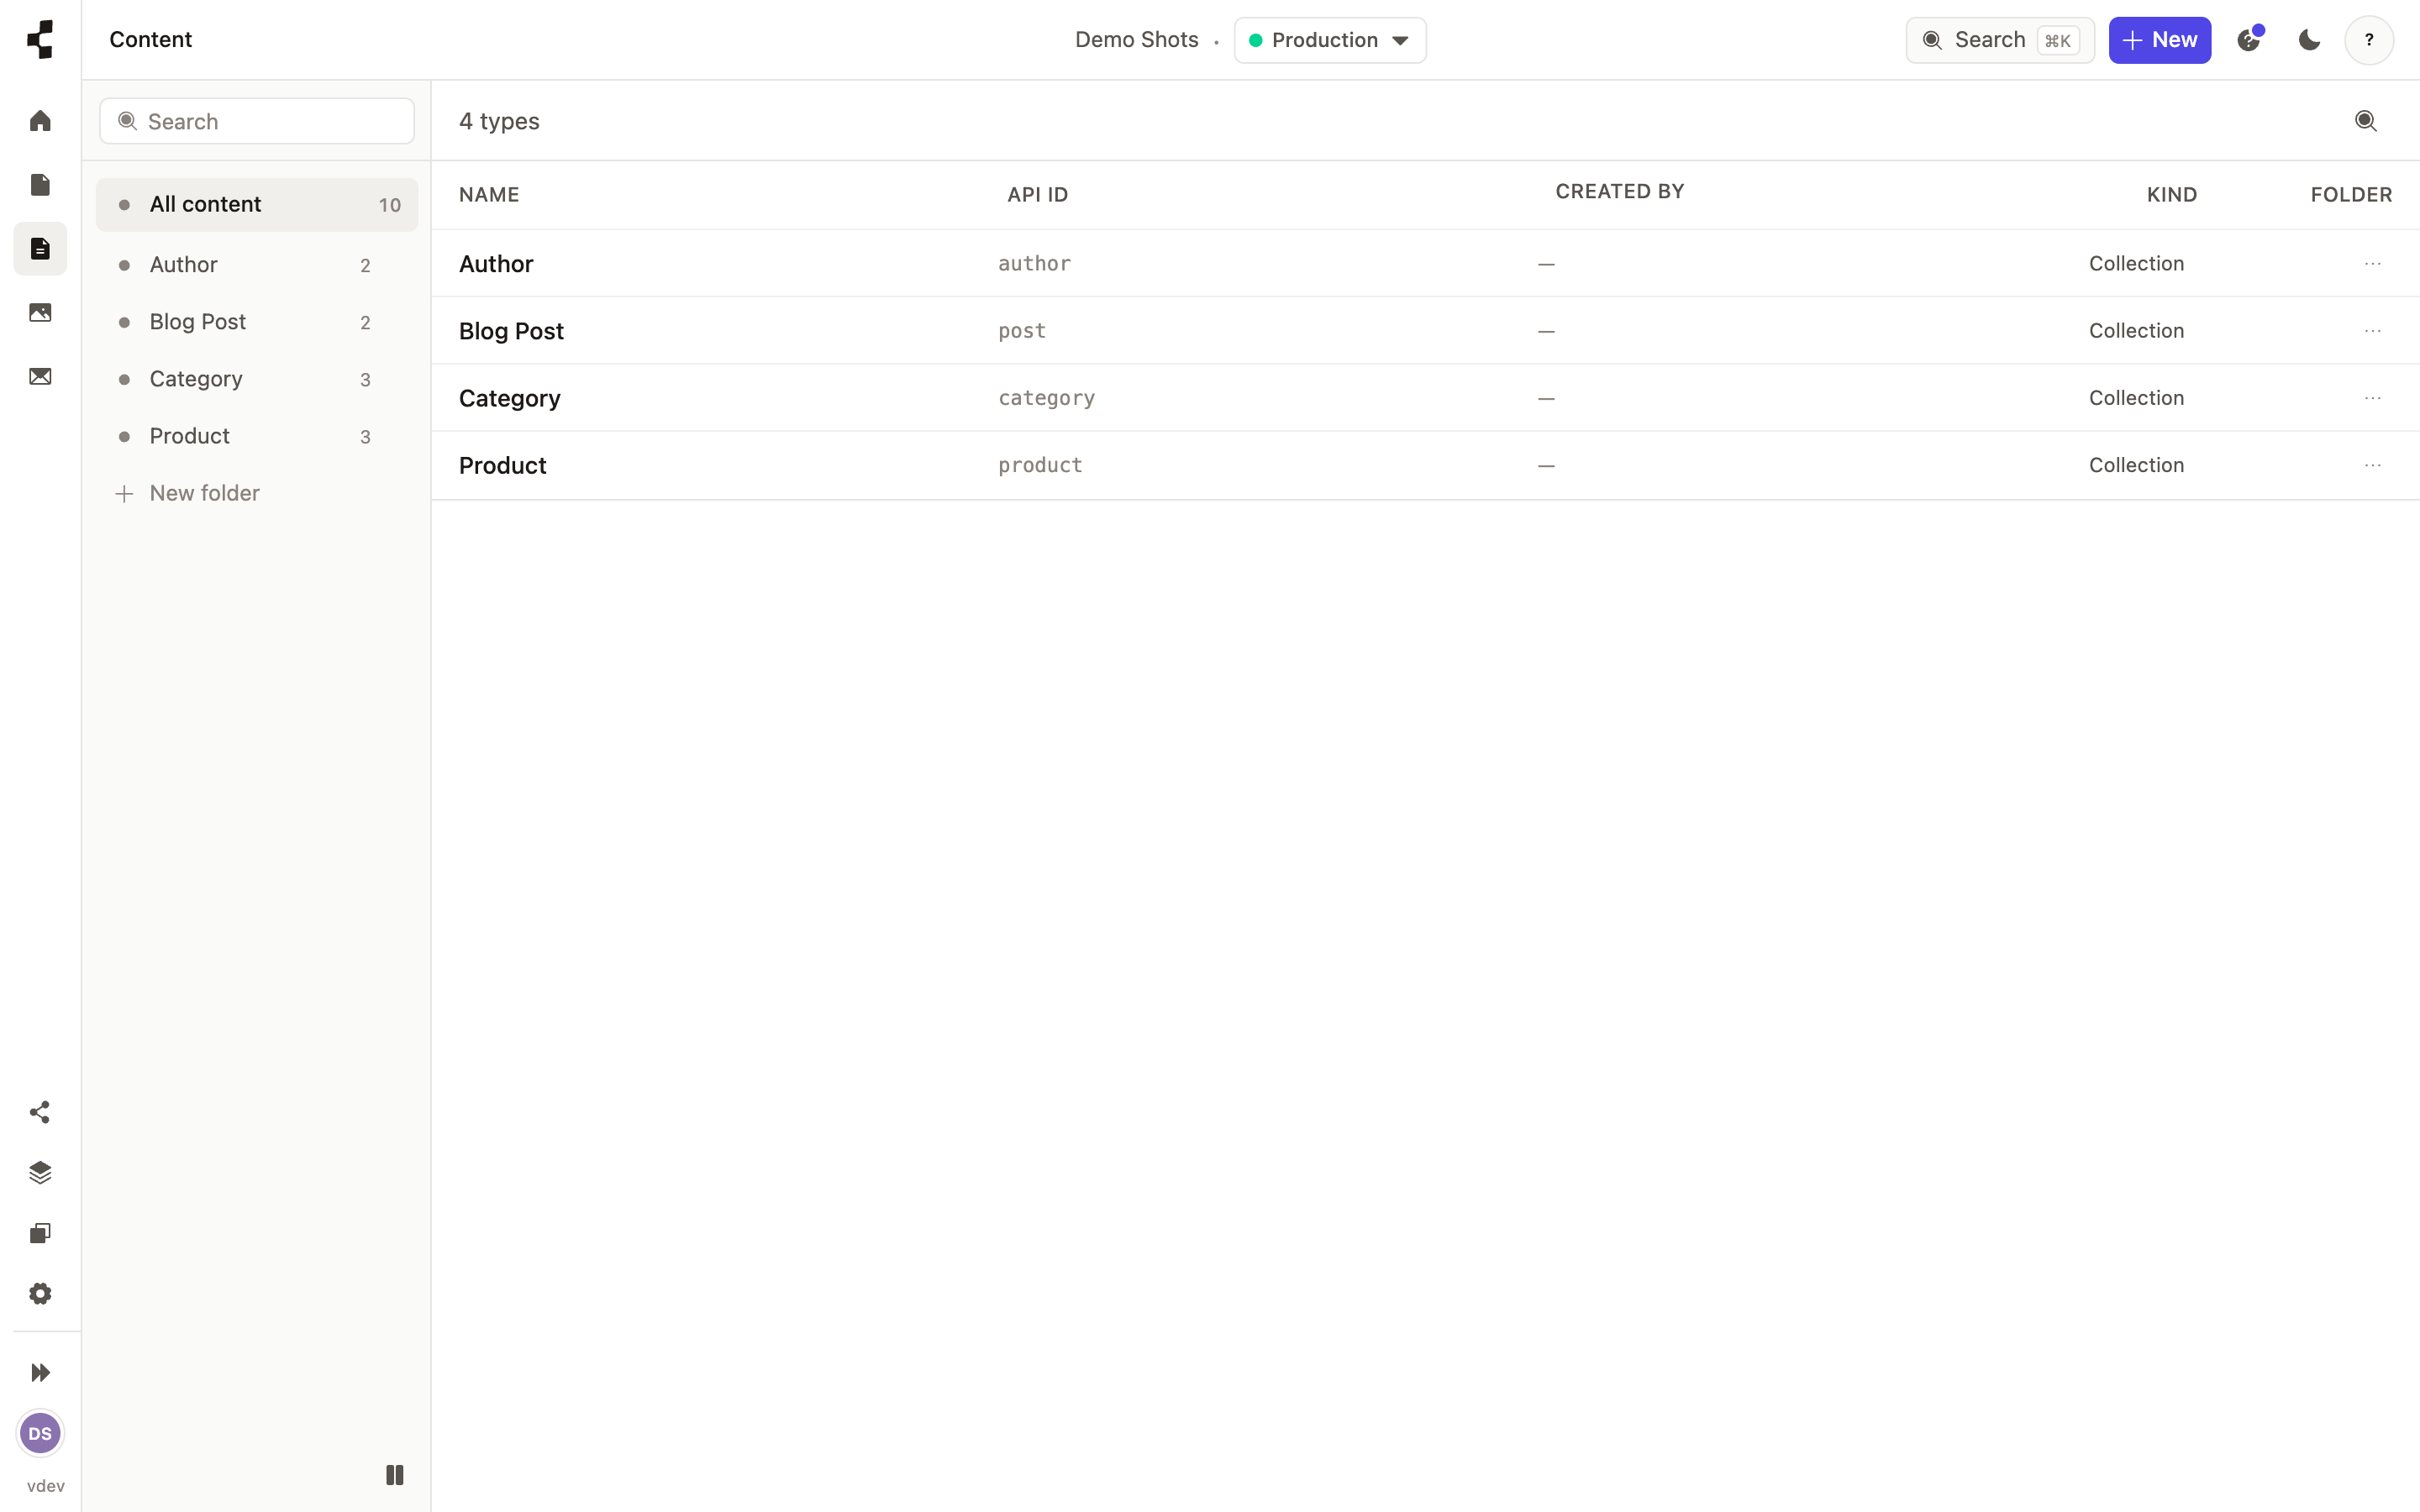
Everything starts as a draft — only you and your team can see it. Save as often as you like; if you try to leave with unsaved changes the Studio asks first. When it is ready, publish it: How do I publish a page?.
-
Writing with the rich-text editor
Headings, lists, links, images and live values — all from one editor.
Any rich-text field is a full, block-based editor — a bit like Notion. Just start typing for a paragraph, or press "/" to open a menu of blocks: headings, bullet and numbered lists, quotes, images, dividers and more.
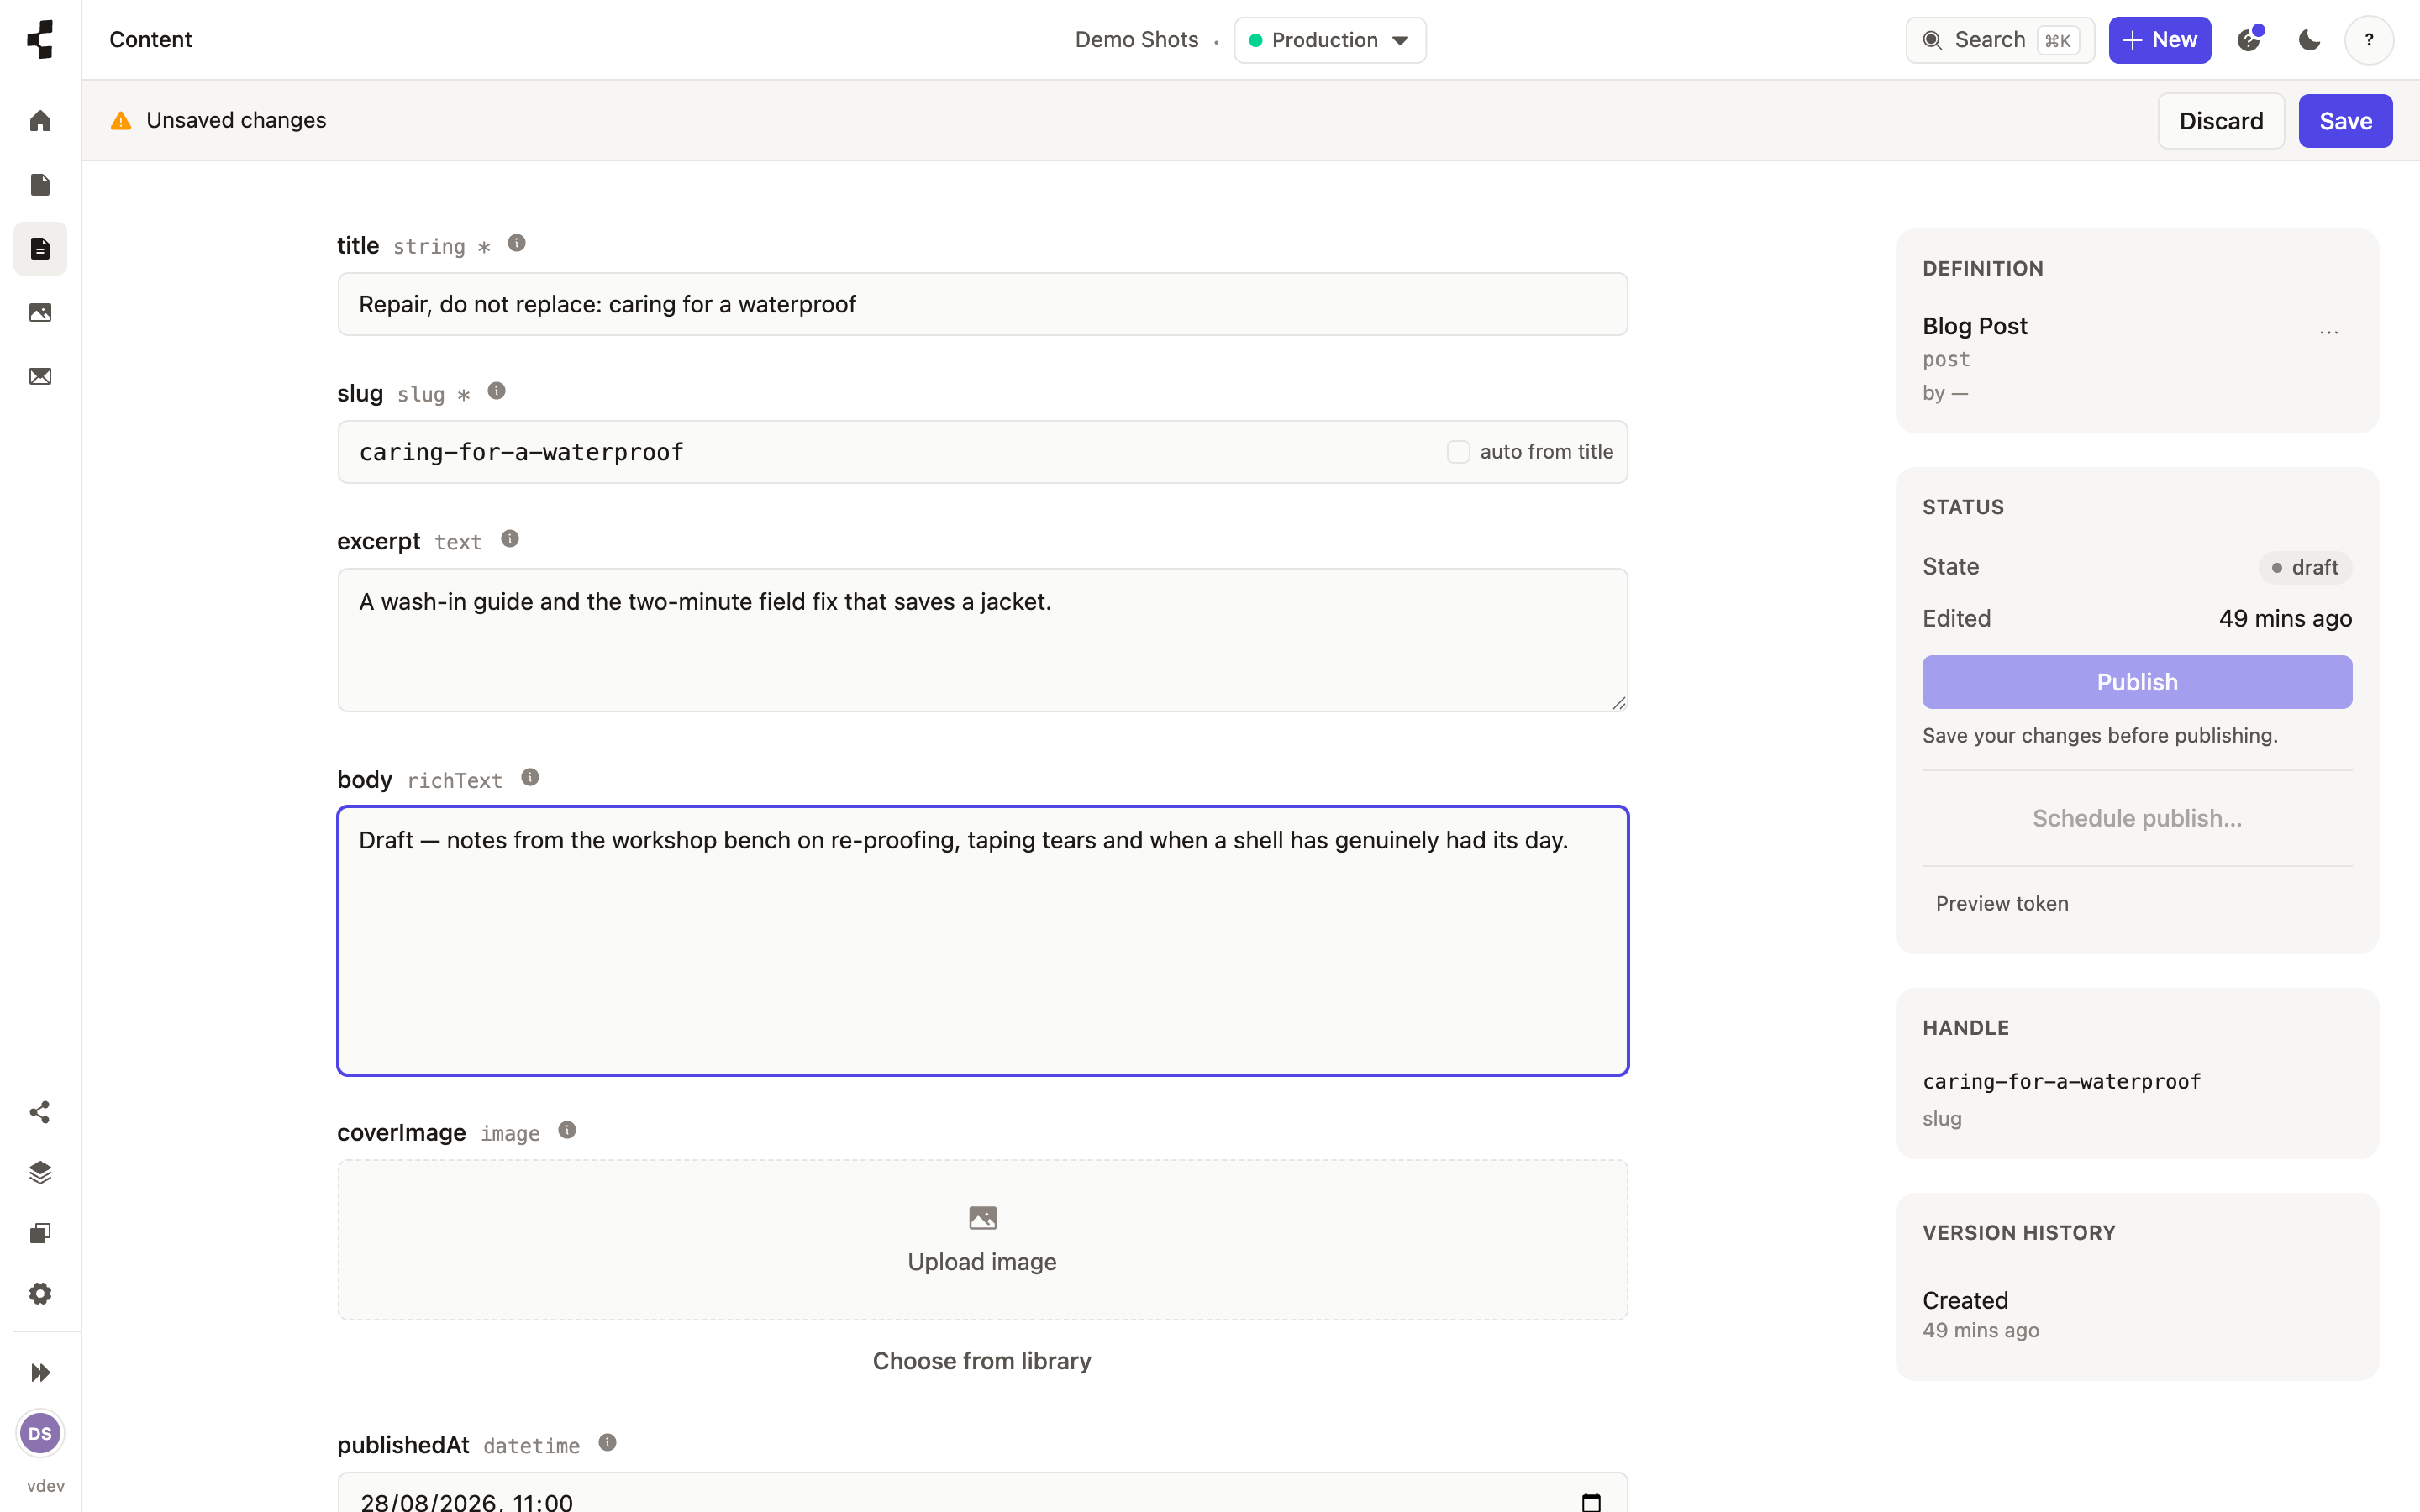
Select some text to get a small toolbar for bold, italic and links.
Drag the handle beside a block to reorder it.
Insert an image inline, or embed a reference to another entry.
Drop in a token — a live value like a phone number pulled from your site settings — so changing it in one place updates it everywhere.
Everything is saved as structured content, not raw HTML, so your front end can display it however it likes. When it is ready, publish it.
-
How do I build a page out of blocks?
Add, reorder and remove blocks on a page — no code, no redeploy.
Open a page and you will see its blocks listed in the order they appear on the site. Press Add block to insert one, drag the handle to reorder, and use the block's menu to remove it. Each block has its own small form — the fields whoever designed that block chose.
Two kinds of block: a one-off, which belongs to this page only, and a shared one used on several pages — edit a shared block once and every page using it updates. New kinds of block come from your developer or agent: What is a stack?.
-
How do I publish a page?
Press Publish. Your work goes to Staging, ready to review before going live.
Open the page or entry and press Publish in the right-hand rail. If you have unsaved edits, save them first — Publish waits for you rather than publishing an older version.
Publishing puts your content on Staging, where you can check it looks right. Nothing reaches the live site until someone promotes it — see How do I put my site live?.
Want it to go out at a set time instead? See Scheduling a publish. Changed your mind after publishing? Press Unpublish to take it back down, or restore an earlier version.
-
Scheduling a publish
Set a date and time and the content goes live on its own.
Instead of publishing right now, you can schedule it. In the publishing rail choose Schedule, pick a date and time, and confirm. The content stays a draft until then and goes out automatically when the moment arrives — no need to be at your desk.
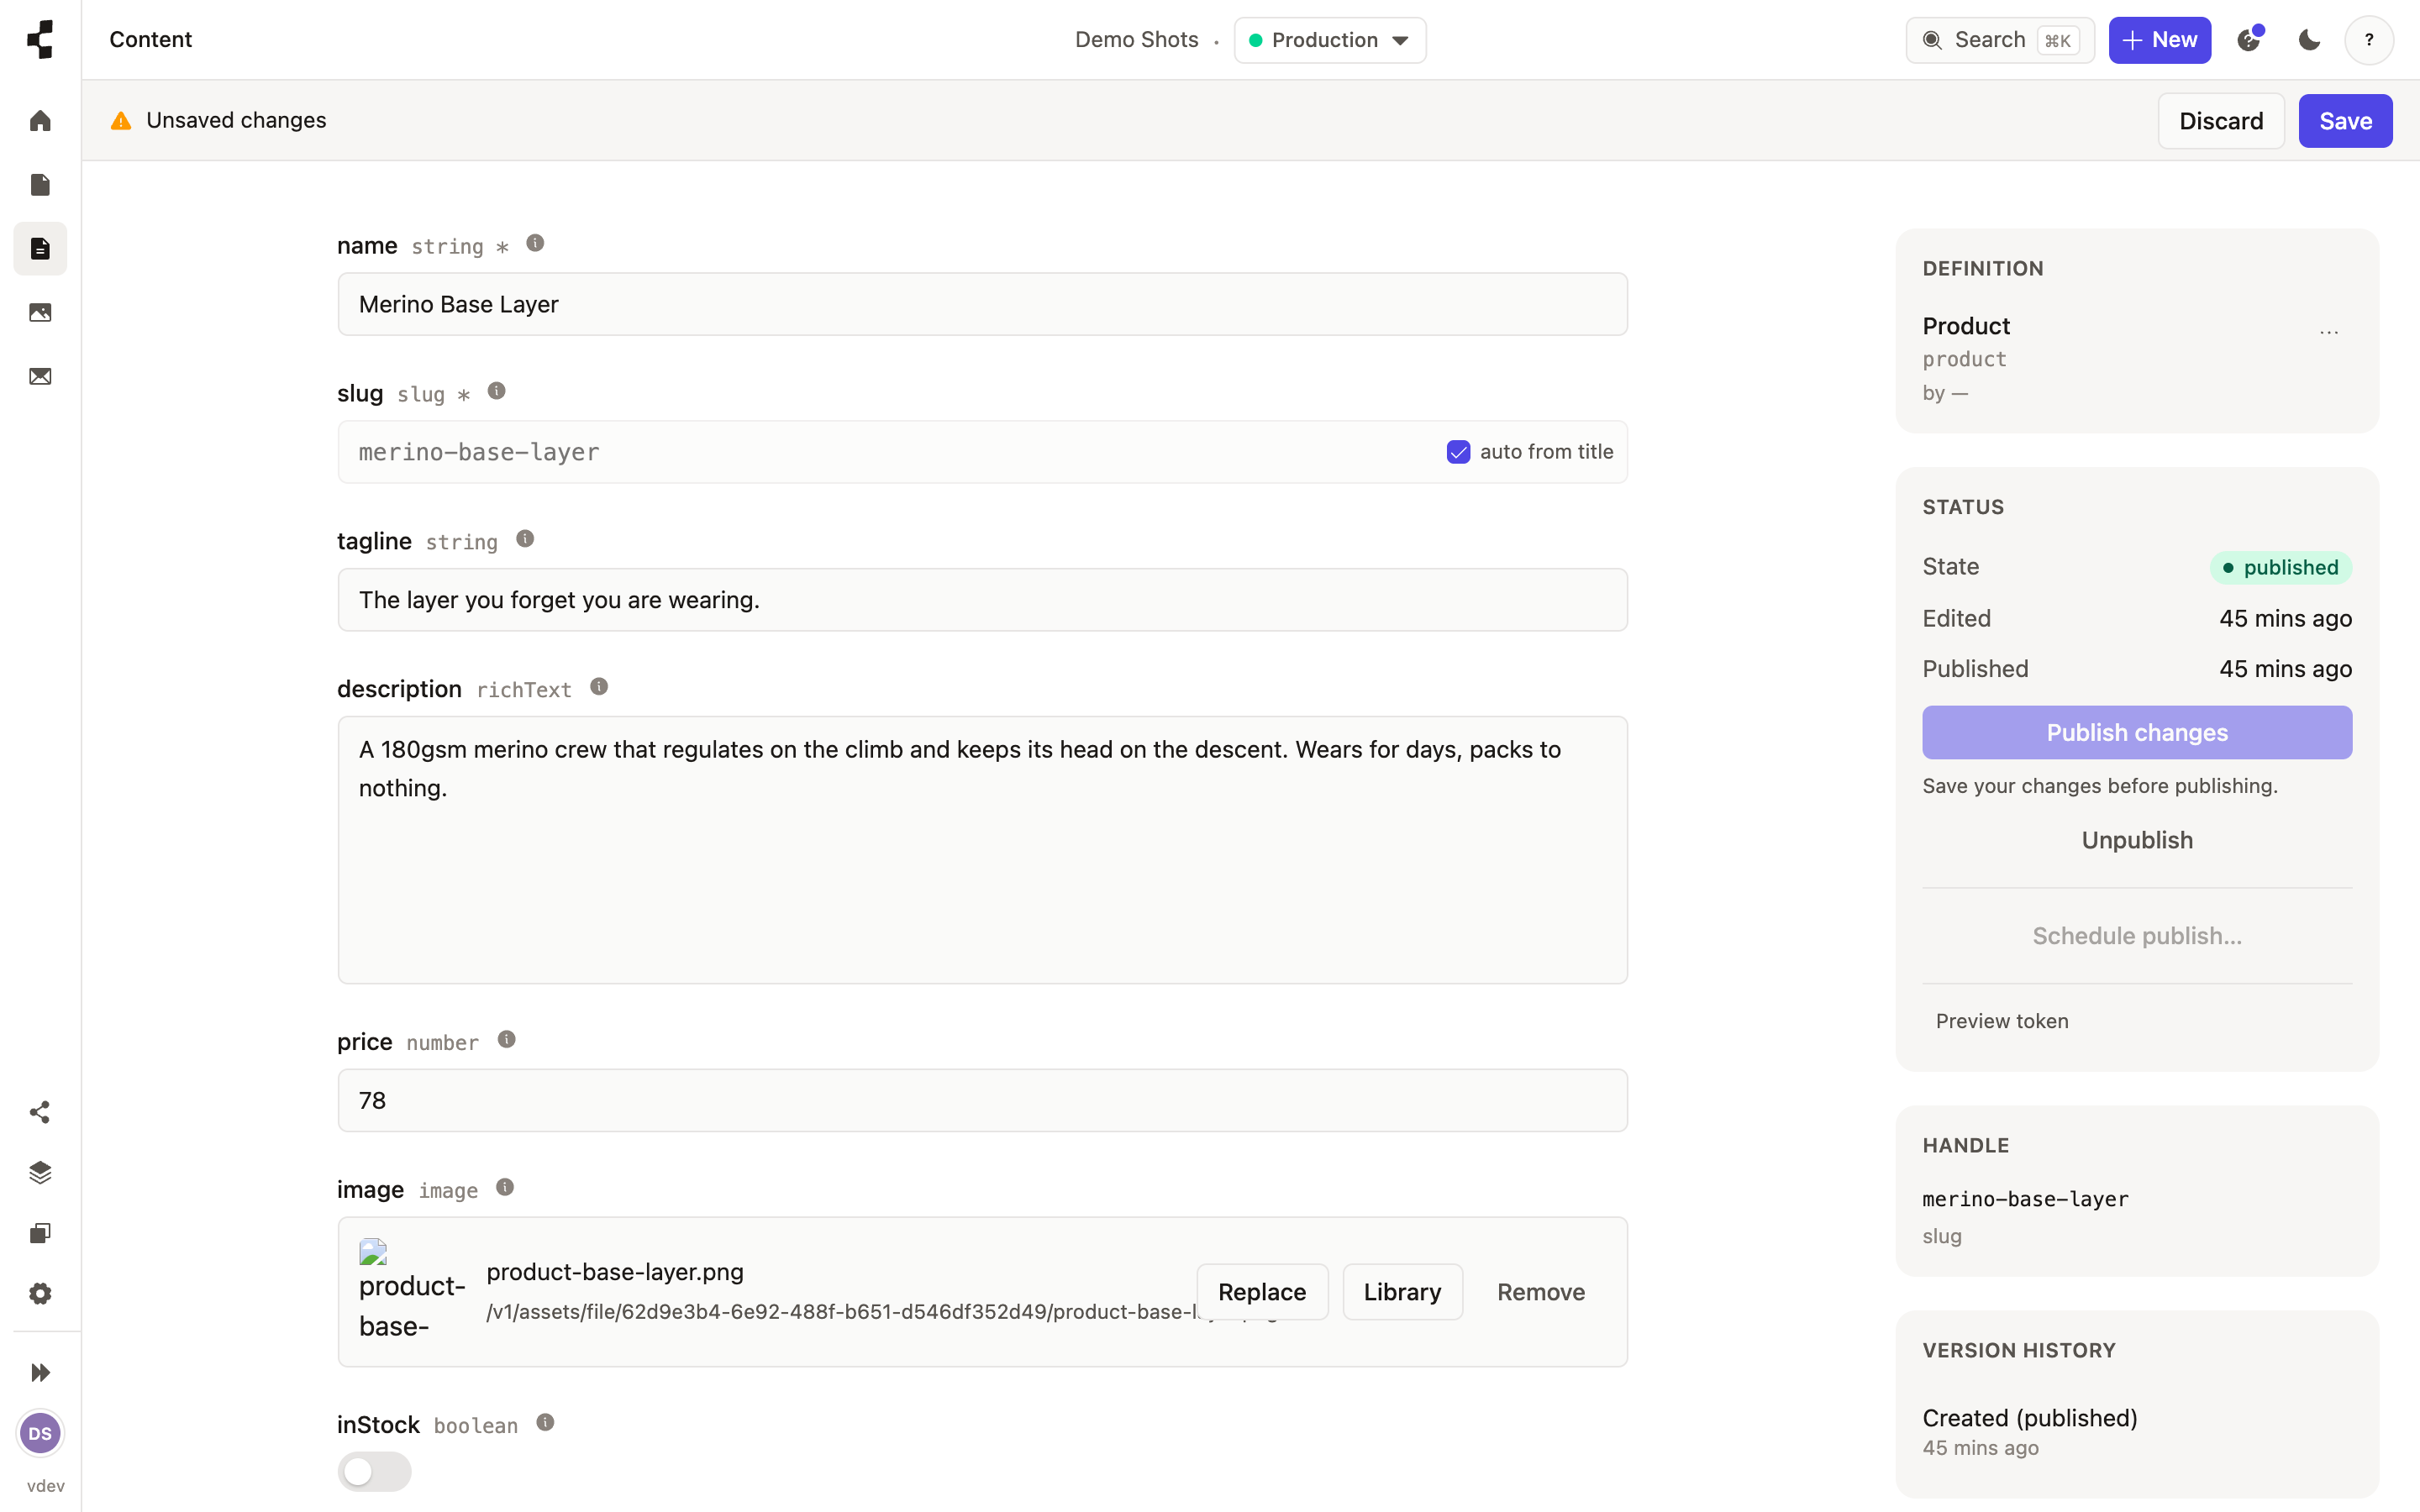
You can change or cancel a scheduled publish any time before it runs. As with publishing normally, a scheduled publish lands on Staging first — going fully live is still a separate promotion.
-
How do I undo a change?
Every save is kept. Open the history and restore any earlier version.
Every entry keeps a full history. Open it and look at the Activity timeline: who changed what and when, with any edit expandable to show exactly which fields changed.
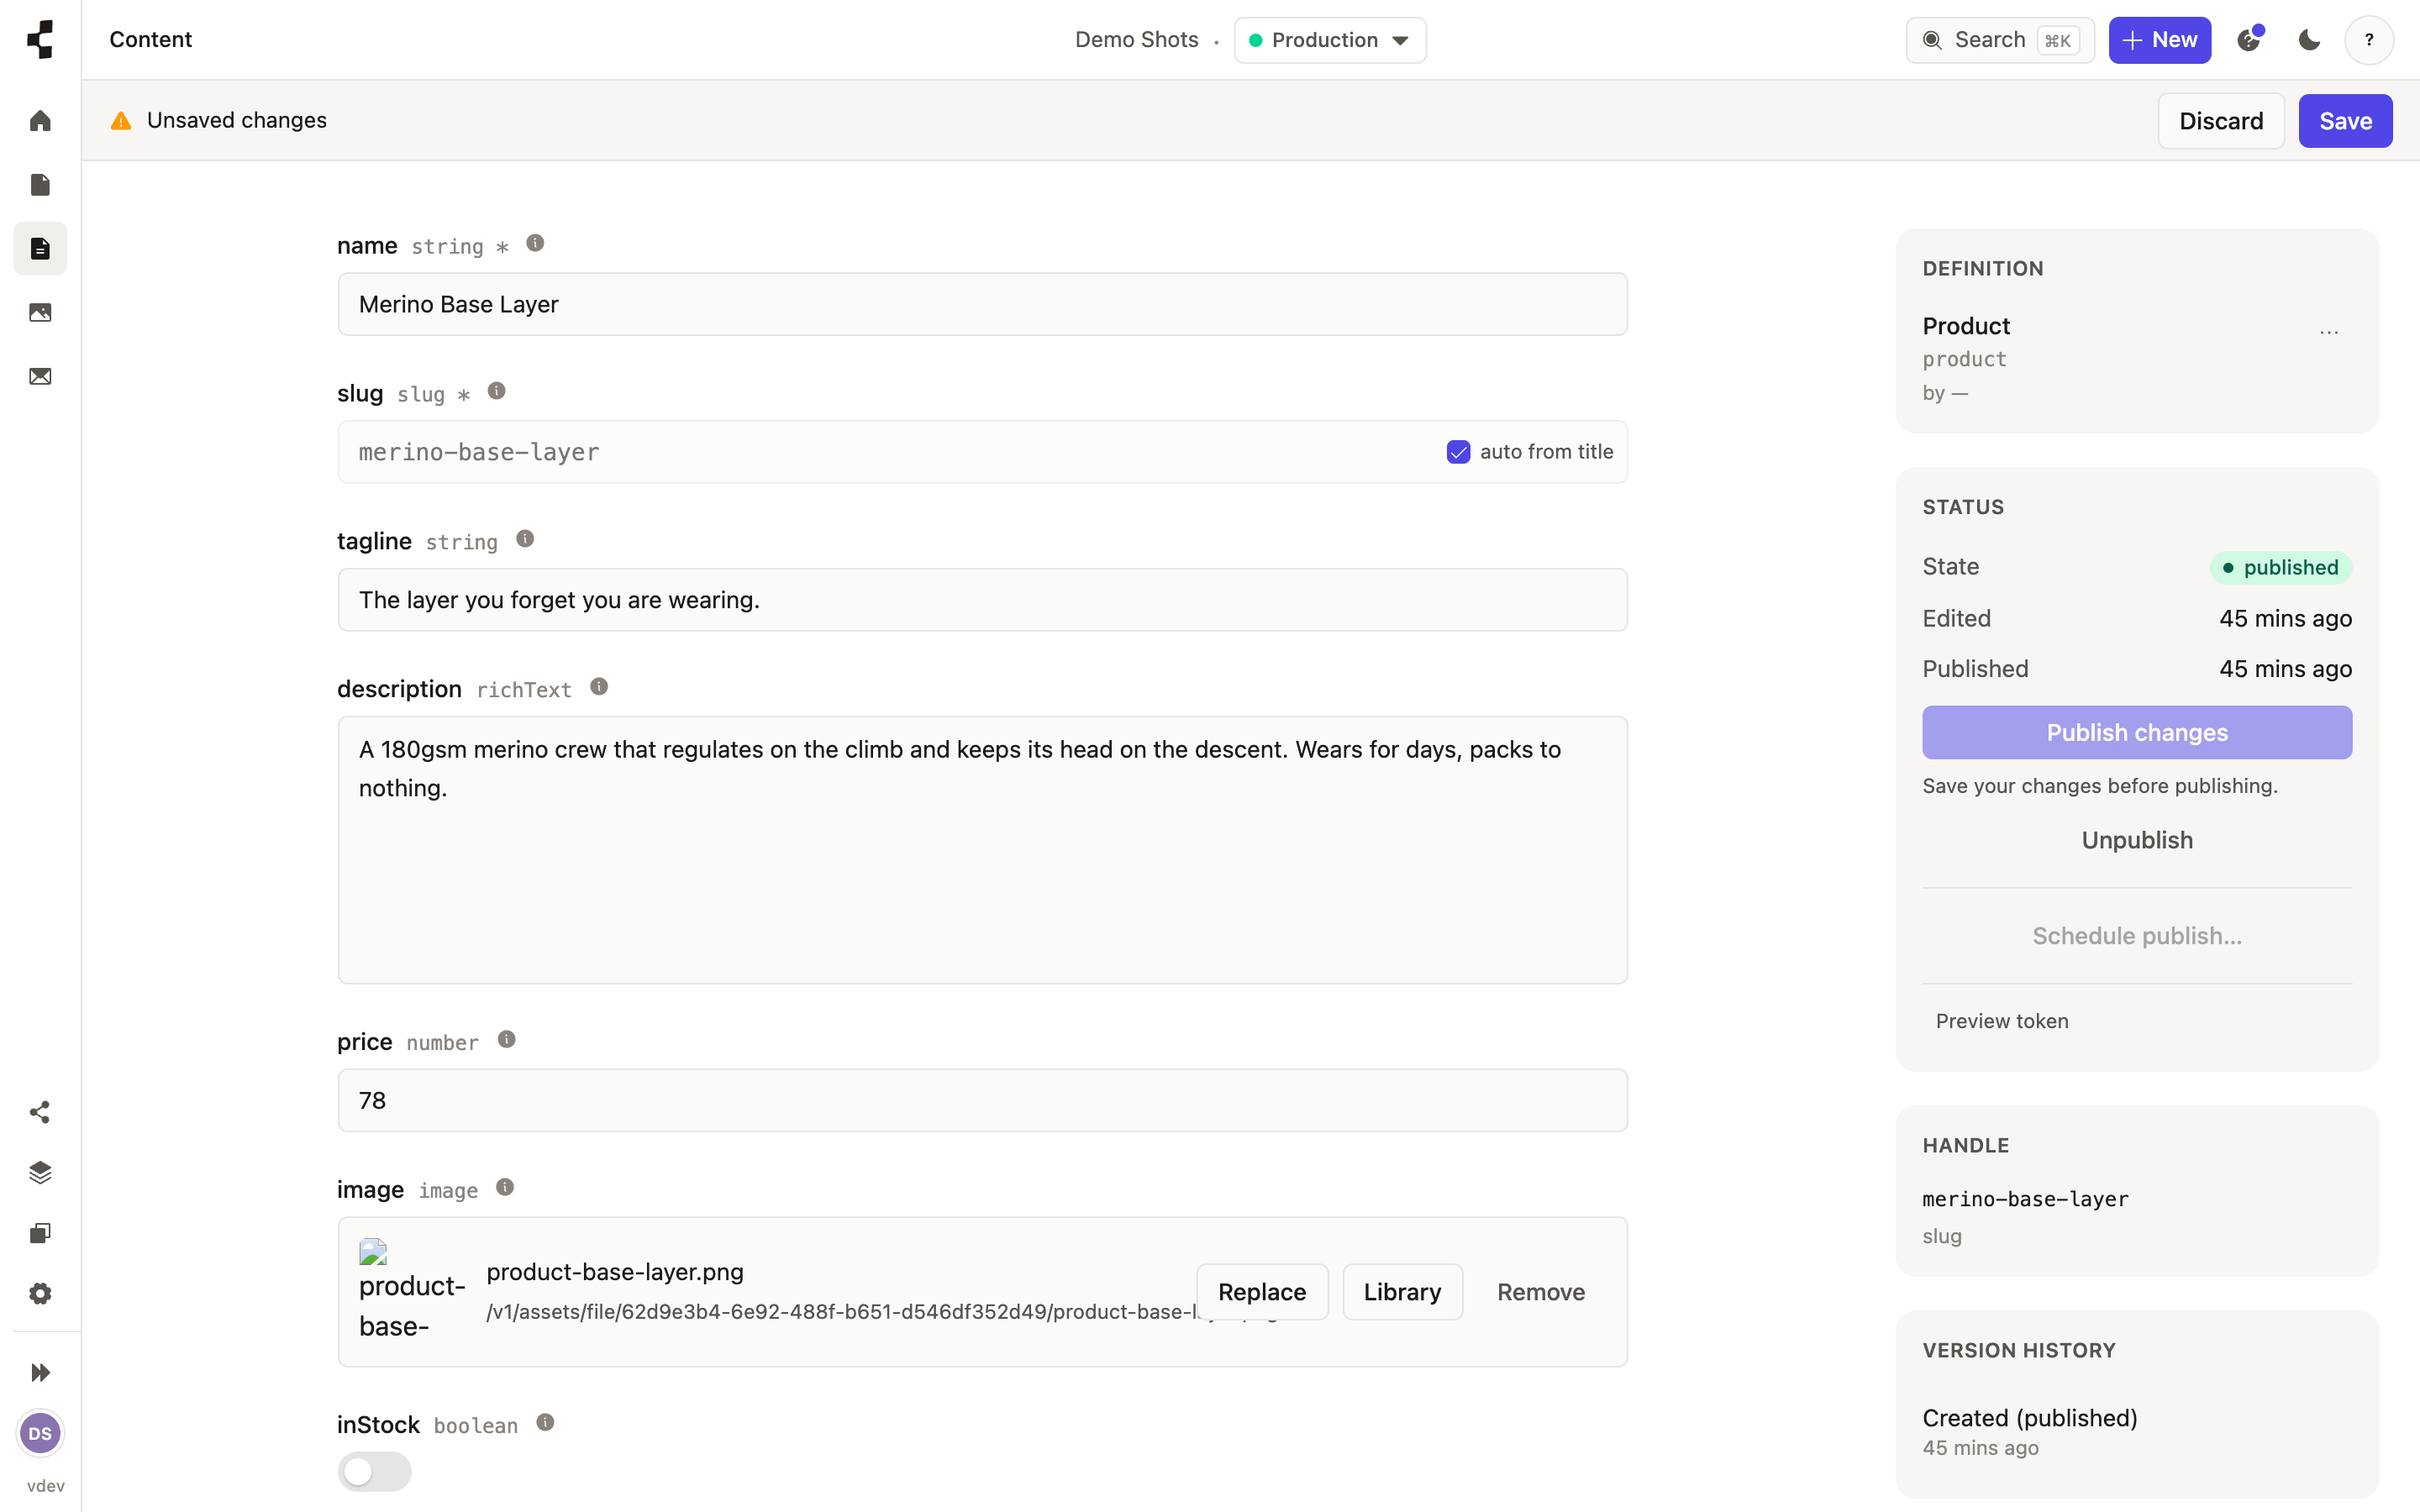
To go back, pick the version you want and press Restore — it becomes your current draft, so you can look it over before publishing. Restoring never publishes anything by itself.
-
Collecting responses with forms
Build a contact form, drop it on a page, and read the responses in one place.
Forms capture messages from your visitors — a contact form, an enquiry, a sign-up. Open Forms, press New, and add fields just like you would on a content type: name, email, a message, a checkbox.
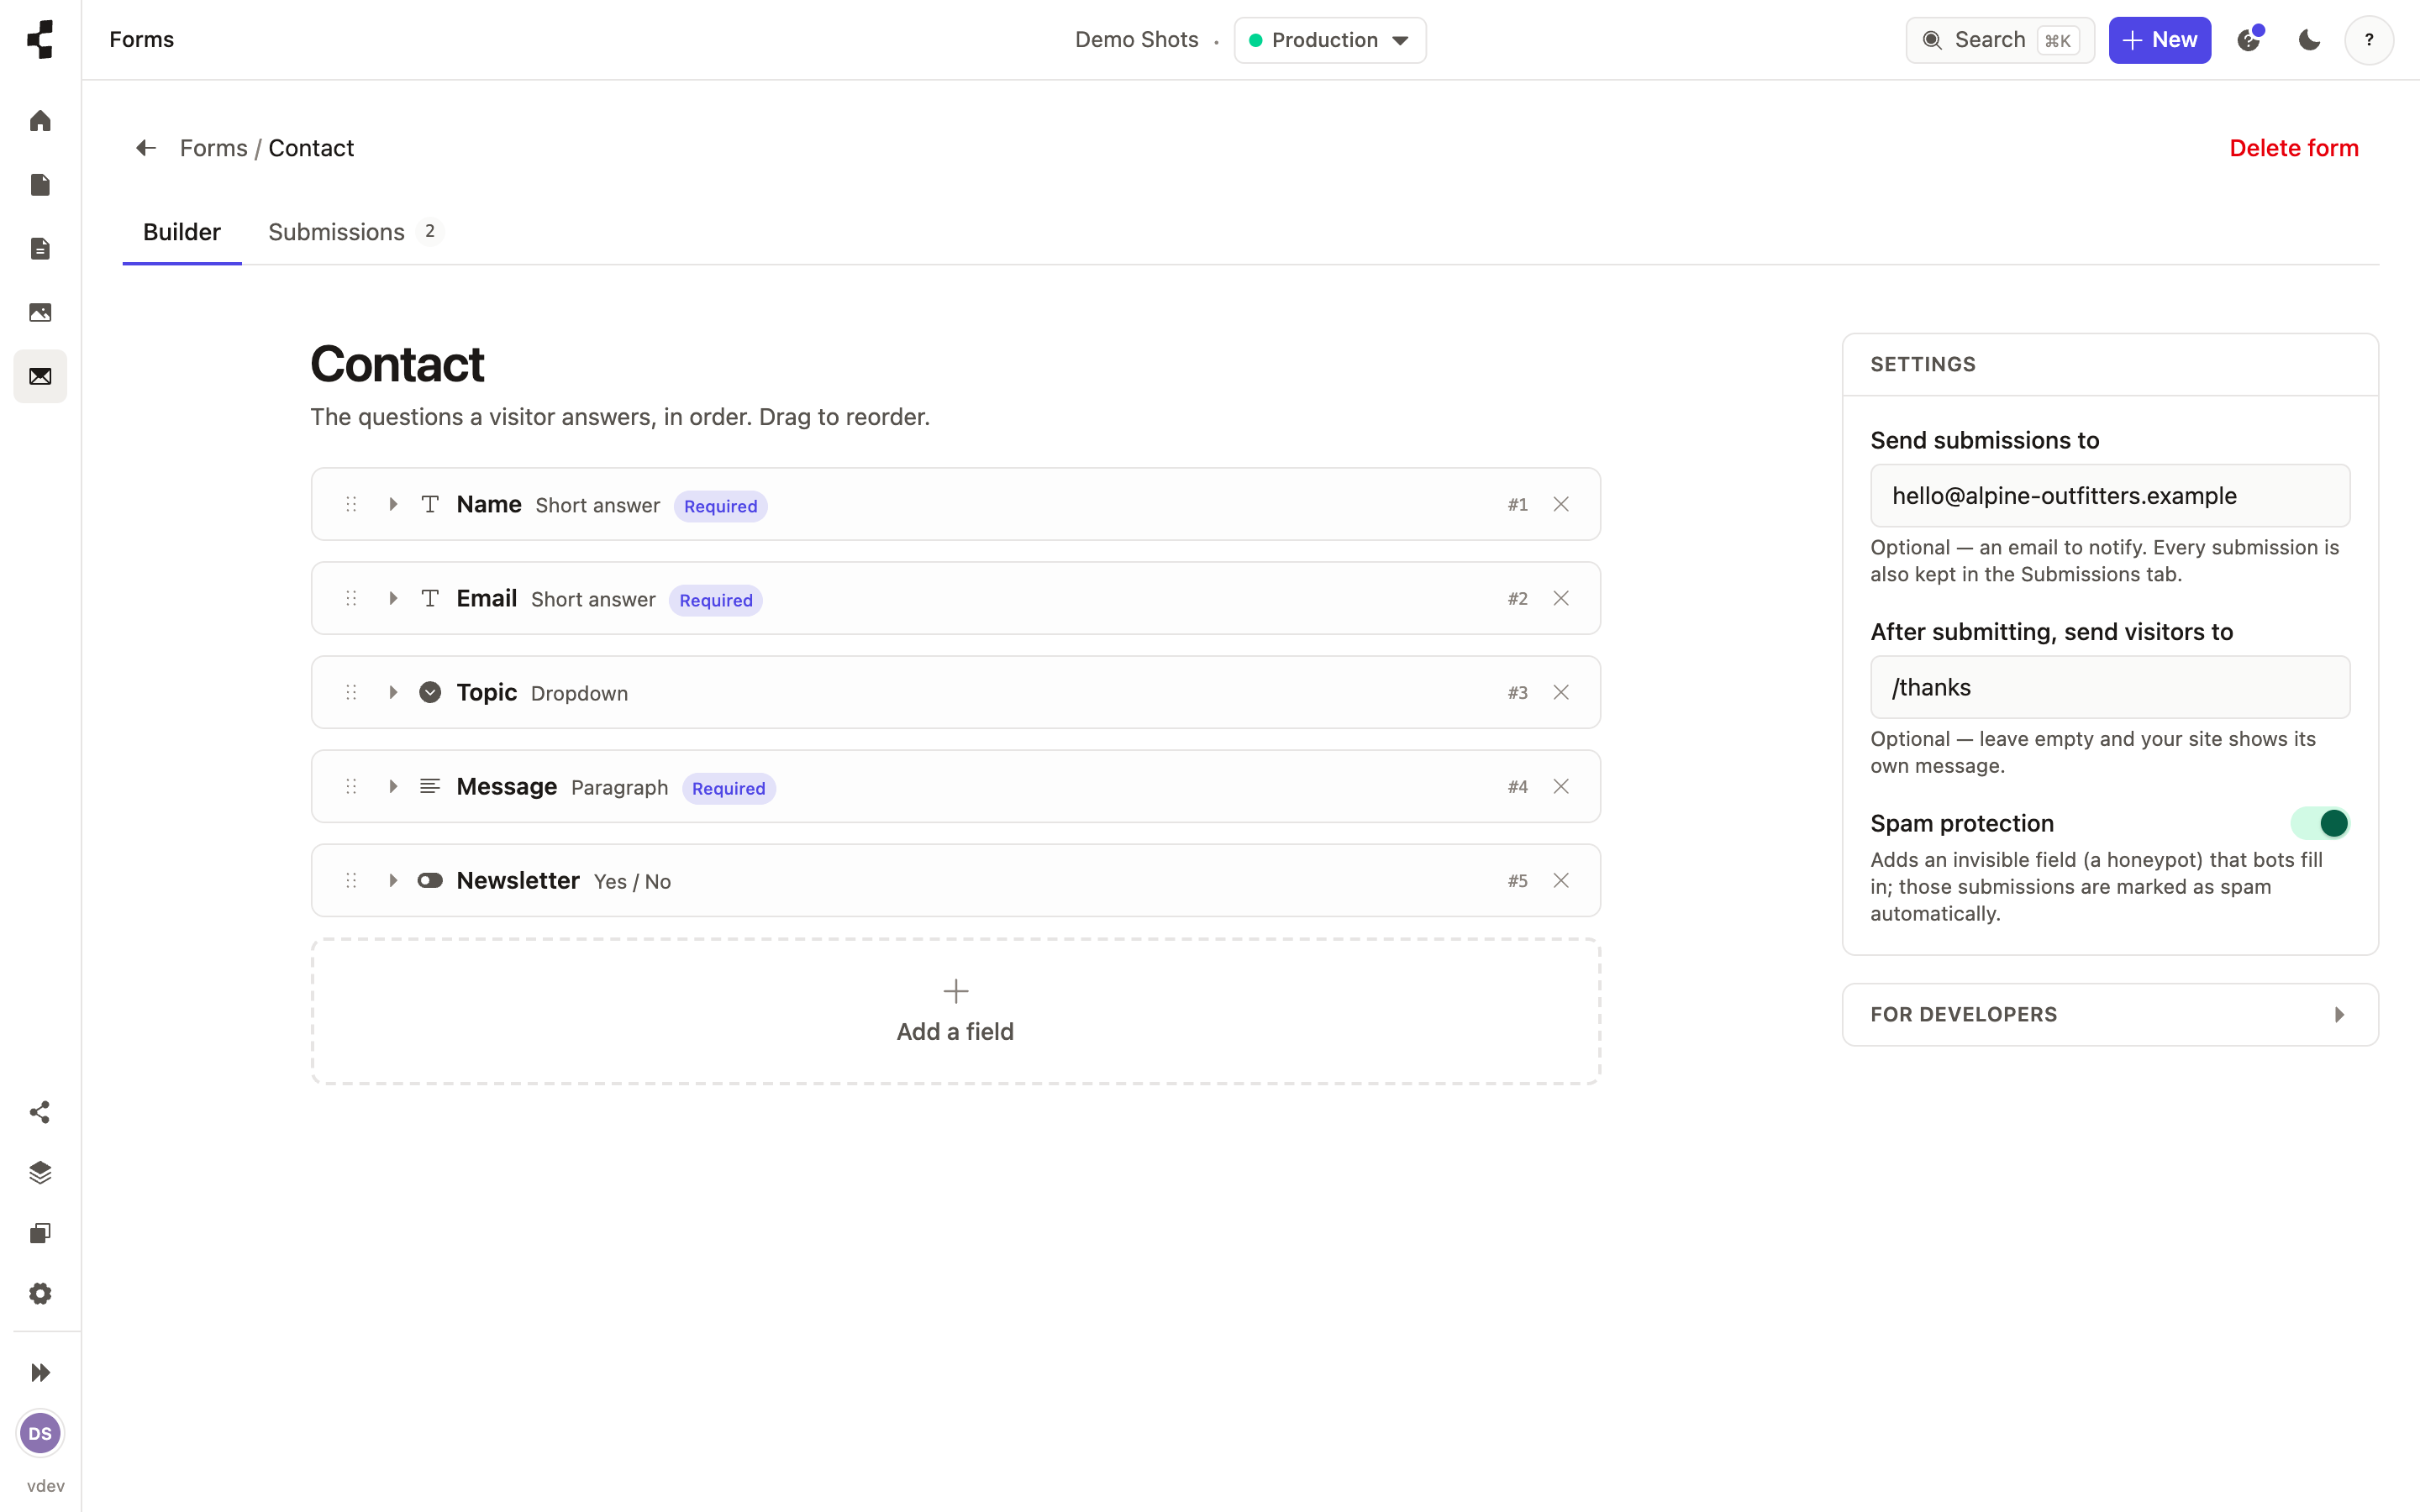
Set where notifications go and where a visitor lands after submitting, and a built-in spam trap quietly filters out bots. To show the form on the site, open the page, add a block and choose Form — then pick the form you built.
It has to be a Form block. A section made of ordinary text fields — a heading, a “Send” label, a list of budget options — only ever shows text: there is nothing for a visitor to fill in, so nothing is sent and nothing arrives in your responses inbox. If you open a page and see a notice saying a block looks like a form but cannot be submitted, replace it with a Form block.
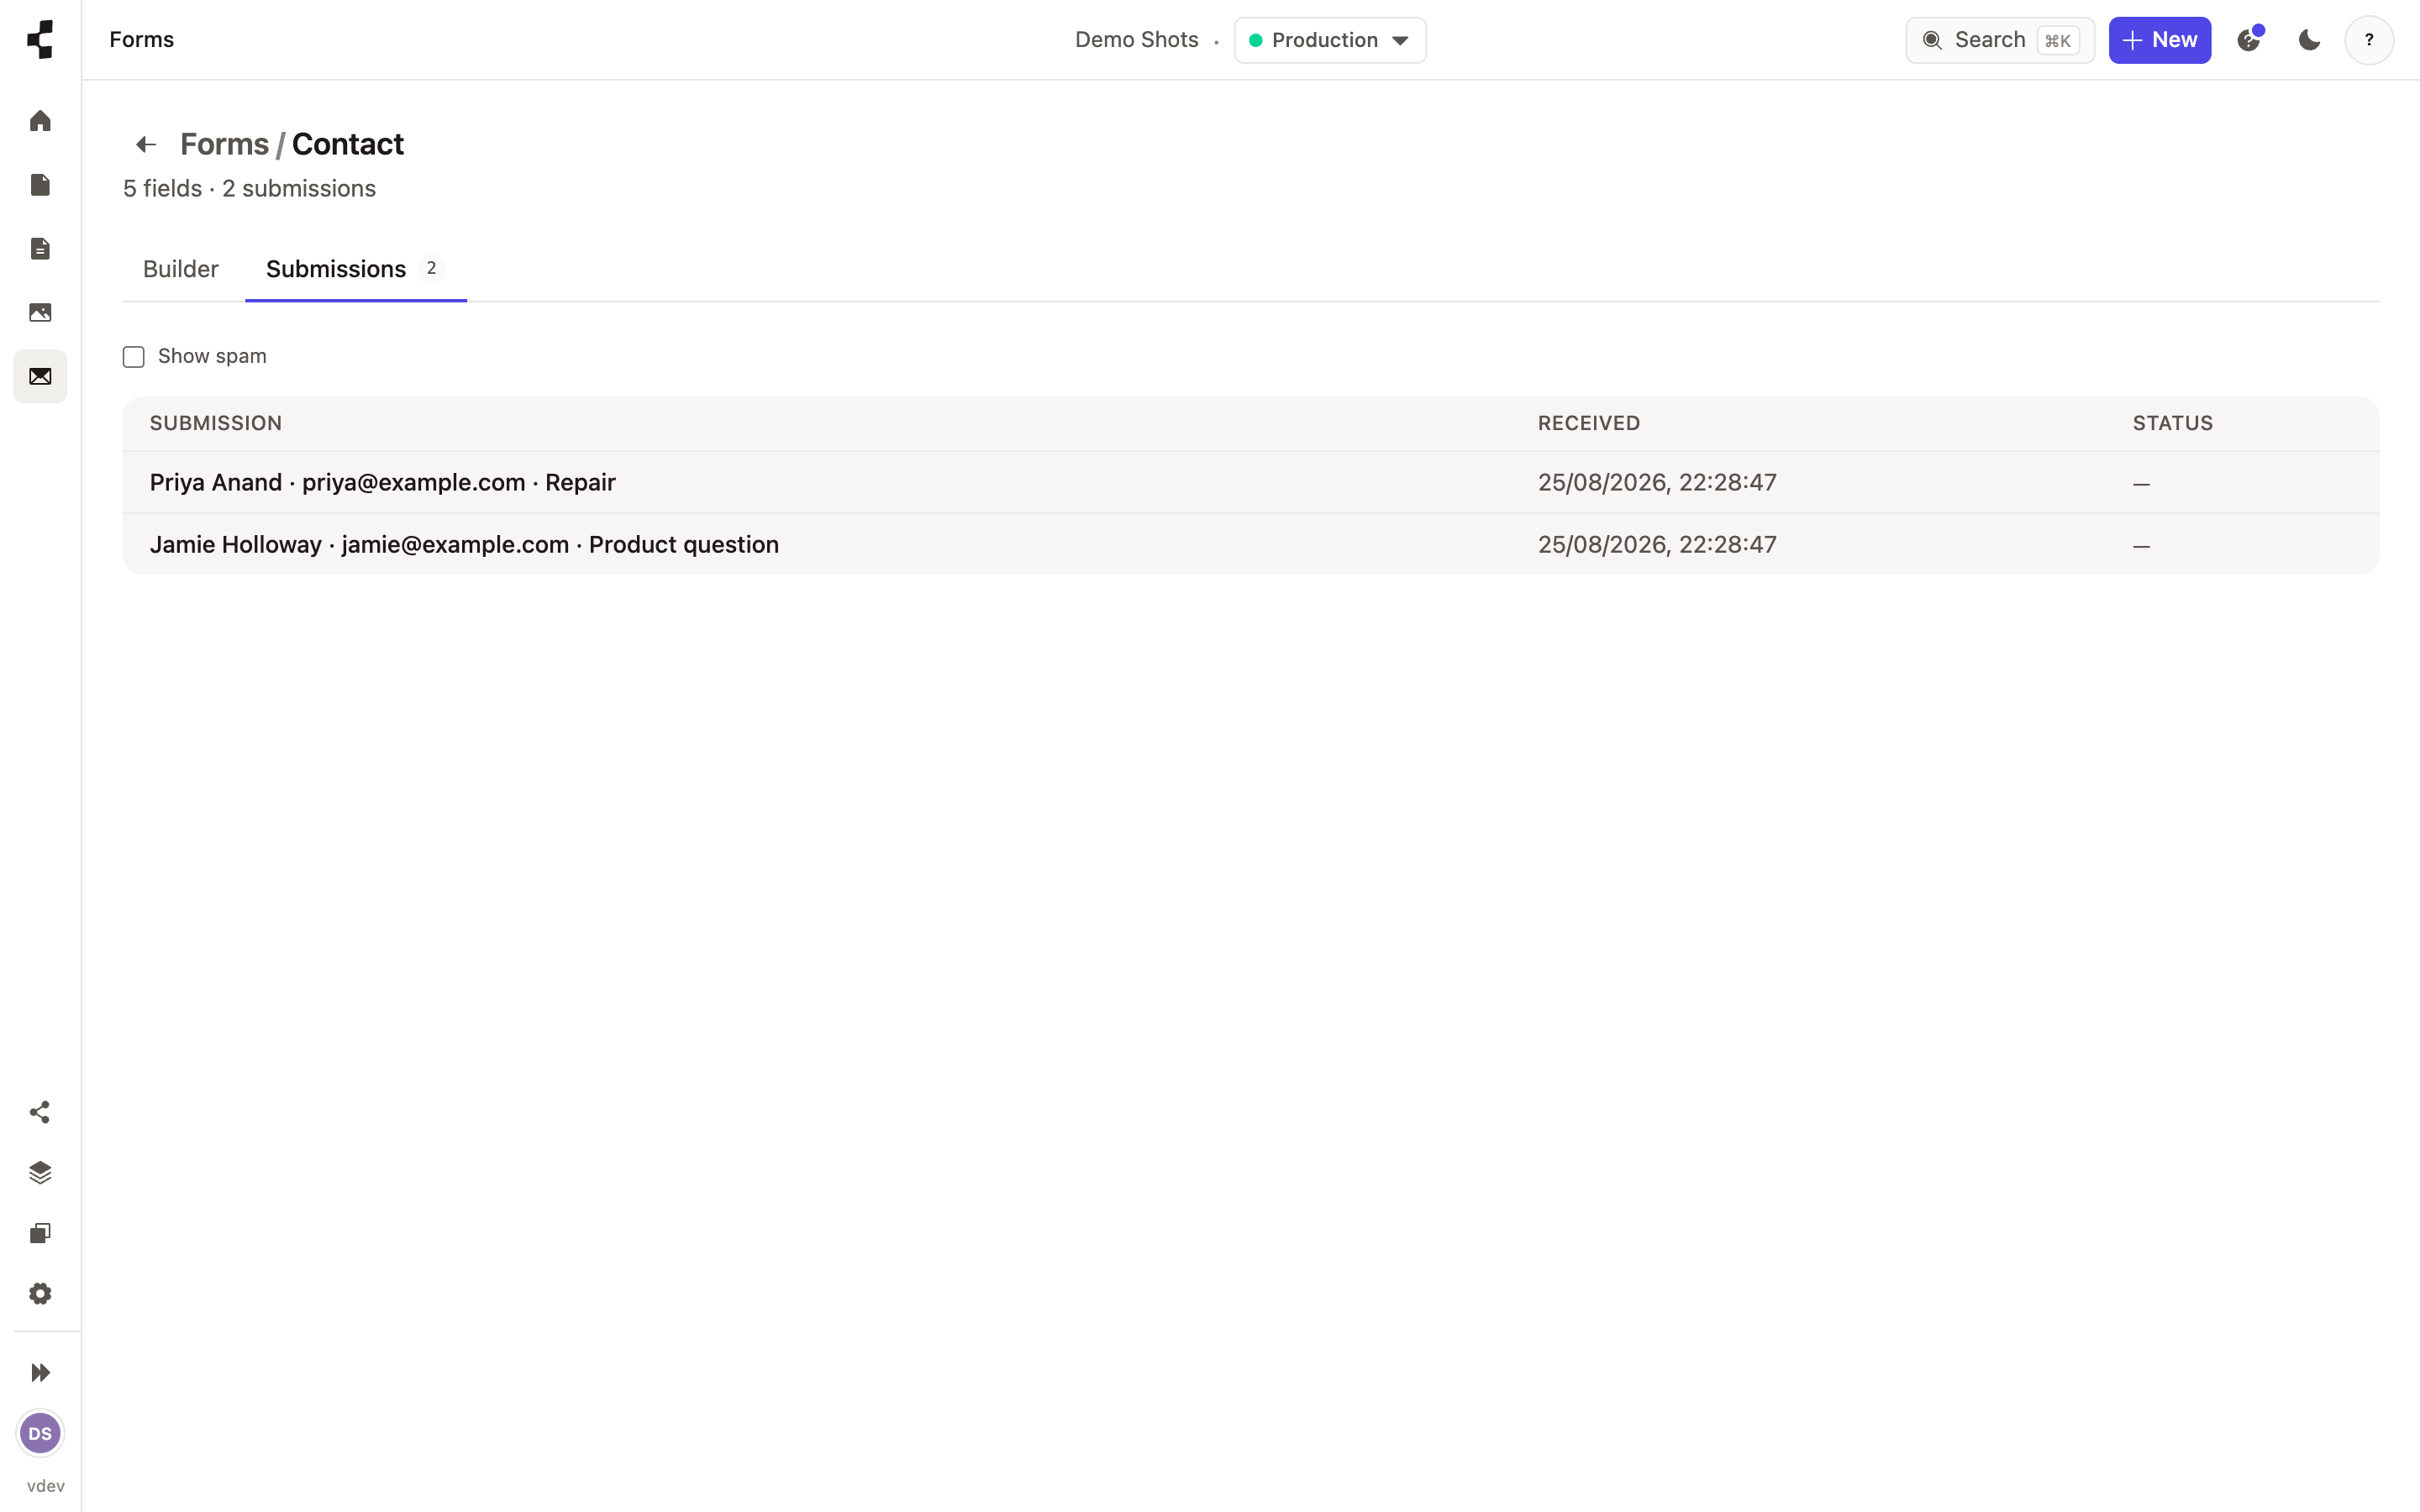
Every submission is stored and waiting for you in that form’s responses inbox — read them, and set an email address so you are notified as they arrive.
-
Improving your search ranking with SEO+
Every page already gets a canonical URL and share preview automatically. SEO+ adds a scored audit, an issues inbox, redirects and structured data.
Every page you publish already gets a canonical URL, a title, and a share preview for social media, with no setup at all. If your workspace has the SEO+ app installed, you also get a scored SEO dashboard, an issues inbox, and a redirects manager.
Open a page and look at its SEO card: a title with a live length counter, a description, a social-sharing image, and toggles to keep a page out of search results. Leave anything blank and it falls back sensibly — to the page title, then to your site defaults.
The SEO dashboard scores your whole site out of 100 and lists specific problems — a missing description, two pages sharing the same title, a link that goes nowhere. Fix what it finds, run the audit again, and watch the score move. Critical issues also show up in your inbox, so nothing slips through.
Renamed a page? A redirect from its old address is created for you automatically, so an old link or bookmark never breaks. You can also add your own redirects — one at a time, or by importing a spreadsheet of them at once.
Media
-
How do I upload an image?
Drop files into the Media library, then reuse them anywhere.
Open Media and drag your files in, or press Upload. Every image is stored once and can be used on as many pages as you like — an image field opens the same library so you can pick an existing file instead of uploading it again.
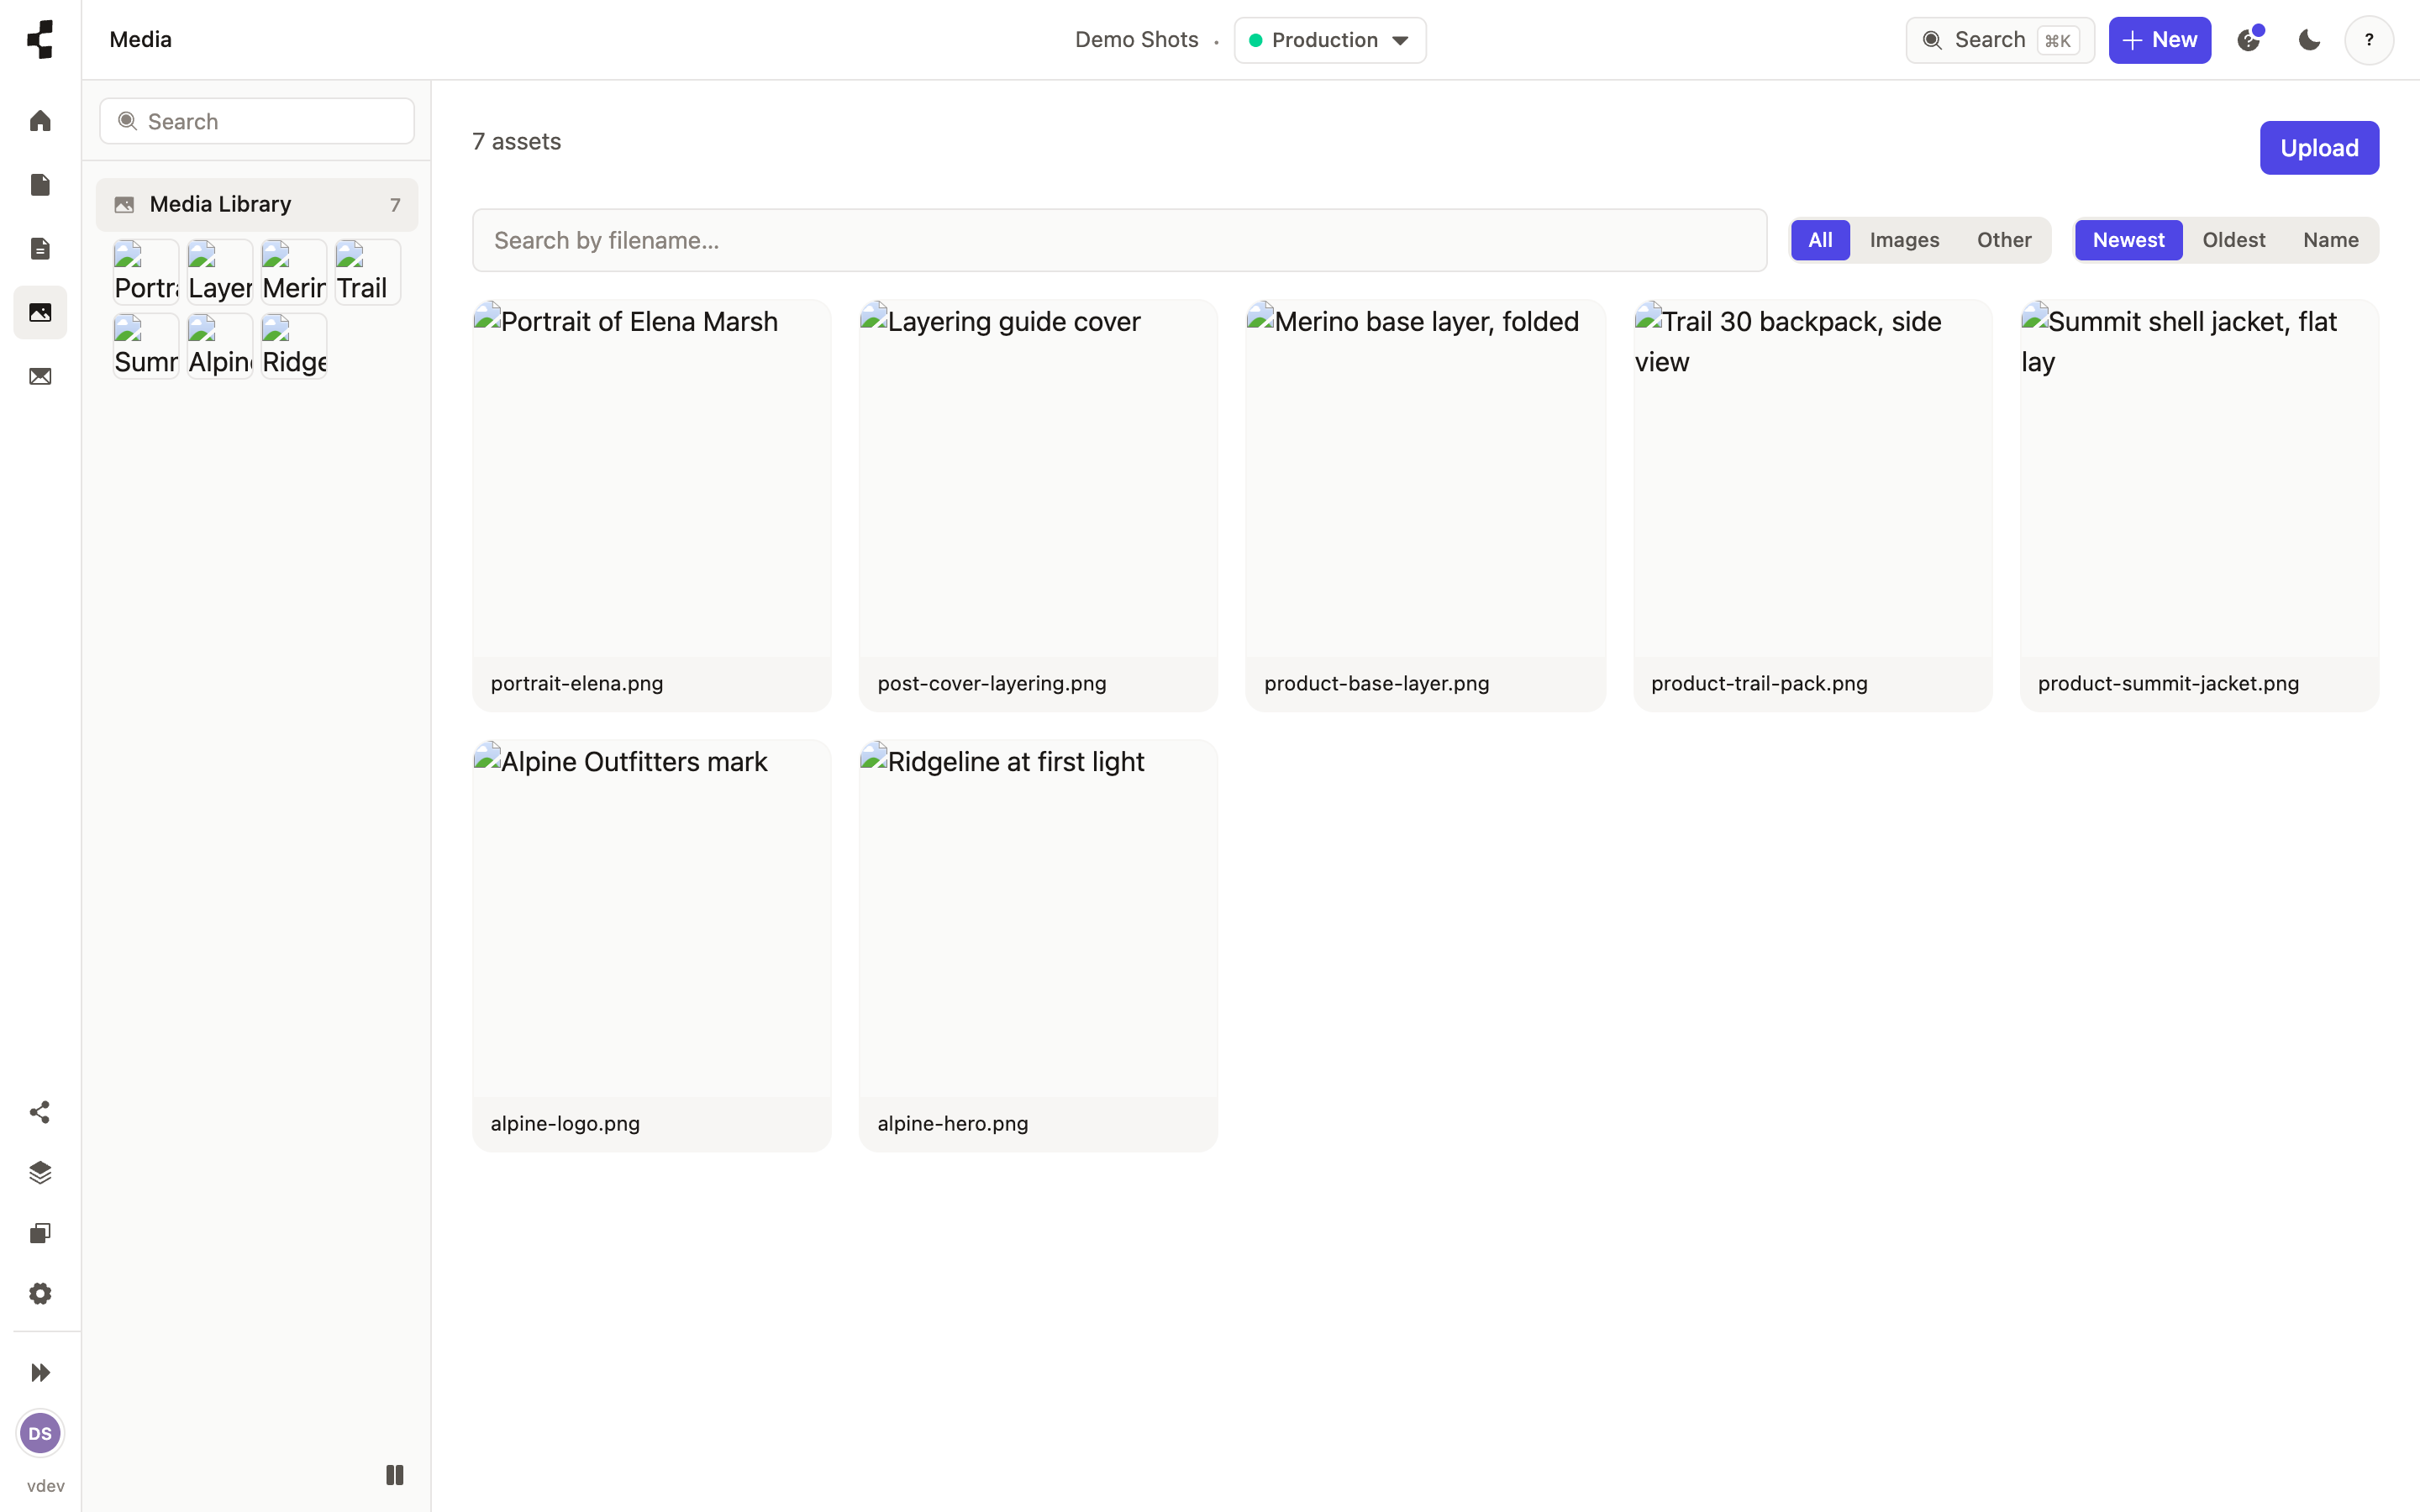
Give each image alt text while you are there: it is what screen readers announce and what search engines read. You can also set a focal point so crops keep the important part of the picture in frame.
Before deleting anything, check the Used on panel — it lists every page currently showing that image. For tidying a big library, see Focal points & organizing your media library.
-
Focal points & organizing your media library
Tag and search your assets, and set a focal point so crops always look right.
As a library grows, the search and filters at the top keep it manageable — find an image by filename, by tag, by type or by when it was uploaded. Select several at once to tag or delete them together.
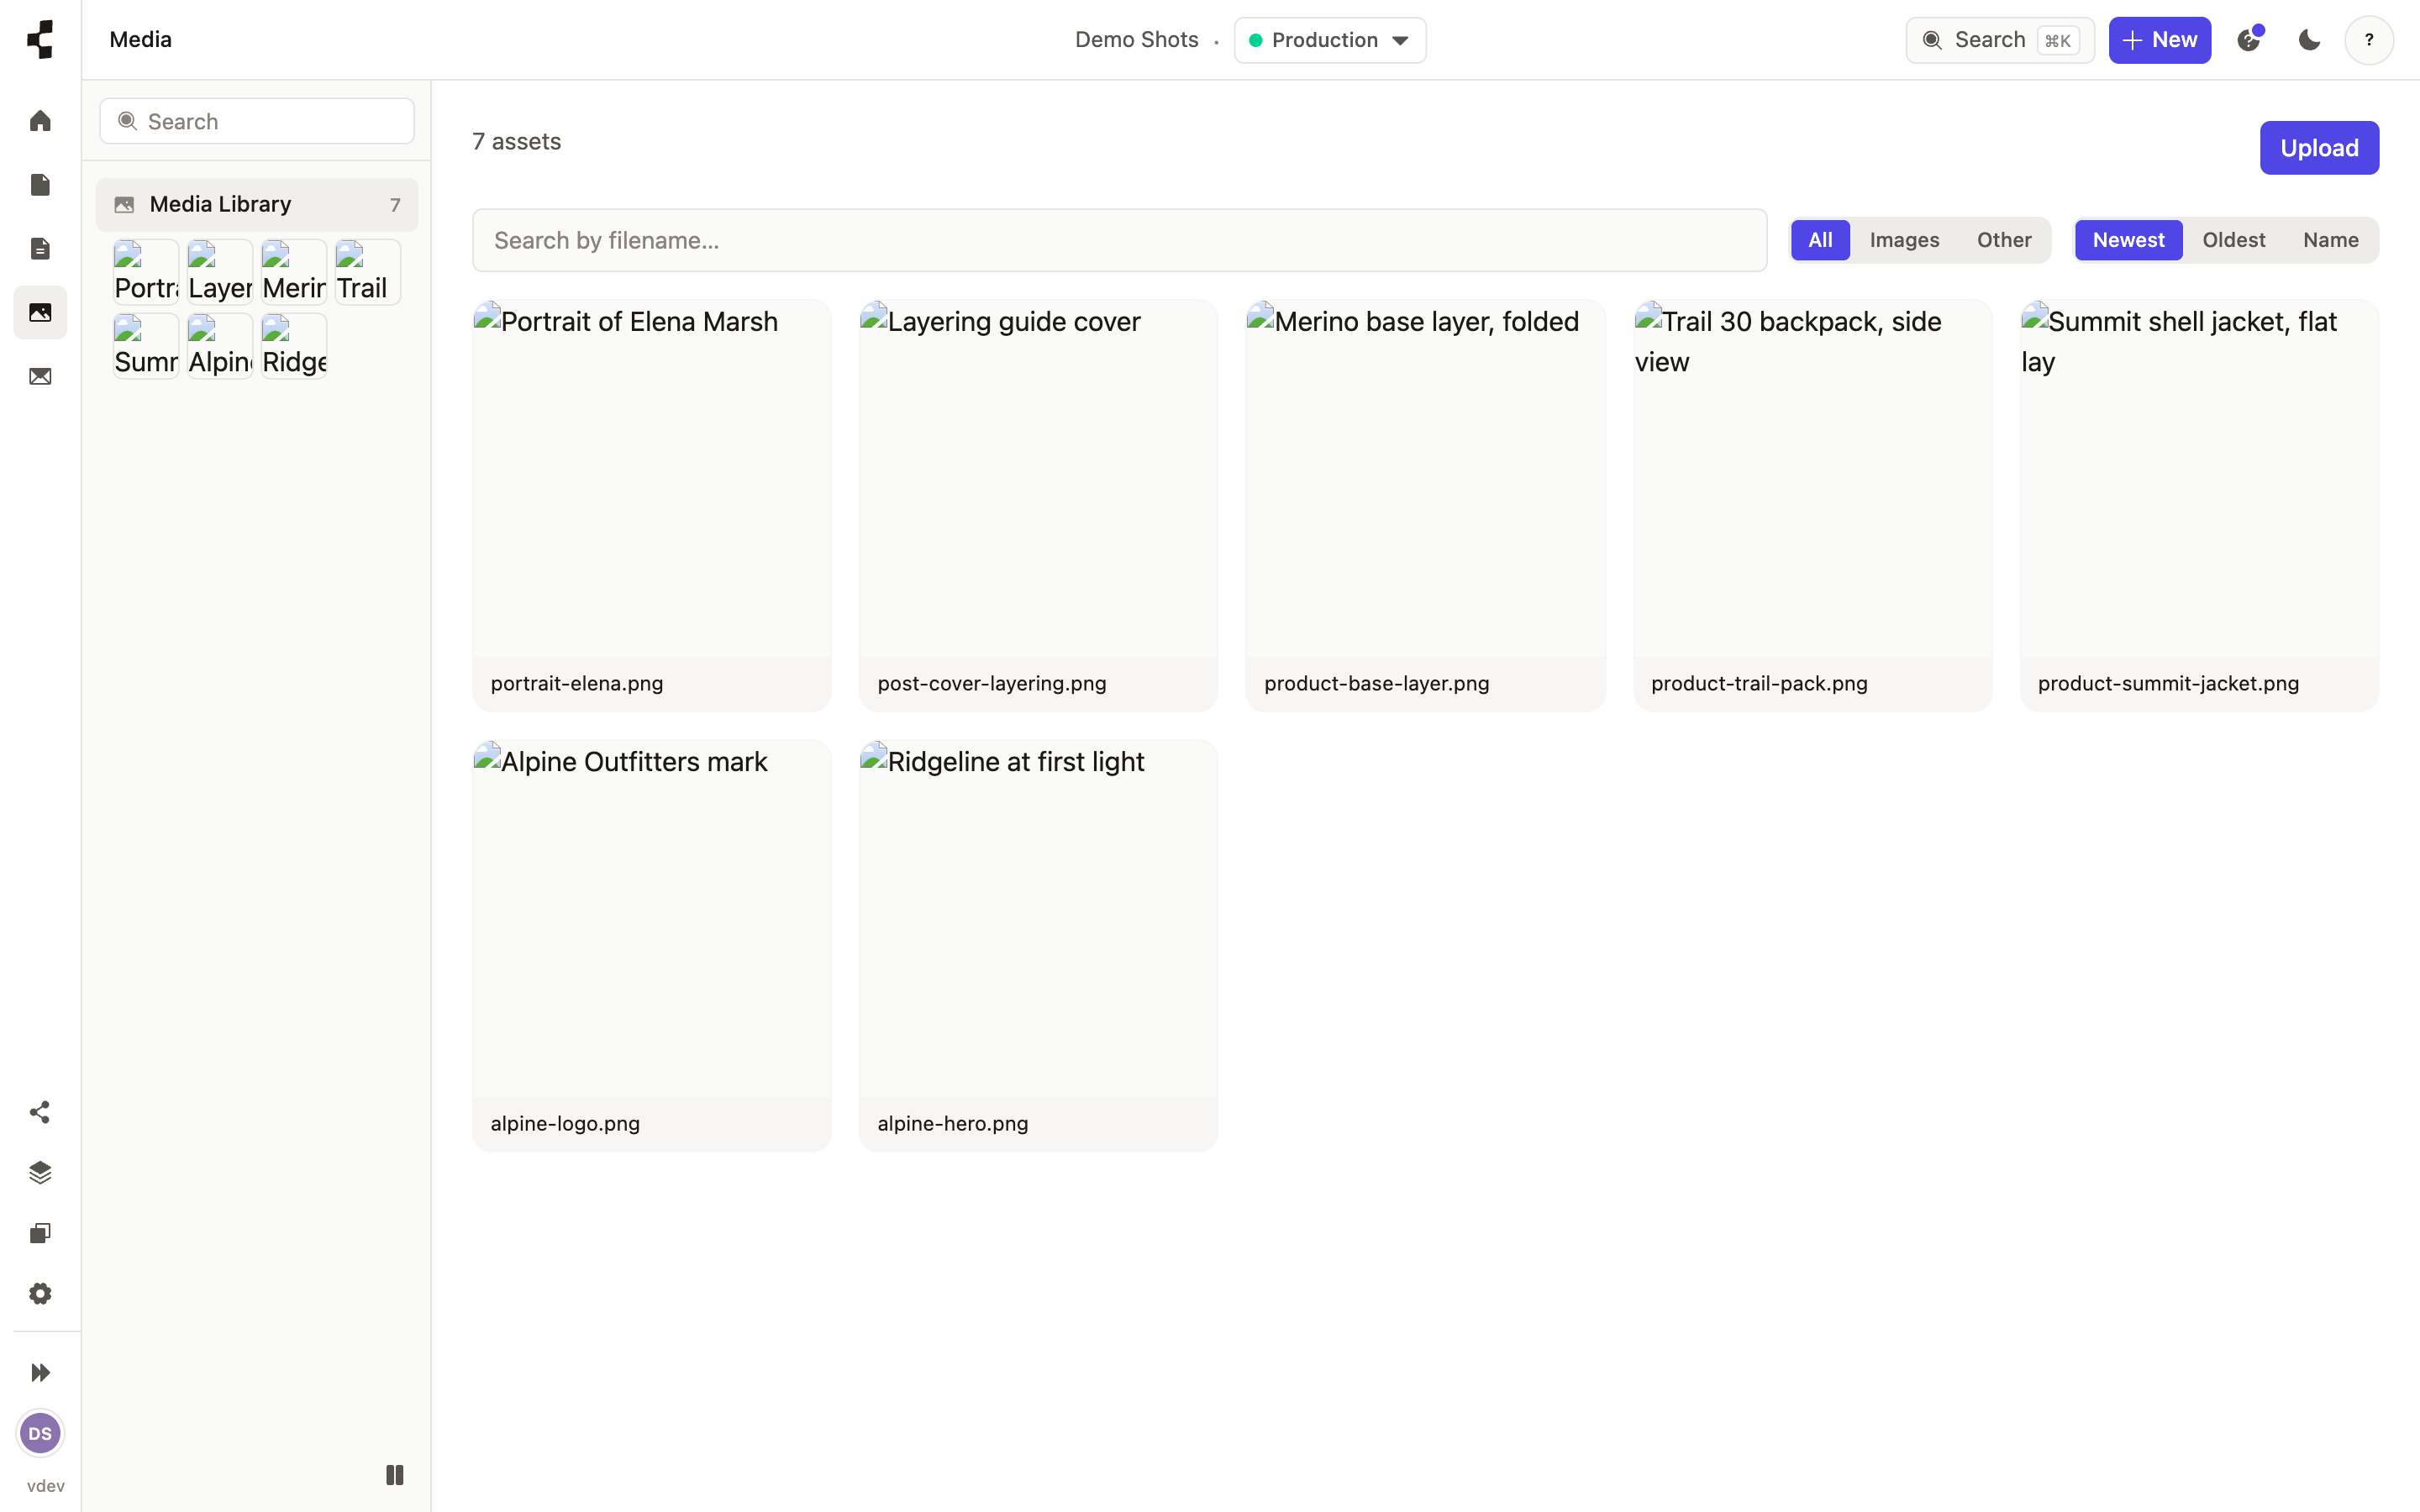
Open any image to edit its alt text, caption and tags, and to set its focal point: click the spot that matters most — a face, a logo — and every automatic crop on the site keeps that spot in view, whatever shape the space is.
The detail panel also shows where an image is used, so you never delete one that is still on a live page.
Design systems
-
How do I upload my design system?
Give the AI your real colours, fonts and components so it stops guessing.
A design system is a small file describing your brand: colours, type, spacing, the components you build with, and plain-language rules like "never use the accent colour for body text". Upload it in Settings → Design system.
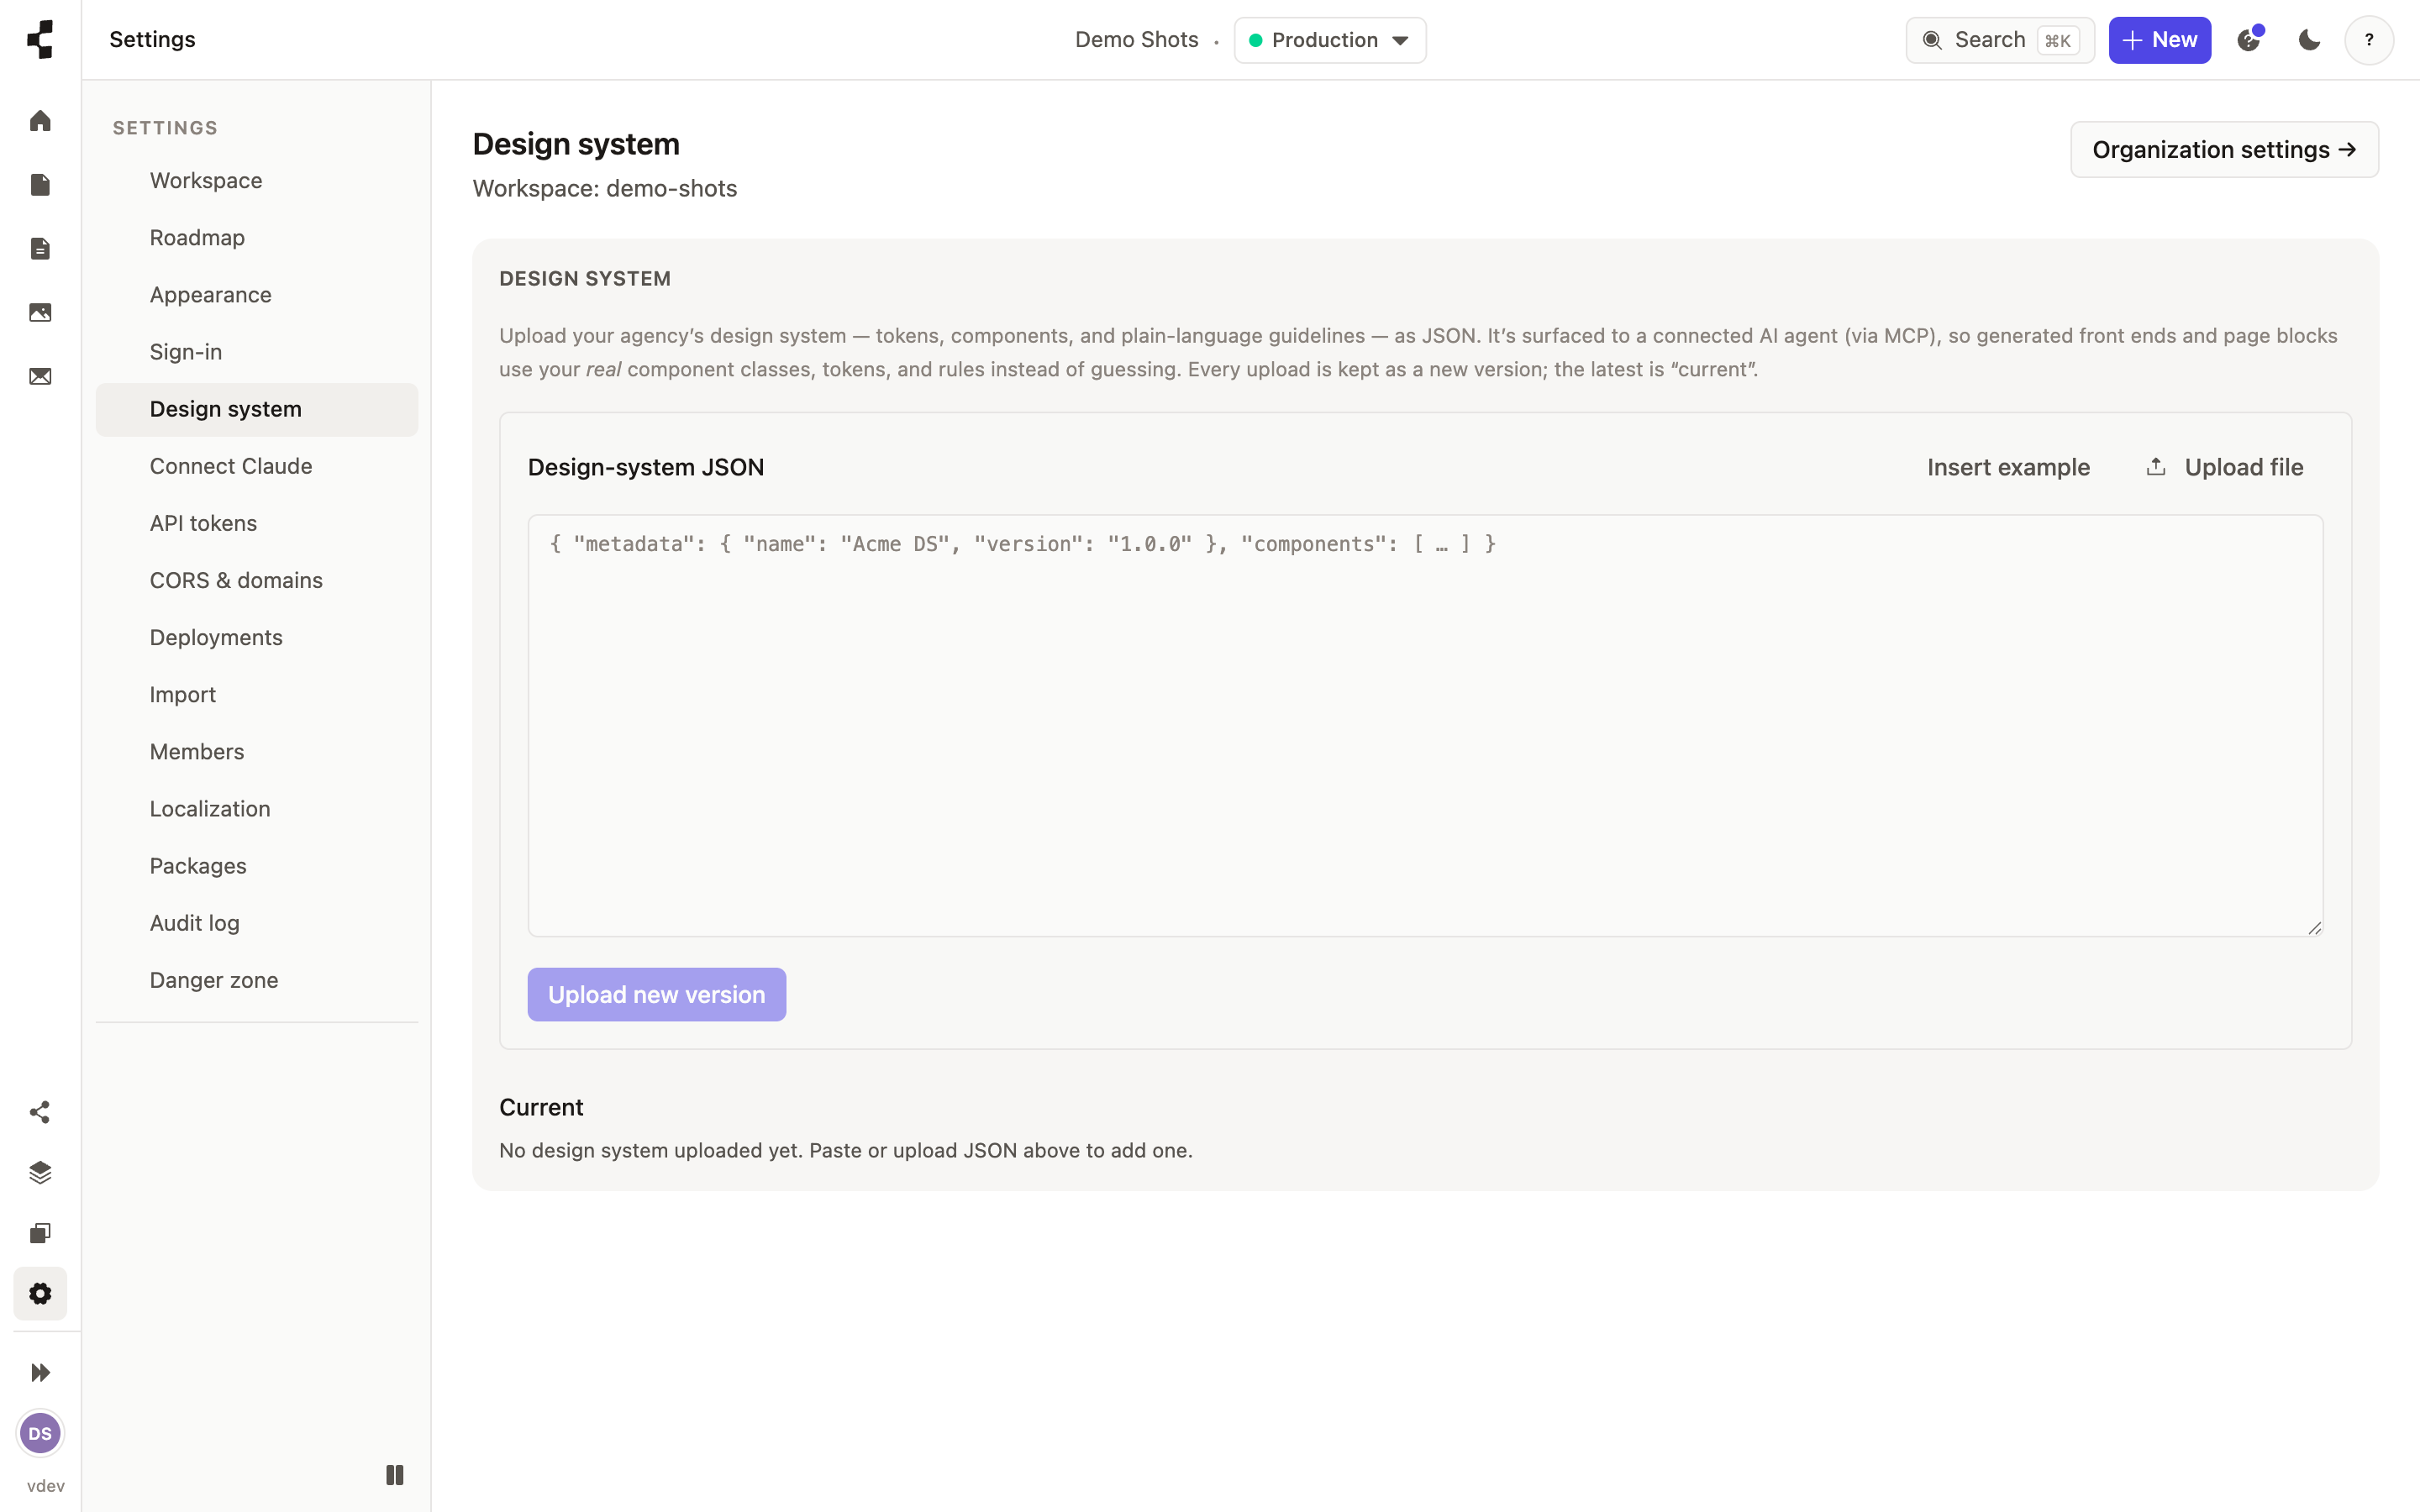
Once it is there, the AI agent uses your real components and tokens when it builds or changes a site, instead of inventing markup. Anything invalid is reported line by line when you upload, so you can fix it and try again. See also How do I connect Claude to my workspace?.
Deployments & promotion
-
How do I put my site live?
Review it on Staging, then press Promote to production.
Publishing puts content on Staging. Going live is a separate, deliberate step: open Deployments, find the staged deployment you have reviewed, and press Promote to production.
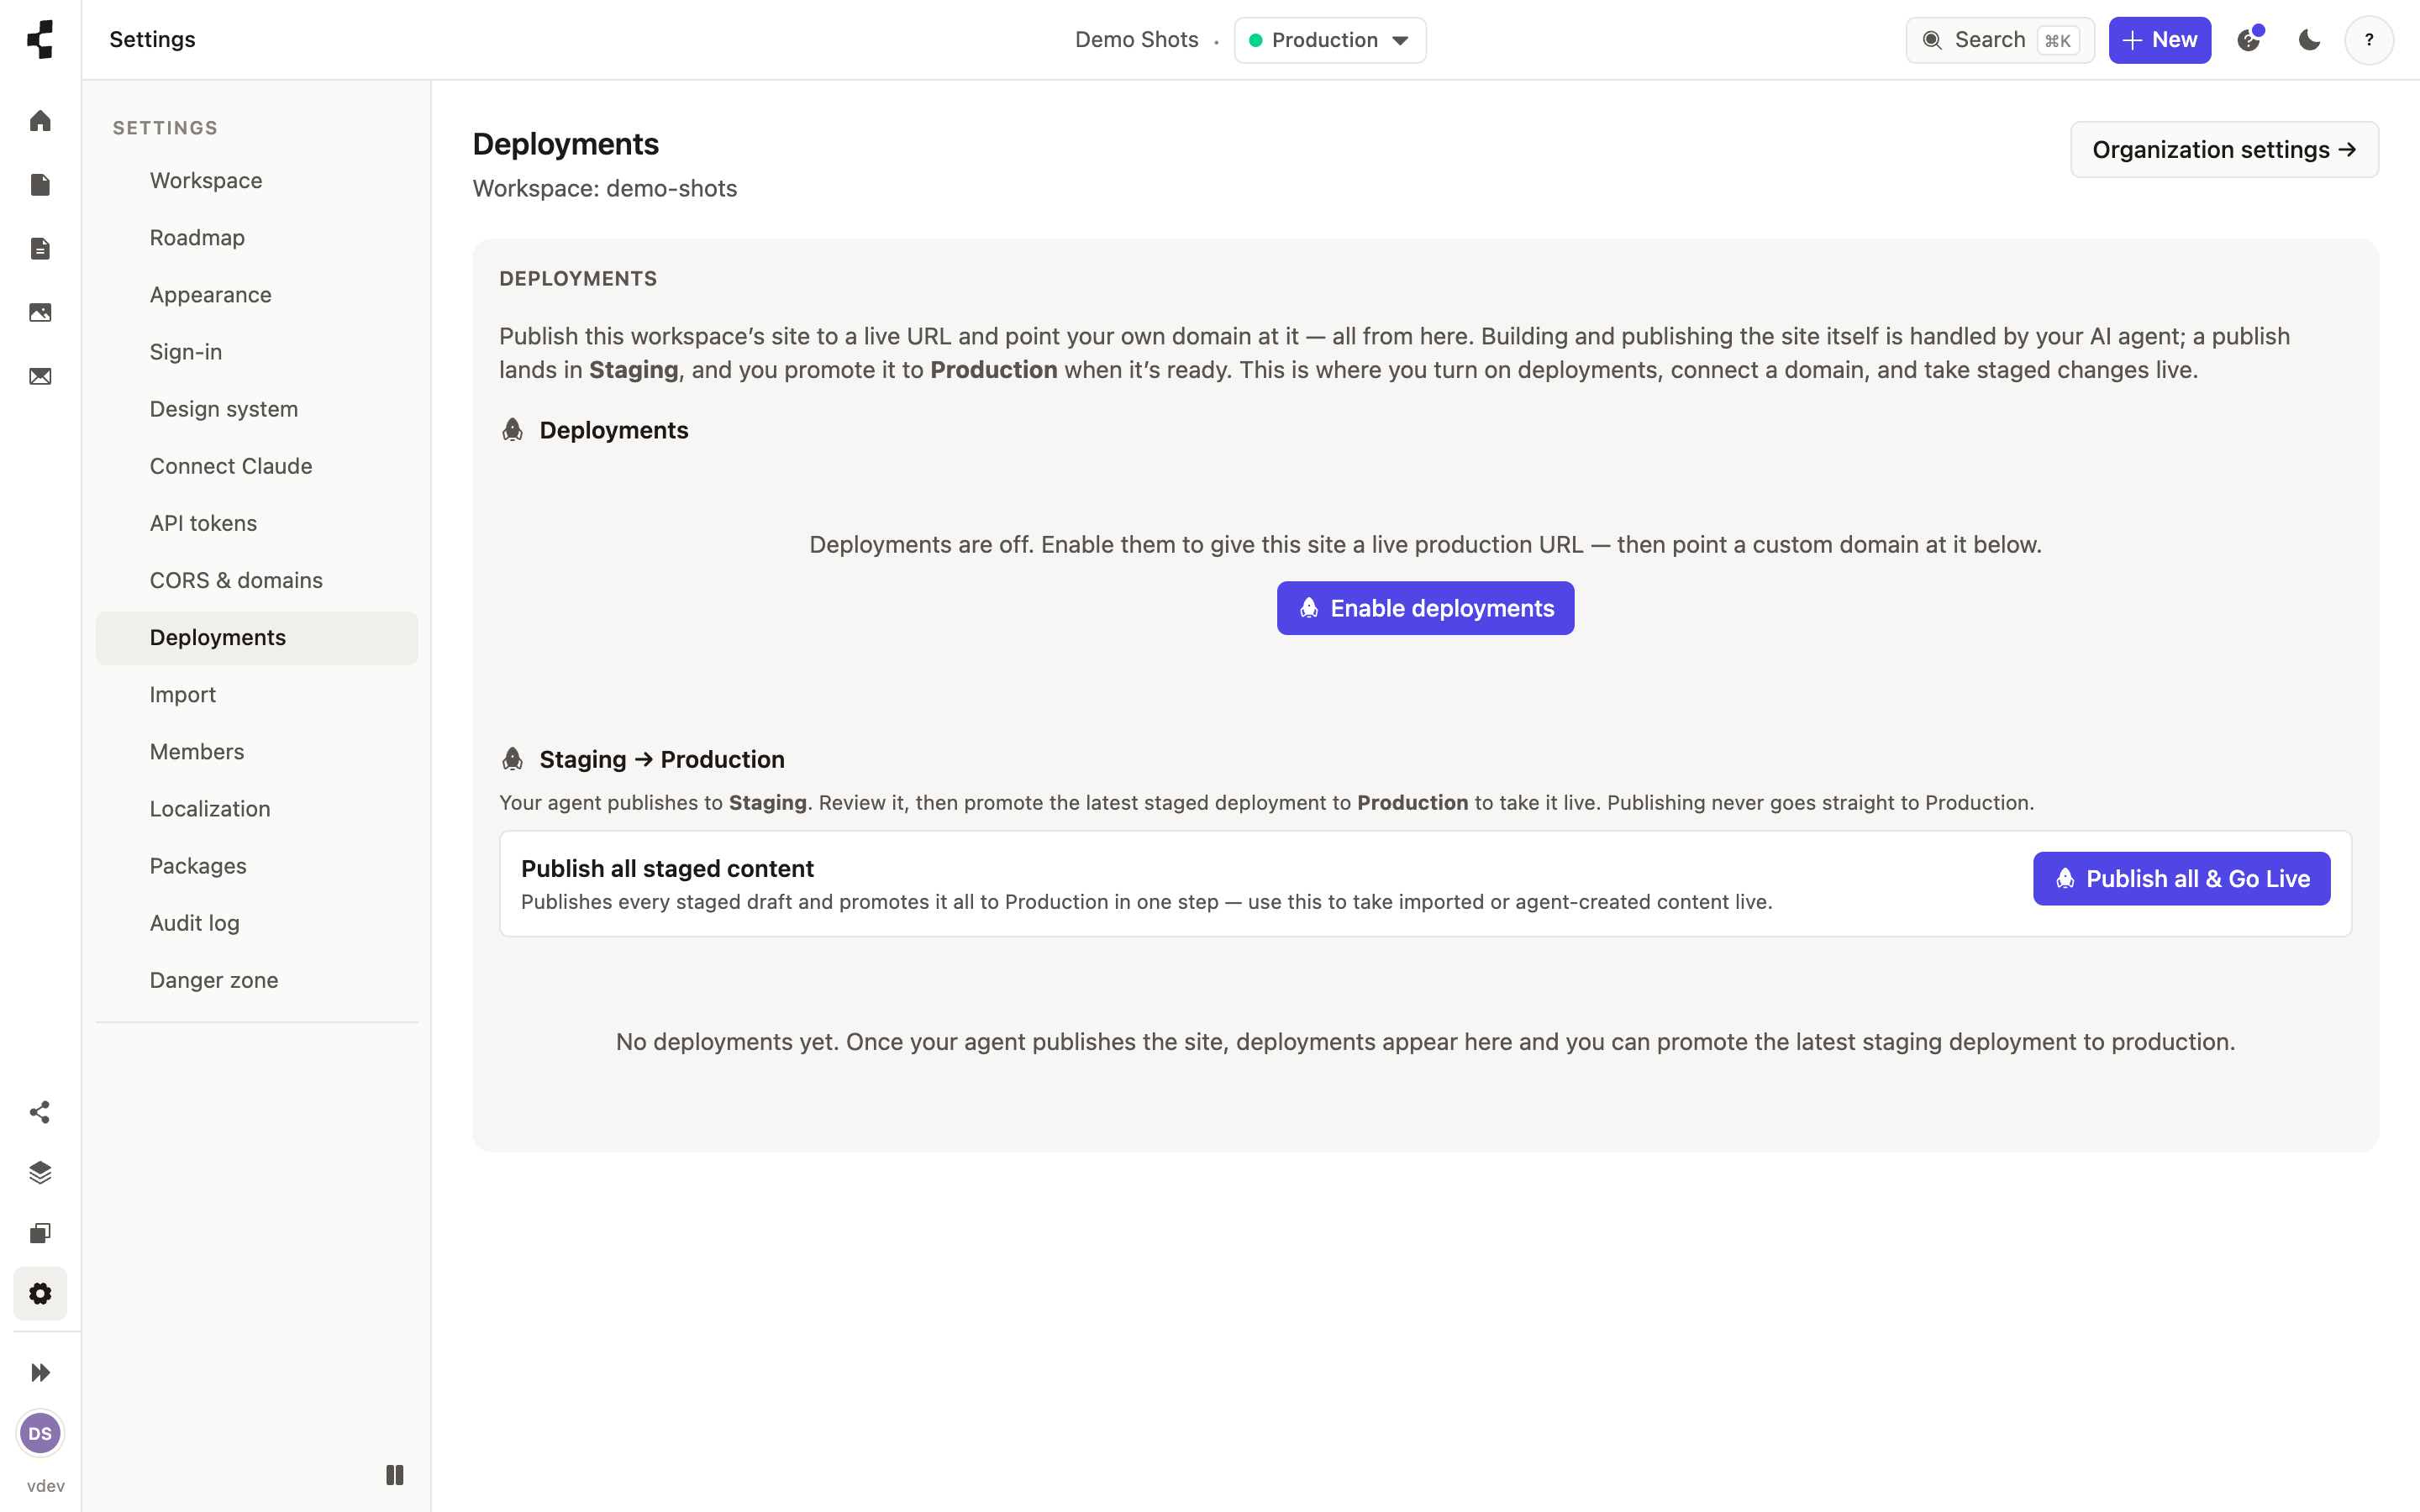
This is on purpose. Nothing — not you in a hurry, and not the AI agent — can publish straight to the live site; production is only ever reached by promoting something that was checked on staging first. You can even do it from your phone: Review & promote from your phone.
If a promotion turns out badly, you can go straight back: How do I roll back a deployment?.
-
Claiming your web address
Swap the automatic address for a real name like yourclient.contentive.io.
Every hosted site gets a working web address the moment hosting is switched on. It starts as an automatic name, but you can claim a proper one — yourclient.contentive.io — from the Deployments panel. Type a name, check it is free, and claim it.
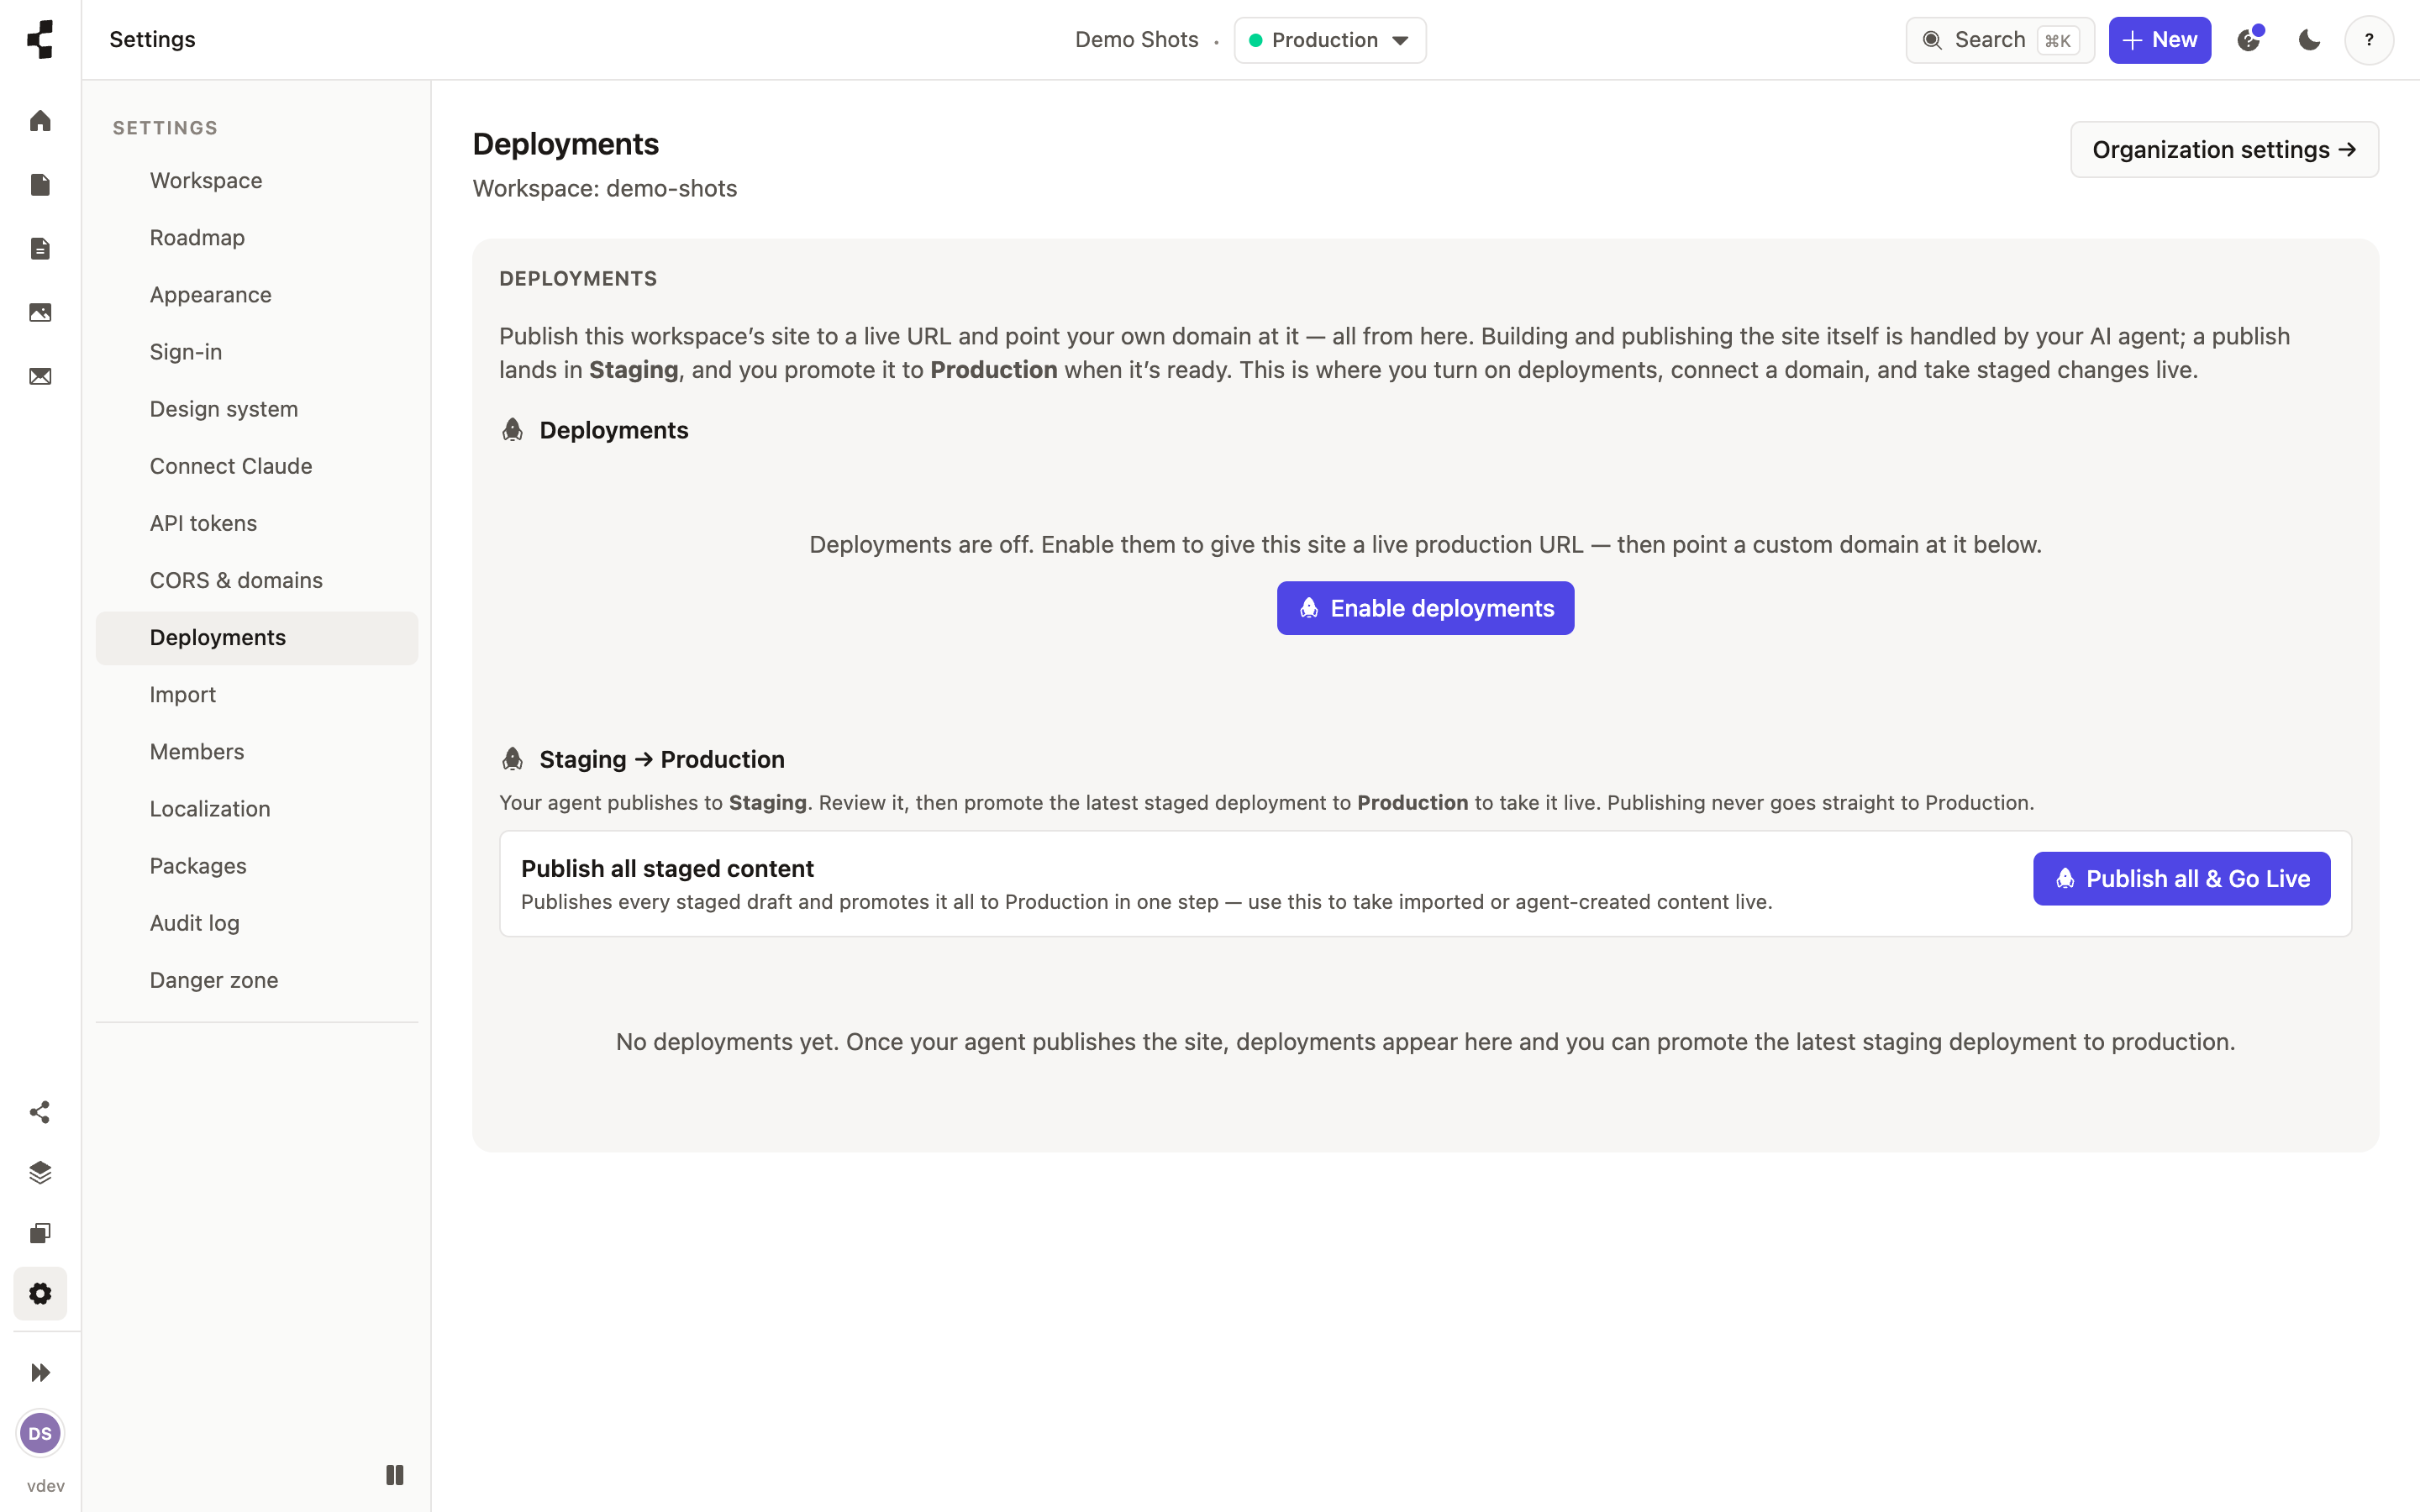
Names are first-come, first-served across the whole platform, so a good one may be taken — try another. One important thing to know: once a name has been released it is retired for good and can never be claimed again, by anyone, because old links would otherwise point somewhere unexpected. So choose with care and keep it.
Ready to point your own domain at the site instead? See Connecting a custom domain & CORS.
-
Connecting a custom domain & CORS
Put the site on your own domain, and allow your front end to read the content.
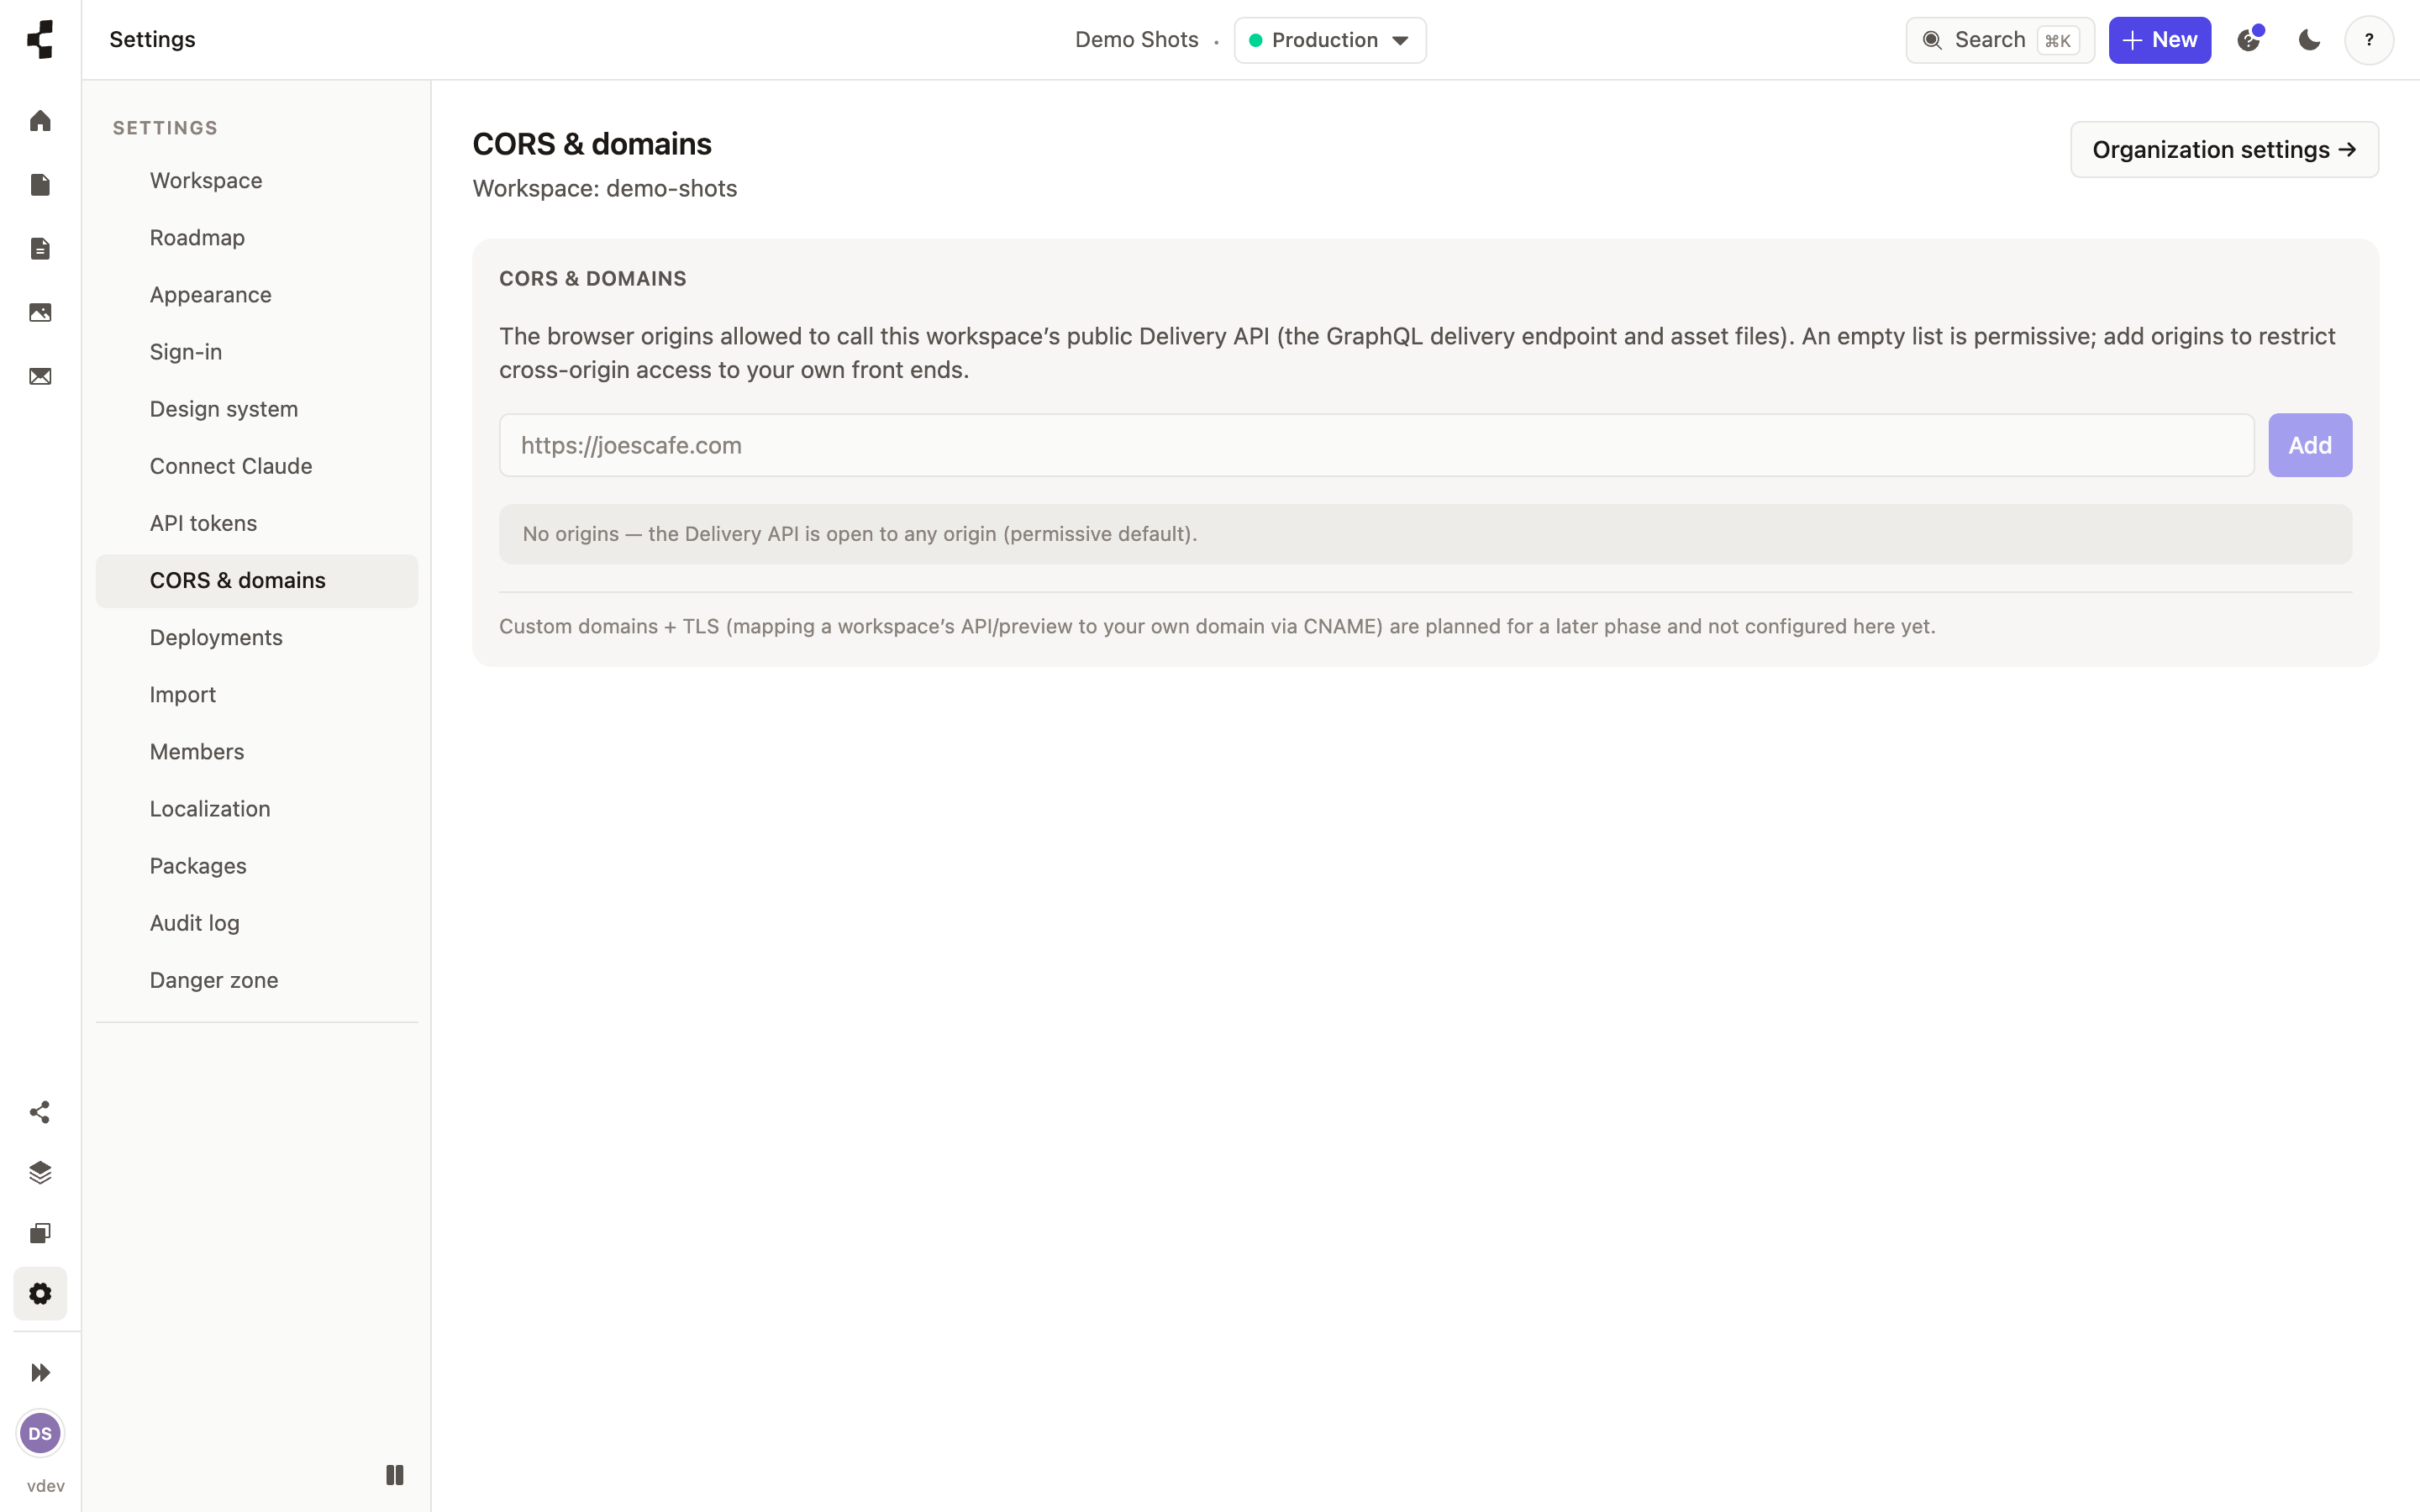
To serve the site on your client’s own domain, open Settings → Domain & address and add the domain. You get two DNS records to create at whoever manages the domain’s DNS — the registrar, or a provider like Cloudflare. Add them in the order below and the switch-over is invisible to visitors.
Record 1 — the ownership record. It is a TXT record that proves the domain is yours. Add it first: the HTTPS certificate is issued while the client’s existing site carries on serving, so nothing goes dark. Leave this record in place afterwards — it is what keeps the certificate renewing. Deleting it months later is the usual cause of a sudden browser security warning.
Record 2 — the traffic record. This is the one that actually points the domain at the site, so add it once the ownership record has been confirmed. If the DNS provider will not let you put a CNAME on a bare domain (many will not), use its ALIAS or ANAME record type instead — or point only the www address here and have the registrar forward the bare domain to it.
Both addresses are connected. Adding joescafe.com also connects www.joescafe.com (and the other way round), because a site that fails on one of the two is exactly what a client notices. One of them is the address visitors end up on and the other quietly forwards to it — choose which under “Visitors end up on”, and change your mind whenever you like. Search engines then see a single address, which is what you want.
What the statuses mean. “Pending DNS” means we have not seen the ownership record yet — nothing is wrong, the record just has not reached us. “Verifying” means ownership is confirmed and the certificate is being issued. “Live” means both addresses are serving over HTTPS. DNS changes usually take a few minutes and can take a few hours; we check automatically, so you can close the tab and get an email when it goes live. “Check status” forces an immediate re-check if you are impatient. If nothing has appeared after a week we stop checking and say so — confirm the record and check again.
Removing a domain is reversible. The site falls back to its Contentive address straight away, and you can add the domain back at any time.
The same page holds your CORS allowlist. If a separate front end (say a Next.js site) reads your content over the API from the browser, add its web address here so those requests are allowed. Both halves of a connected domain are added for you. Server-side and published-site requests do not need this.
-
How do I roll back a deployment?
Every deployment is kept — return to a previous one in a couple of presses.
Open Deployments to see the full history for the workspace: what was deployed, when, by whom, and whether it came from the Studio or the AI agent. Compare two deployments to see what actually changed.
To undo, choose the deployment you want to return to and press Roll back. The site returns to exactly that state; the rollback is itself recorded, so nothing disappears from the history.
-
Review & promote from your phone
Approve a staged deployment on the go — no laptop needed.
The Studio works on a phone for the things you need on the go. You can browse content, review what is waiting on Staging, and — the important one — promote a staged deployment to production, all from a mobile browser.
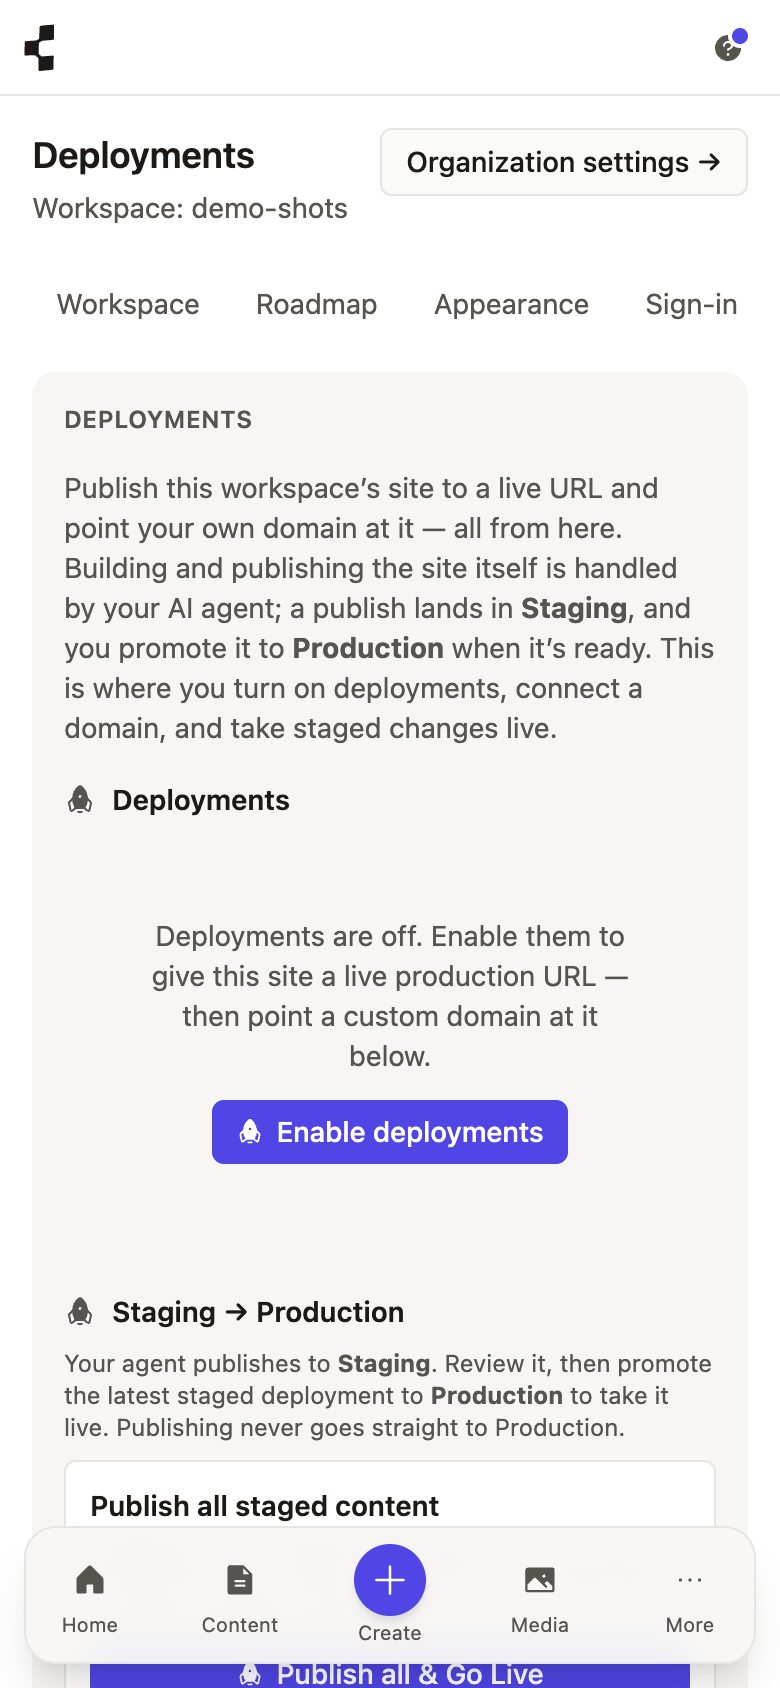
Heavier building — the model canvas, composing pages, managing a design system — is far easier on a larger screen, so those stay desktop jobs. But approving and shipping a change is fully mobile. It is the same deliberate promotion step, just from your pocket.
AI & MCP
-
Asking the Content Assistant for help
A built-in chat that helps you find, draft and tidy content — safely.
The Content Assistant is a chat panel built into the Studio — no setup, no account to connect. Open it with the assistant button (or press ⌘J) and ask in plain language: "what pages do I have?", "draft an About page from this copy", "find every post that mentions our old phone number".
It is deliberately safe. It can read your content and write drafts, but it can never publish, delete or change settings — when it drafts something, you review it in the normal editor and click Publish yourself. It also respects your role: it can only do what you are allowed to do.
This is the everyday helper for editors. For building a whole site by chatting to your own AI, connect the agency agent instead: How do I connect Claude to my workspace?.
-
Generating content with AI
Draft a single field or a whole entry with a click — then keep, tweak or revert.
You do not have to face a blank field. A sparkle button on any text field drafts a suggestion from a short description, and the rich-text editor has a prompt bar where you can ask for changes — "make this shorter", "warmer tone".
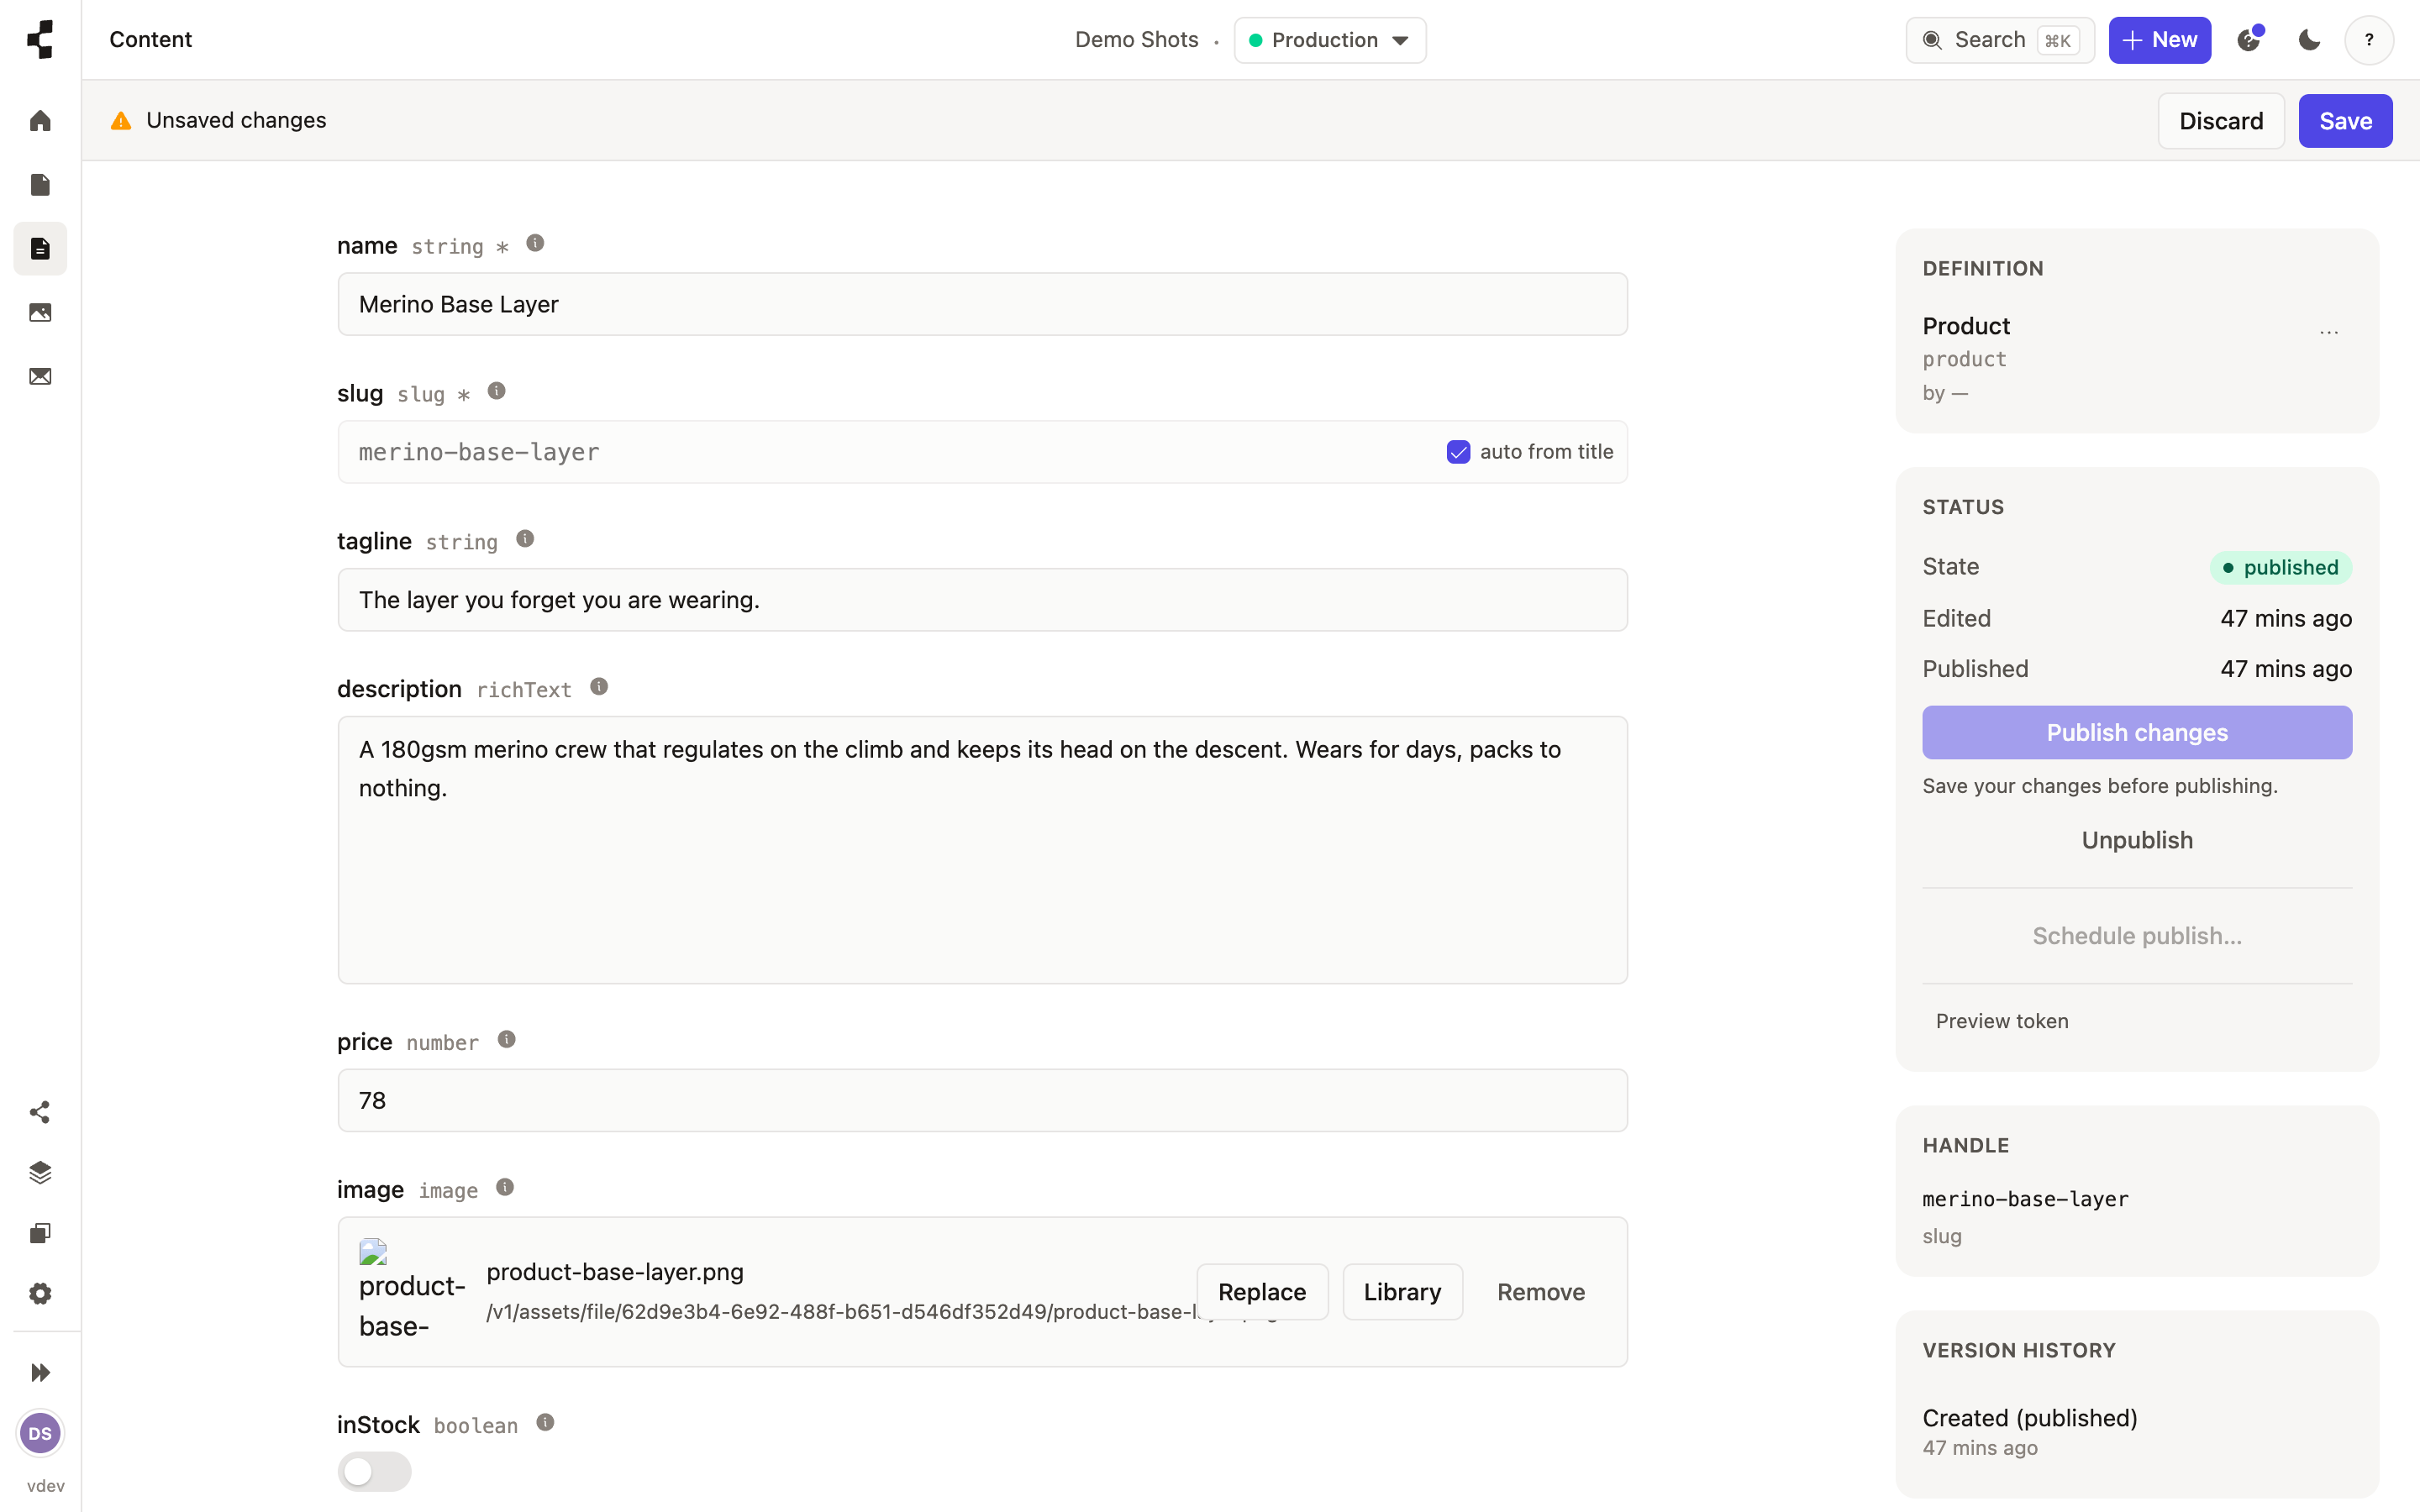
To start a whole entry, choose "Generate with AI" from the New menu and describe it in a line — the fields come back pre-filled. Anything the AI writes is marked as an unsaved AI draft until you save or discard it, and you can step back to the original at any time. Nothing is published; that is always your click.
Each generation uses one of your daily AI credits, so there is a gentle cap. Run out and you will see a friendly note rather than an error.
-
How do I connect Claude to my workspace?
Connect your own AI agent once, then build by chatting to it.
Contentive works with your own AI assistant — Claude, Cursor, or anything else that speaks MCP. Open Settings → Connect Claude, follow the connect steps, and approve the connection in your assistant. You are only granting access to the workspaces you choose.
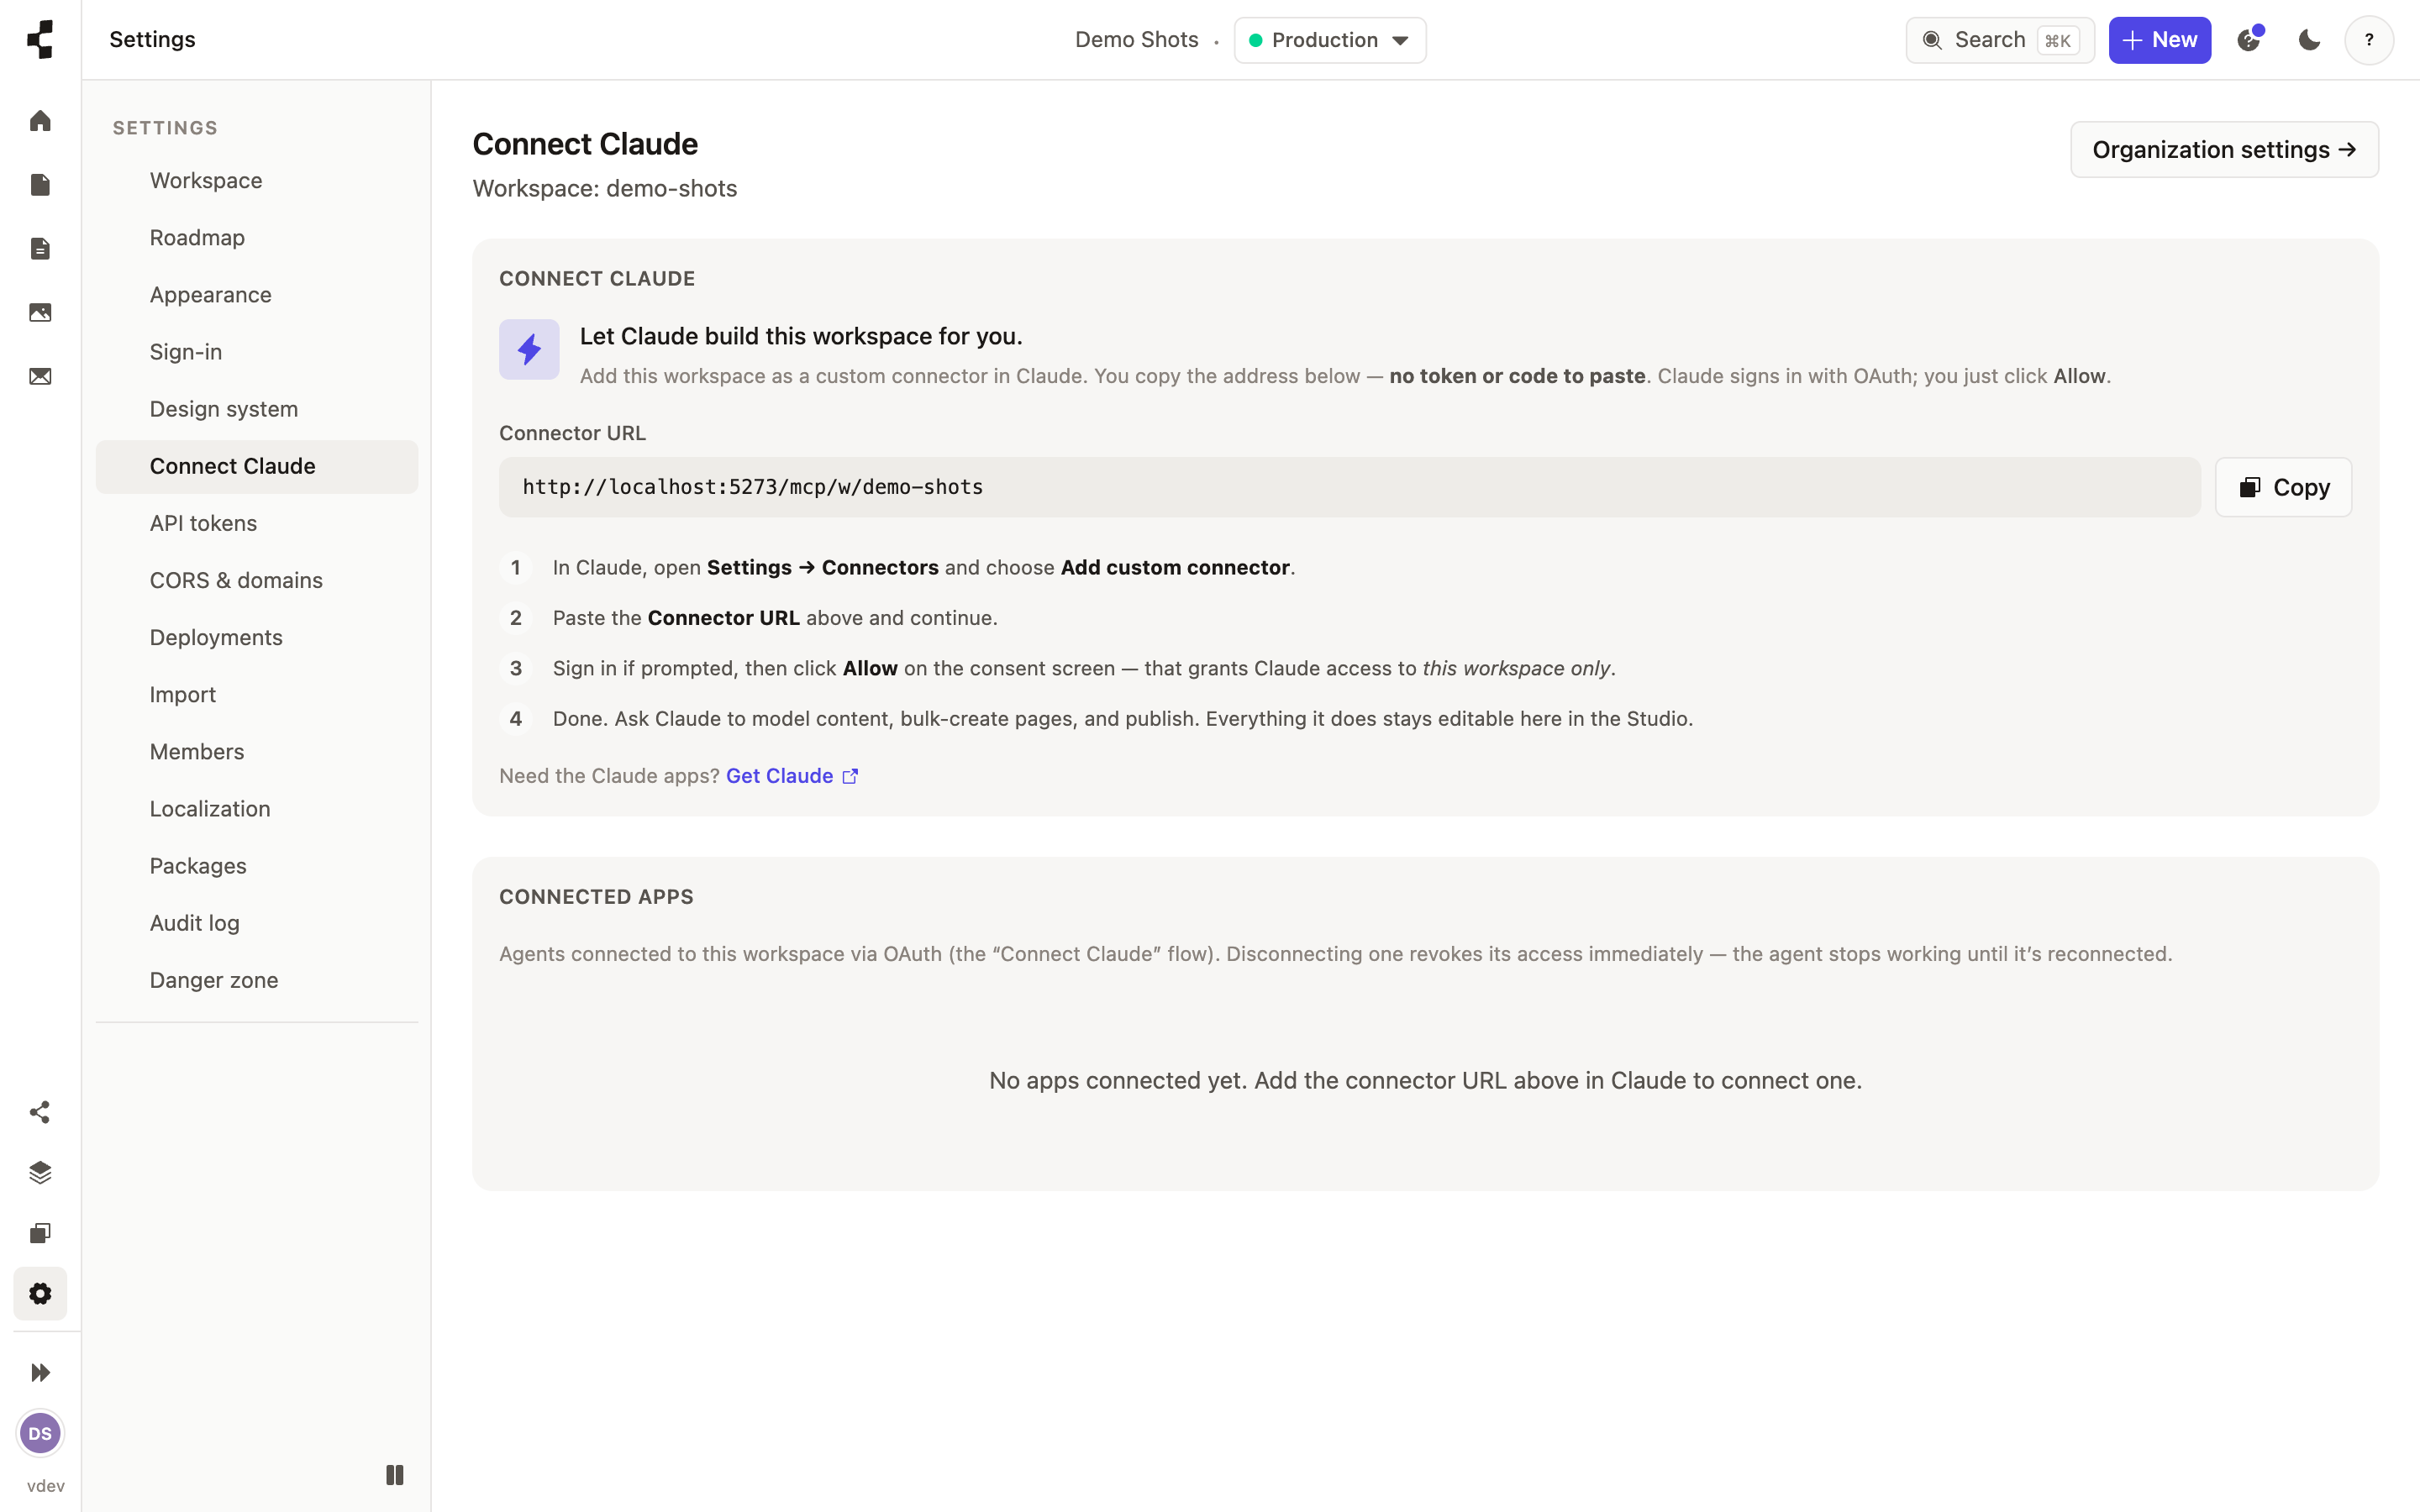
After that you can just ask: "add a menu page with our four set menus", "swap the banner on the homepage". Everything the agent does appears in the Studio and stays editable by hand.
Worth reading next: What can the AI do — and what can't it? and How do I upload my design system?.
-
What can the AI do — and what can't it?
It builds; you approve. The limits are deliberate.
A connected agent can do the building work:
set up content types and reusable blocks
write and bulk-populate pages and entries
upload and generate images, set navigation and SEO
build a front end against your content and deploy it to staging
What it deliberately cannot do:
publish straight to your live site — production is only ever reached by a promotion someone makes
touch billing, plans or invitations
reach a workspace you did not connect it to
Everything it changes is visible in the Studio and editable by hand afterwards. See How do I put my site live?.
Importing
-
How do I import my WordPress site?
Point us at the site (or upload an export) and review the result on staging.
Open Settings → Import and choose WordPress. Give us the site address, or upload a WordPress export file if the site is private. We read your posts, pages, images, categories and tags.
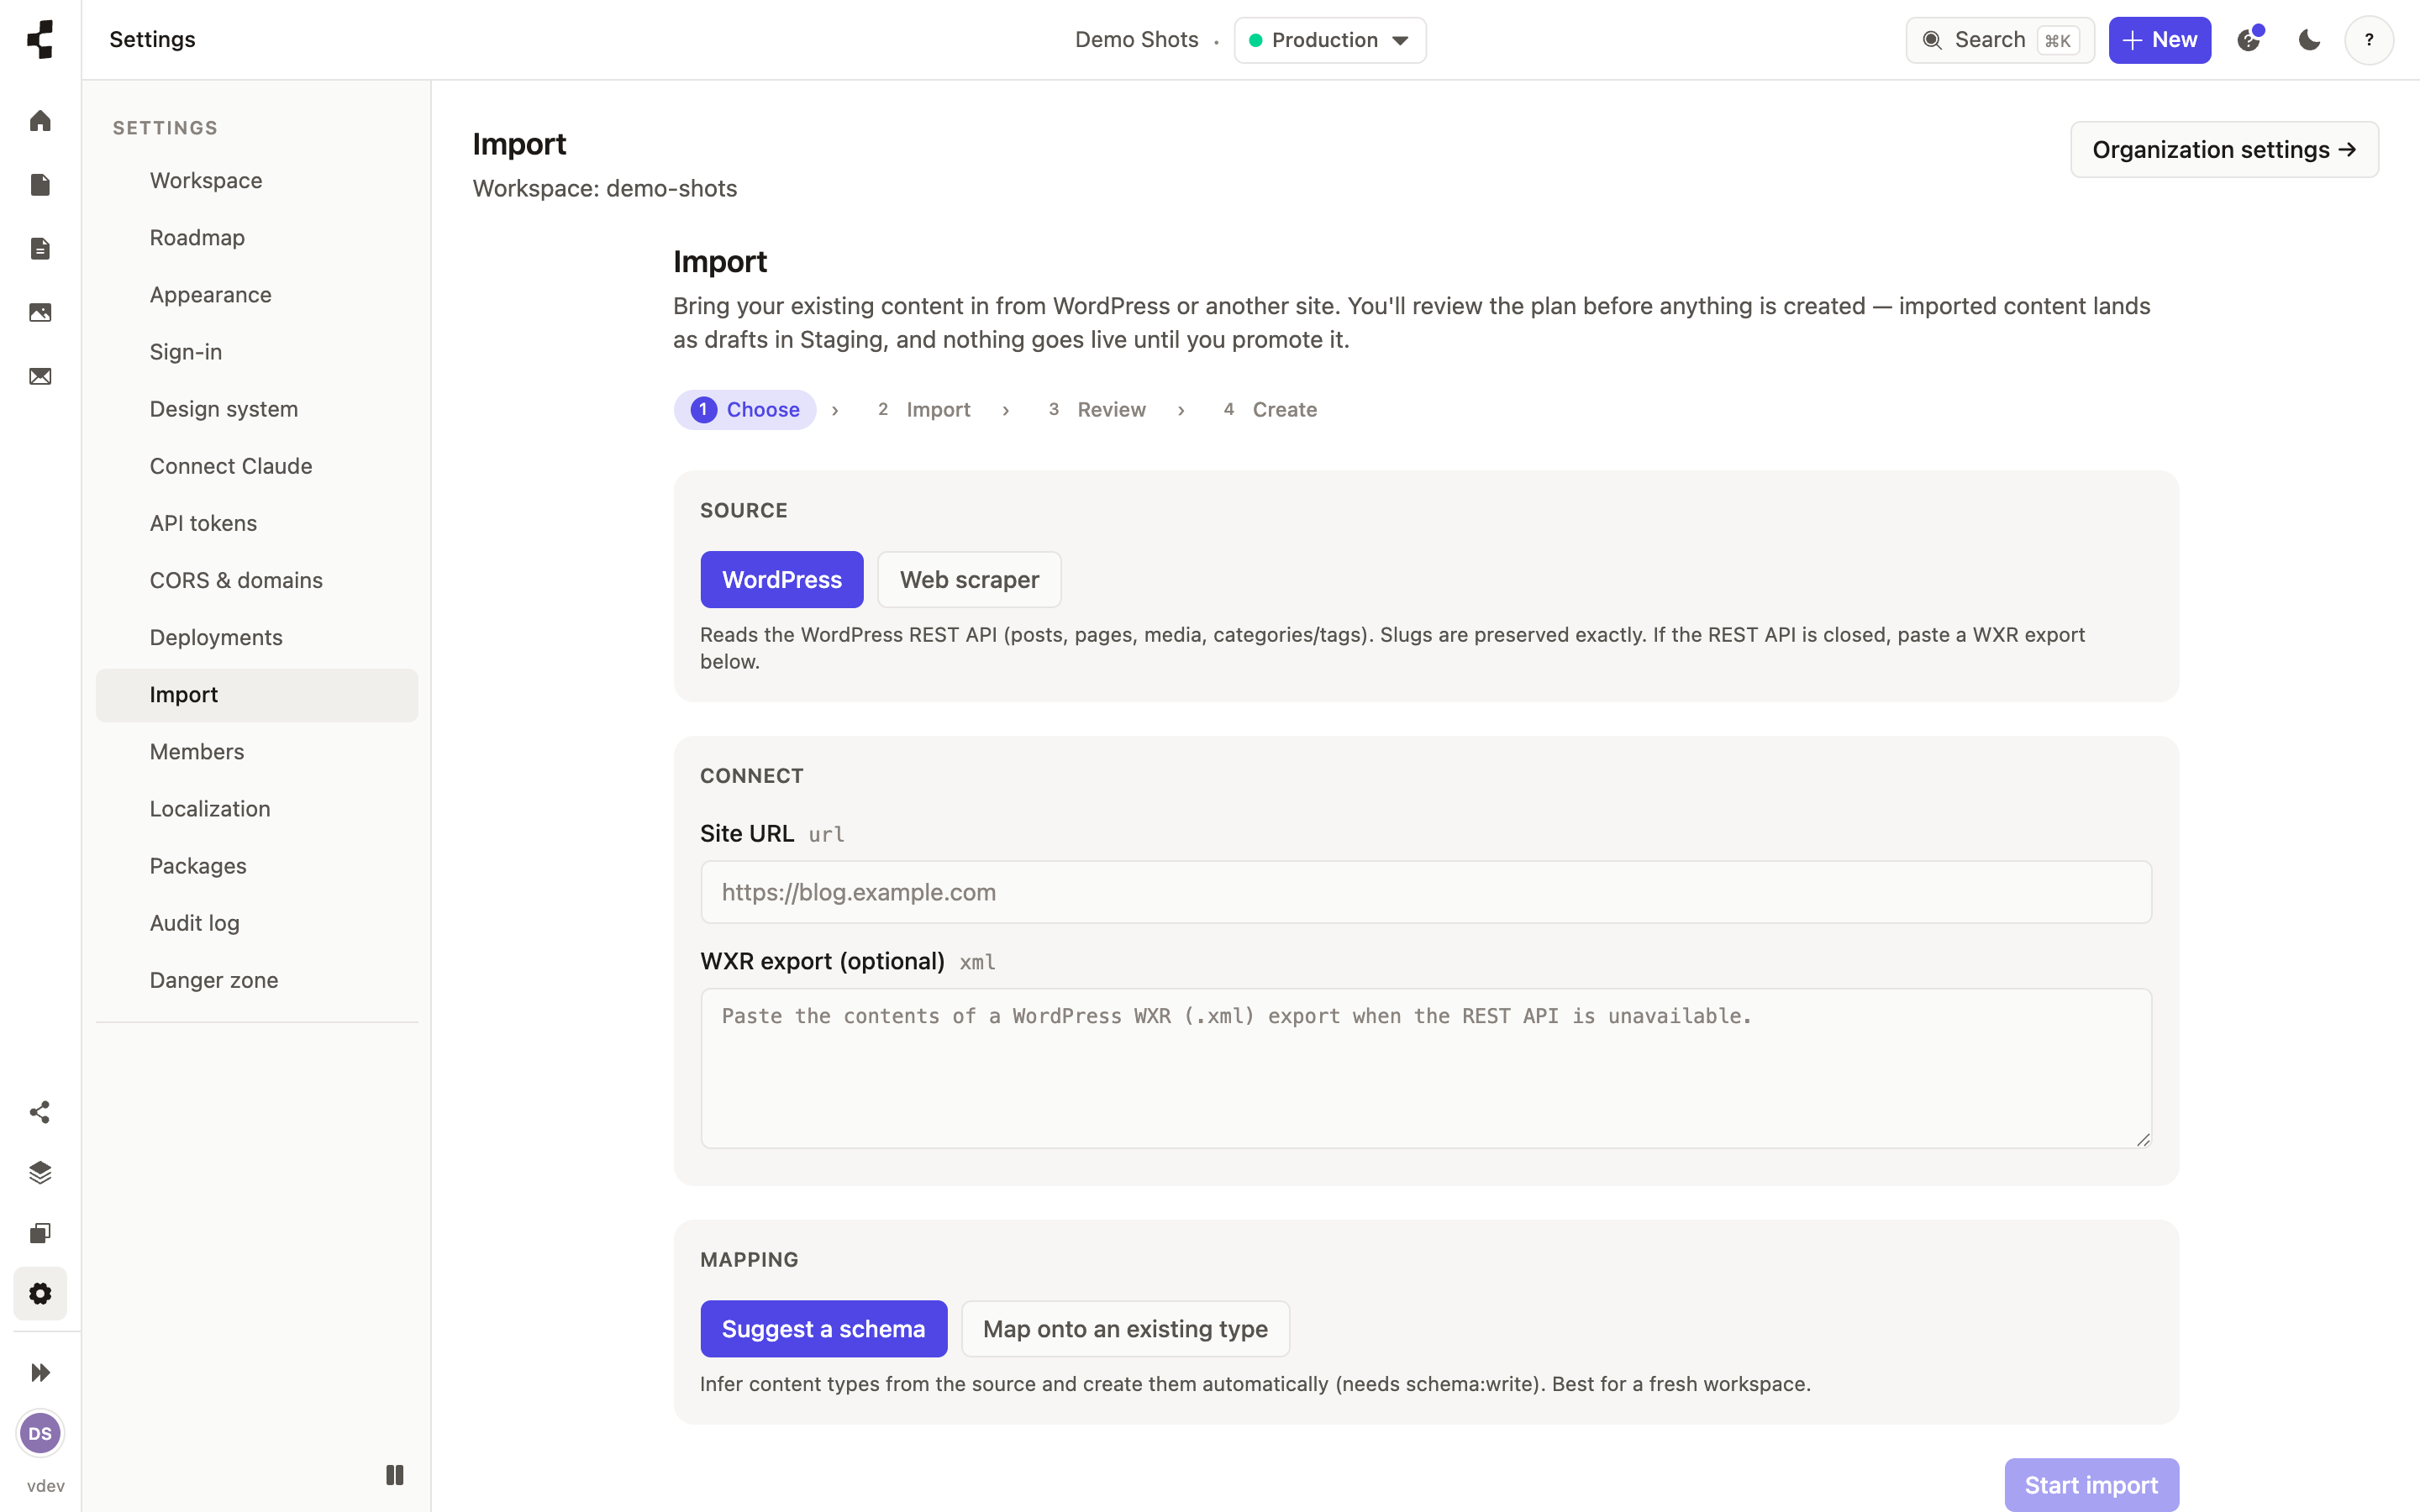
You then choose how it maps: onto content types you already have, or let us suggest a set from what we found. Images are re-hosted into your Media library and the links inside your content are rewritten to match. Web addresses are preserved exactly, so search rankings are not disturbed.
Everything lands on Staging for you to check first — nothing goes live until you promote it. Not a WordPress site? See Importing any site with the scraper.
-
Importing any site with the scraper
Bring in a site that is not WordPress — a good first pass from any public address.
When a site is not WordPress, the web import can still help. Give it a starting address and it visits the pages, separates the real content from the surrounding menus and footers, and suggests a set of content types from what it finds.
Treat this as an assisted first pass rather than a perfect copy — every site is built differently, so the review step matters here. As with any import, everything lands on Staging for you to tidy and check before you promote it.
Account & workspace
-
Who is allowed to do what?
Roles separate how the site is built from what goes on it.
Permissions split in two: structure (content types, blocks, settings, tokens — how the site is built) and content (writing, editing, publishing — what goes on it). That split is what lets you hand a site to a client safely.
Owner — everything, including billing and team.
Developer — builds the structure; reads content.
Editor — writes, edits and publishes content.
Author — writes and edits drafts, but does not publish.
Viewer — read only.
These are starting points, not a fixed list: clone one and adjust it, or build a role from scratch — "Marketing manager", "Translator" — down to individual content types. See Creating a custom role, or invite someone new with the role already applied.
-
Creating a custom role
Build a role that grants exactly the permissions a person needs — nothing more.
The built-in roles cover most people, but you can build your own — "Marketing manager", "Translator", "SEO specialist". Open Settings → Team → Roles and either clone a built-in role to tweak it, or start a new one.
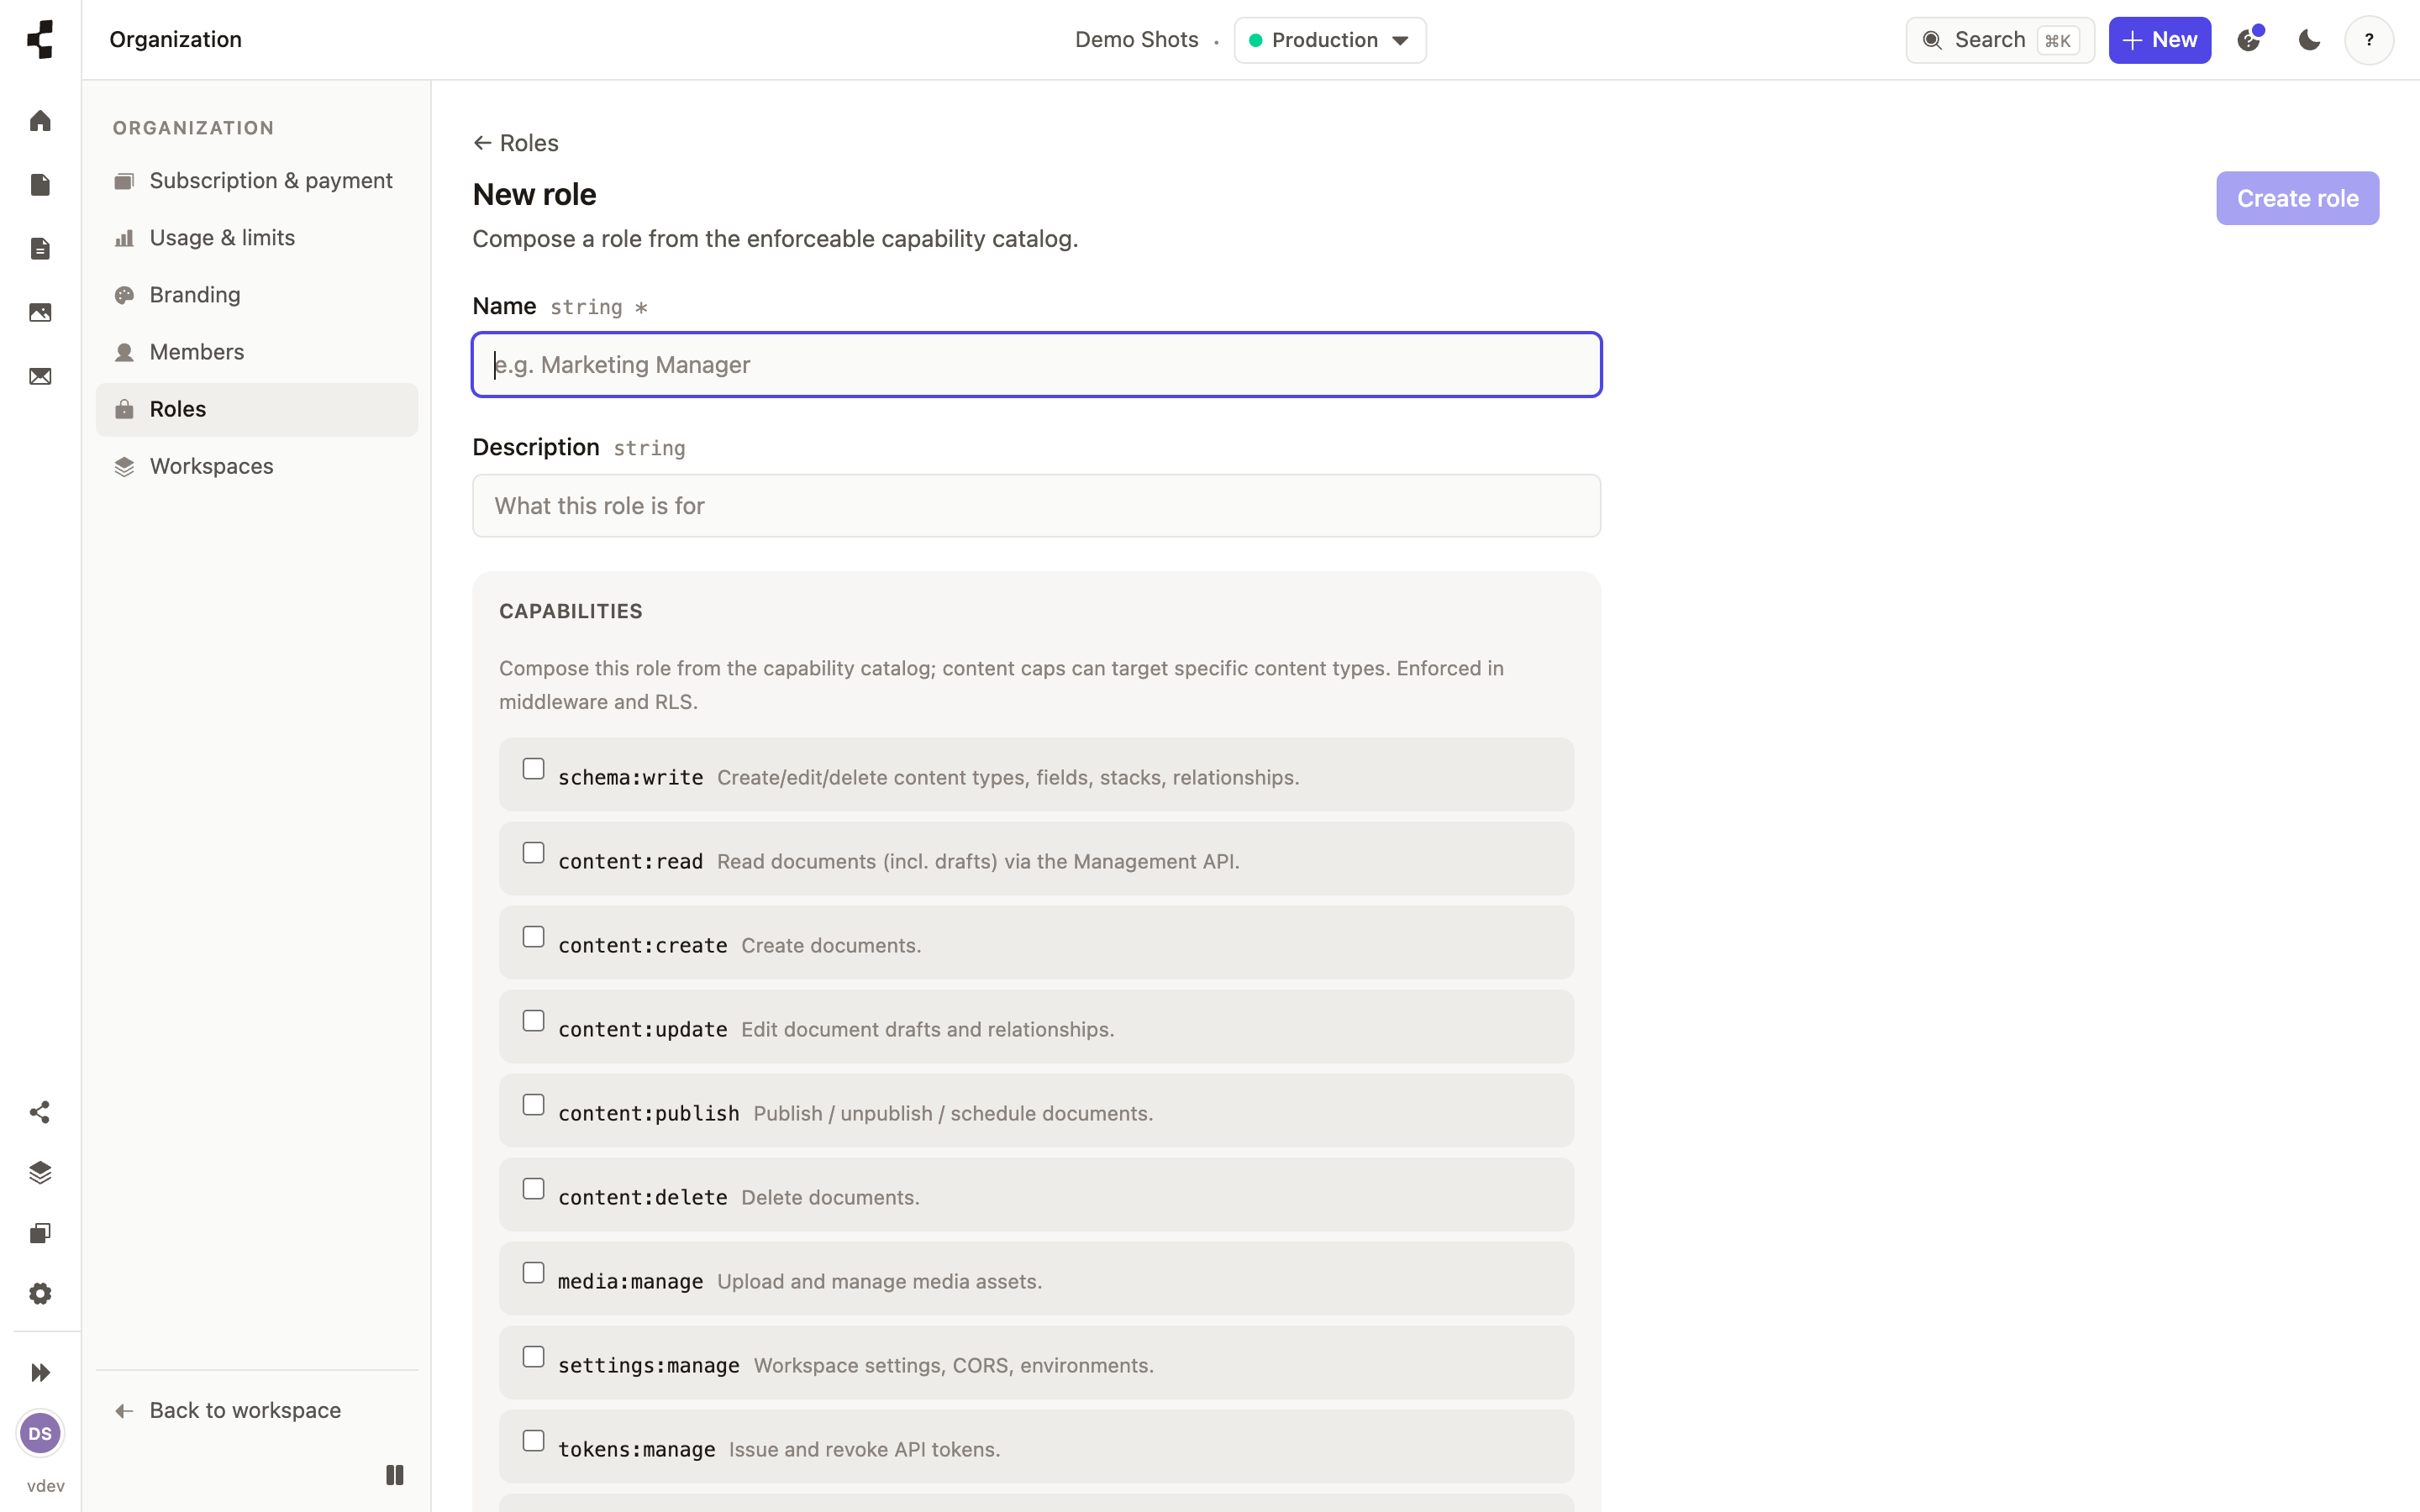
A role is a name plus a set of permissions, chosen from a grid: what the person can do, down to individual content types — publish blog posts but not products, say. Define a role once at your agency and reuse it across every client workspace.
Not sure where roles sit? Start with Who is allowed to do what?.
-
Managing API tokens
Create the keys a front end uses to read your content — with the right scope.
A front end reads your content through the API using a token. Create one in Settings → API tokens, give it a name, and choose its scope: a read-only delivery token for a public website, or a management token that can also write — used by build scripts and tools.
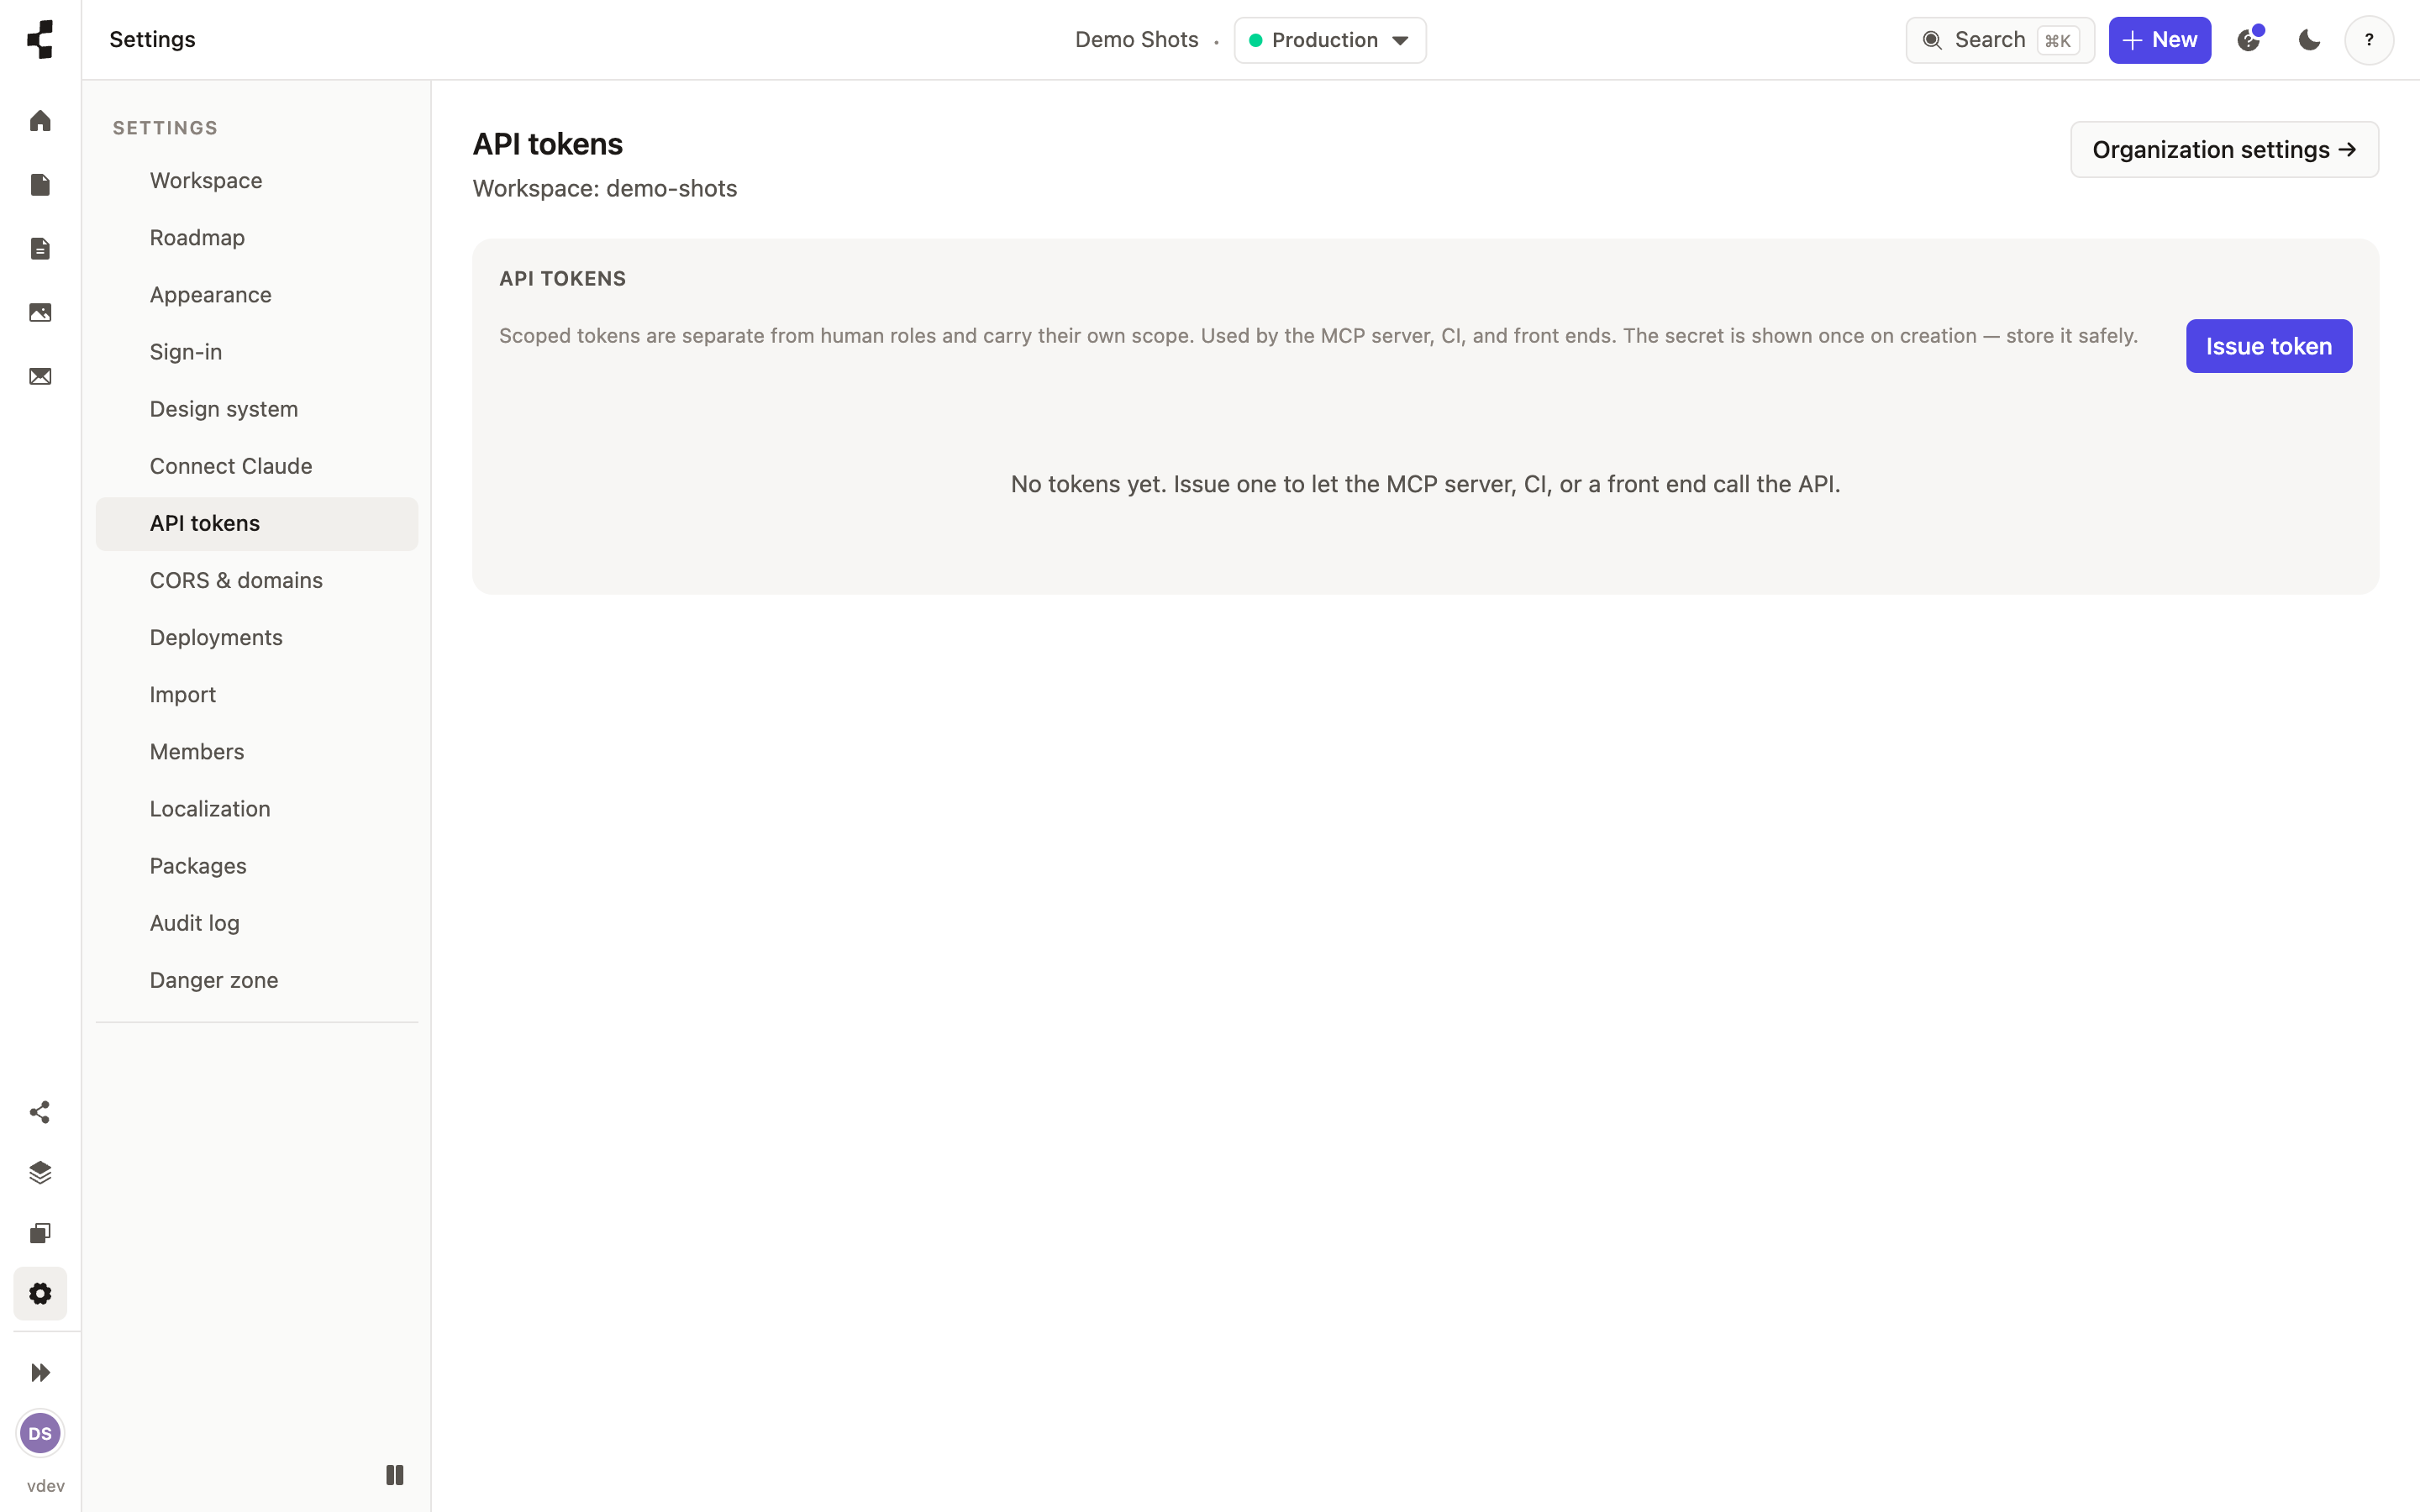
Tokens are separate from people and their roles, so a website key can never edit your structure. Copy a new token when it is shown — you will not see it again — and delete any you no longer use.
-
Installing apps
Add extra capabilities — like analytics or commerce — only where a site needs them.
The core Studio stays lean, and heavier capabilities come as apps you switch on per workspace — visitor analytics, and commerce for sites that sell. Open Settings → Apps to see what is available and install one.
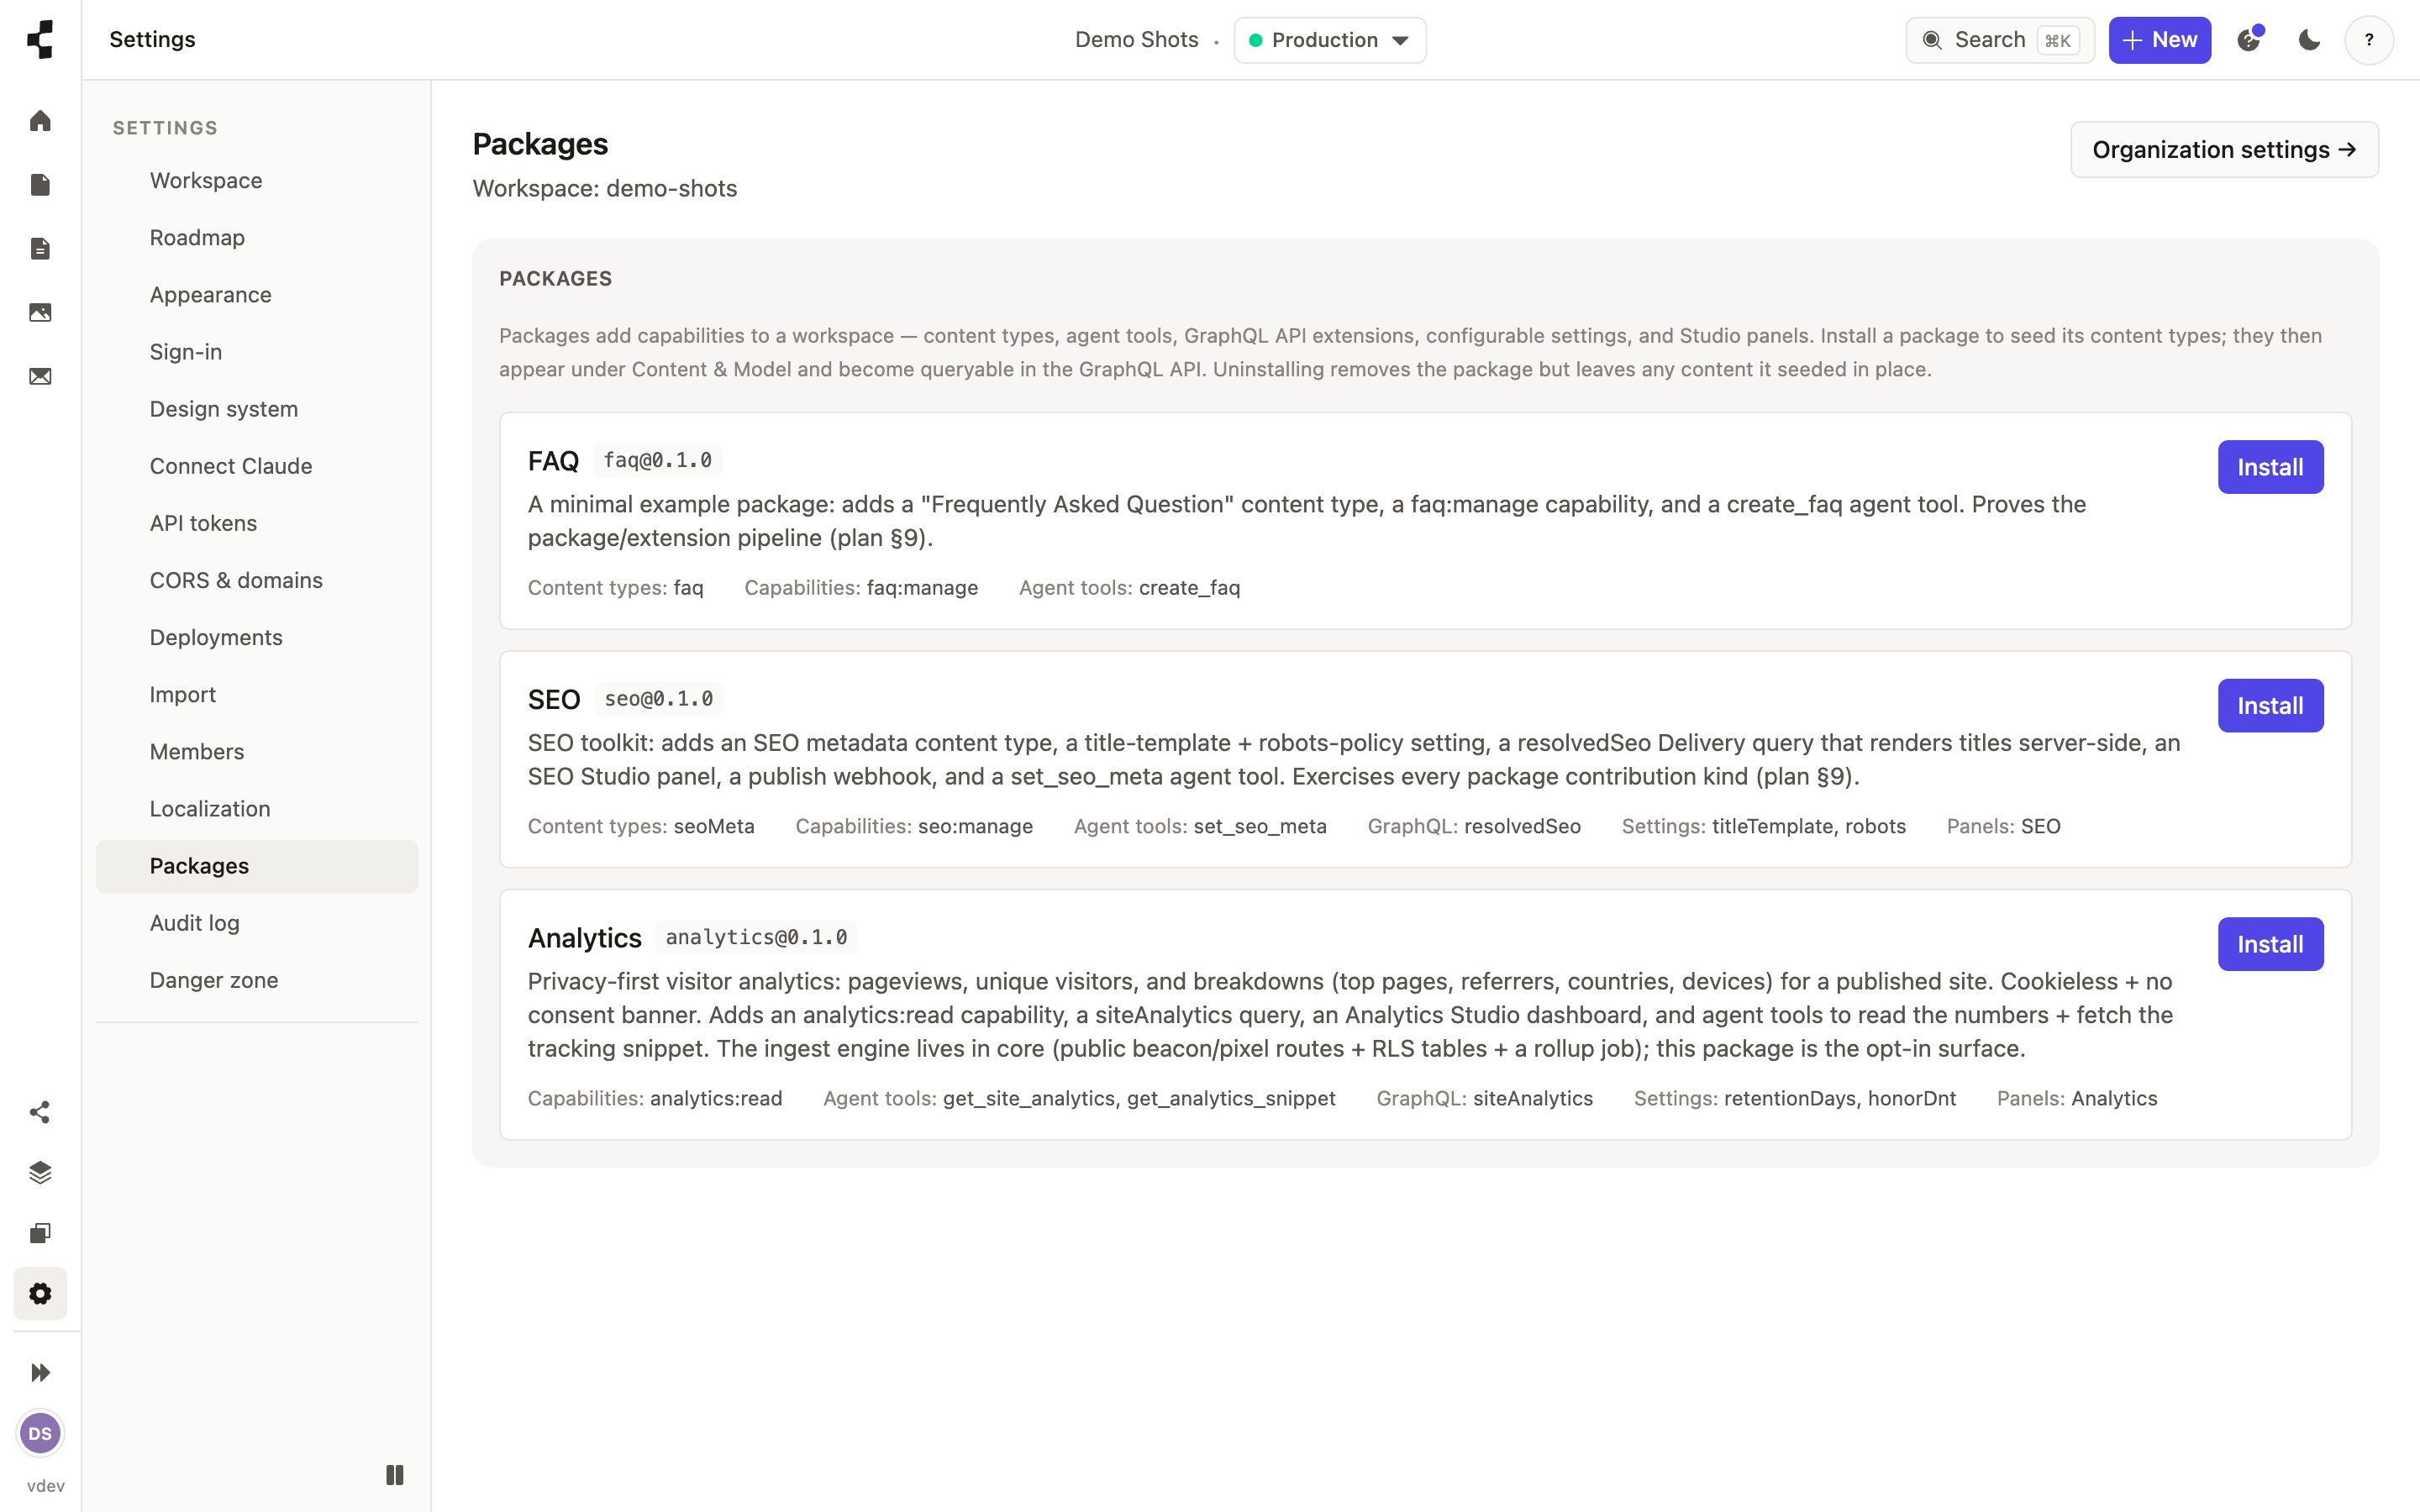
An app can add content types, new Studio screens and its own settings, and can give a connected AI agent extra abilities. Install only what a client site actually needs; you can remove an app later.
-
Where do I see my plan and usage?
Settings → Billing shows your plan, what you have used and every invoice.
Open Settings → Billing. You will see your current plan, how many workspaces and seats you are using against what your plan includes, and your invoices.
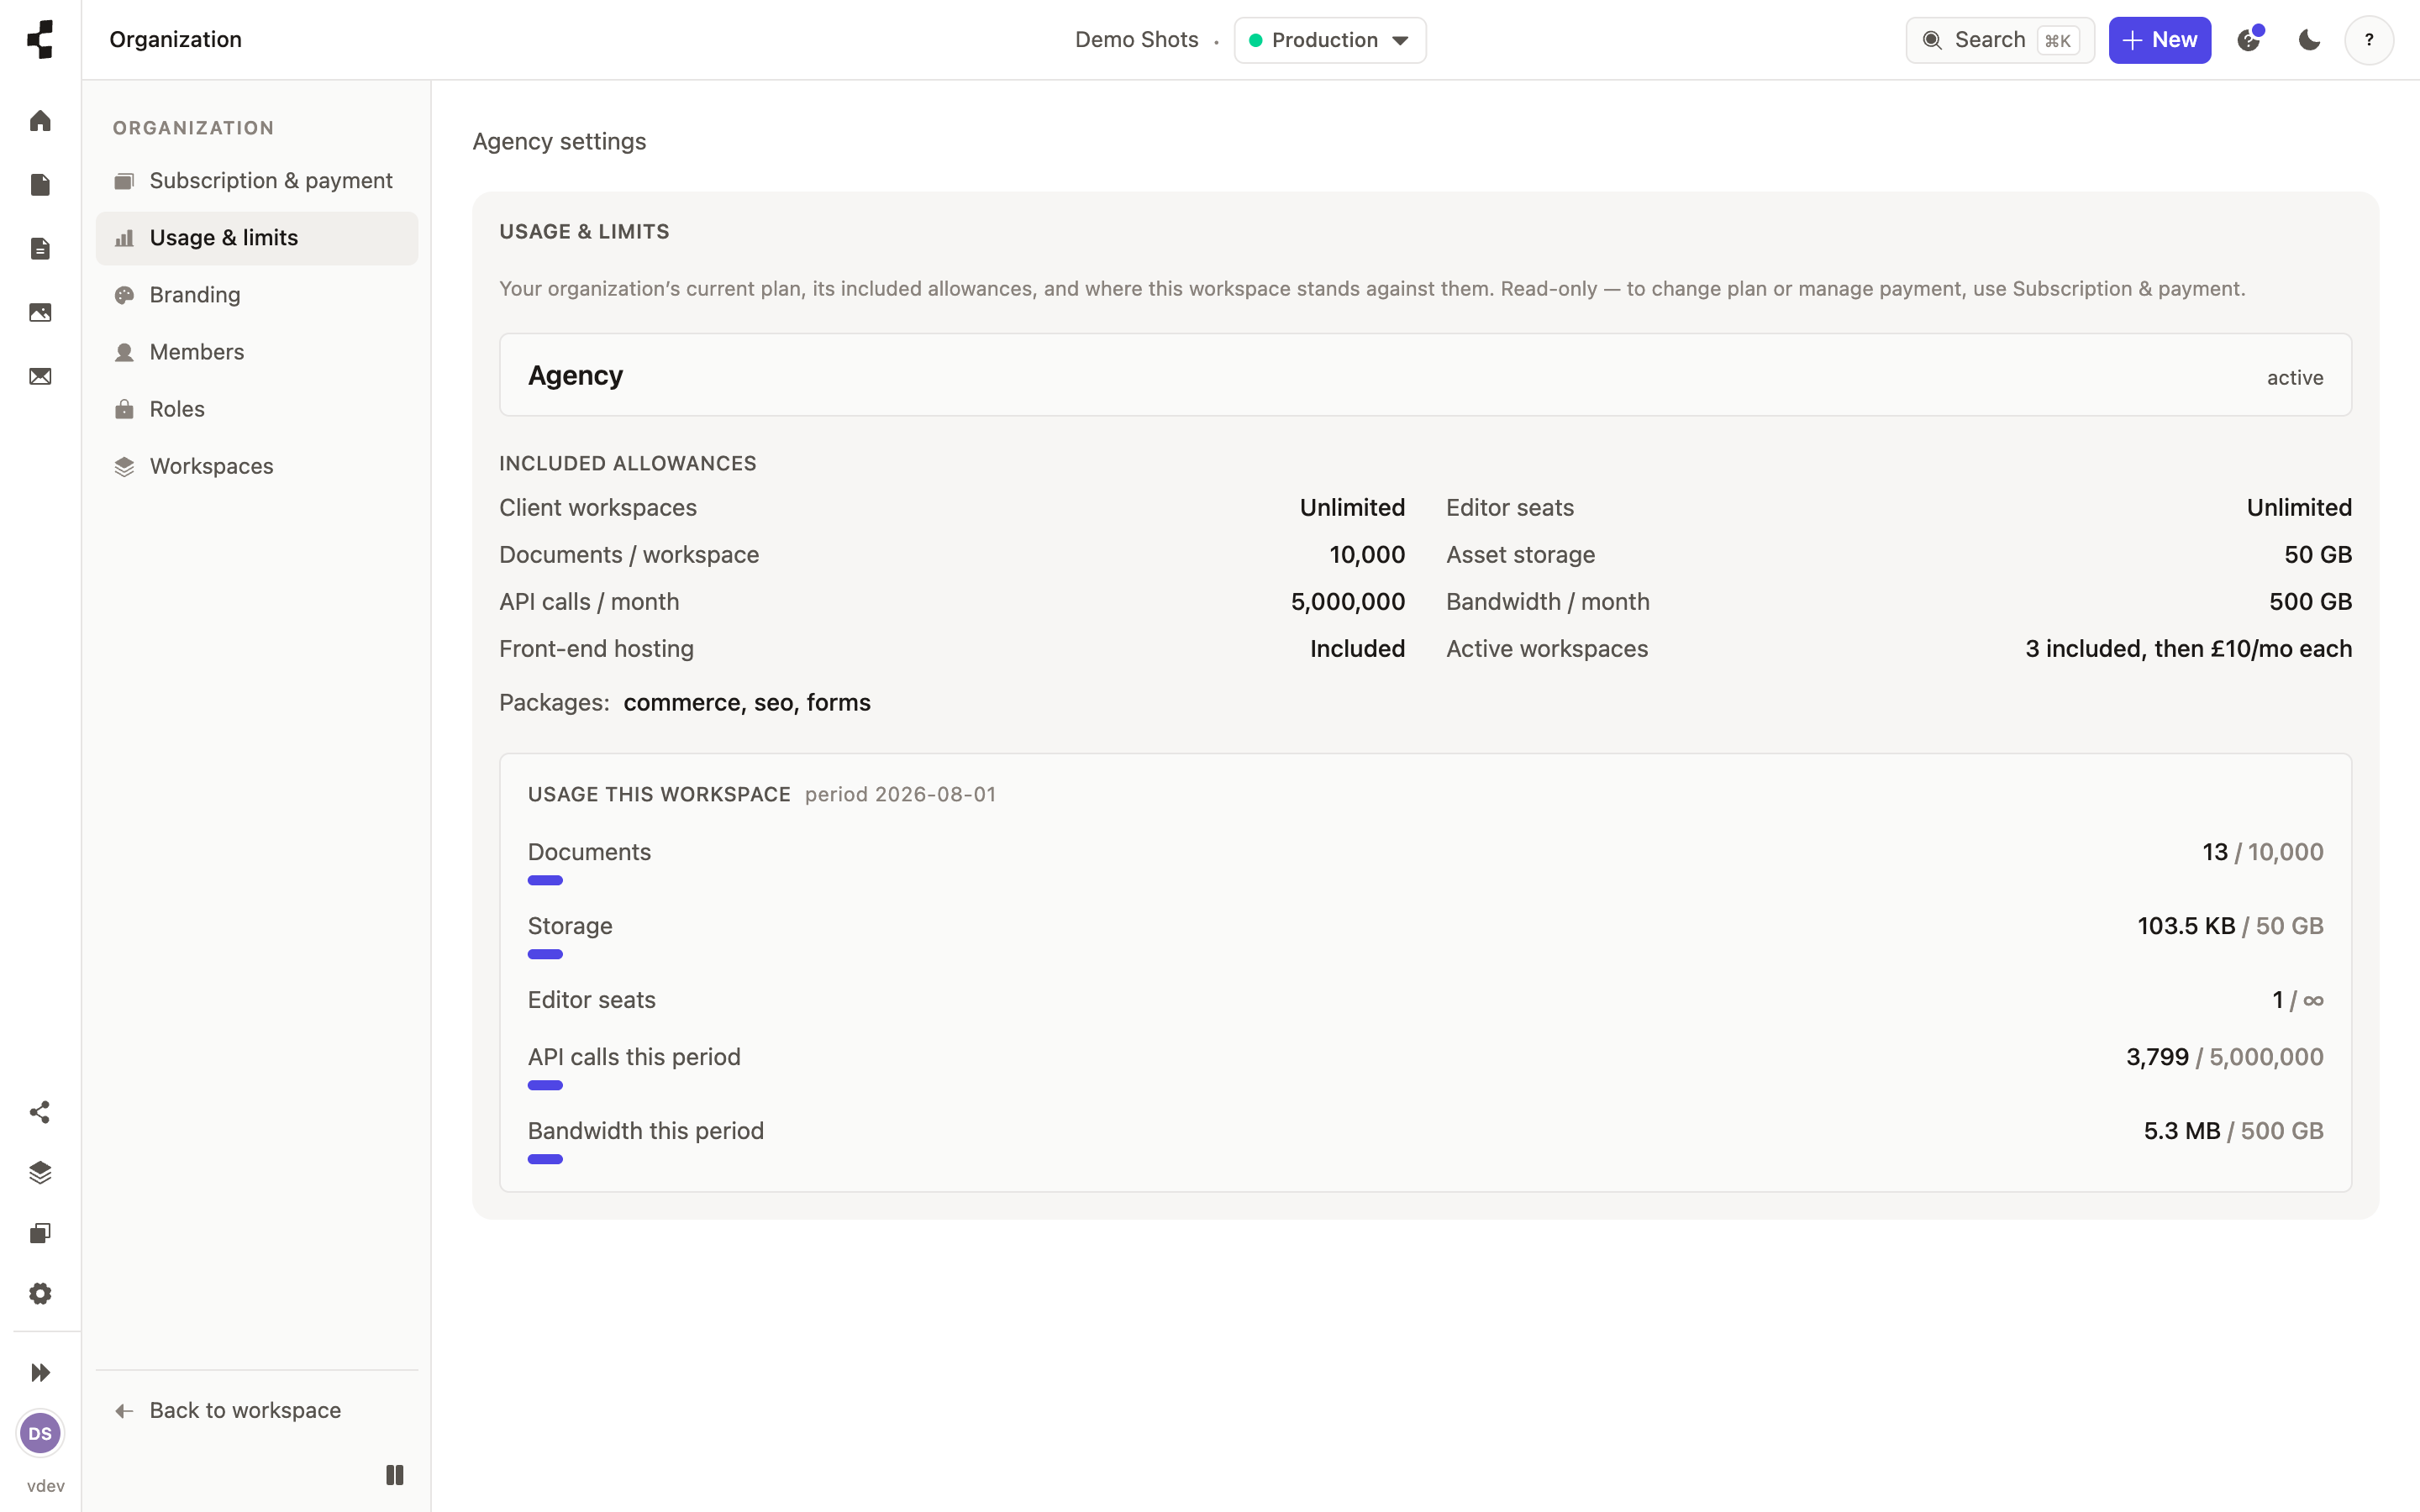
You are charged for workspaces and seats — not for how much traffic a client site gets. Usage allowances are headroom rather than a meter, and we warn you as you approach one, so there is no surprise bill. Change plan or update your card from the same page.
Signed in? The same articles are one press away from the help menu in the Studio header.